Our Coop Construction, 2007-Present

Good almost spring morning!

I seem to be encountering lots of people who are planning to build or buy a chicken coop these days so I thought I’d share an overview of ours as it was constructed.

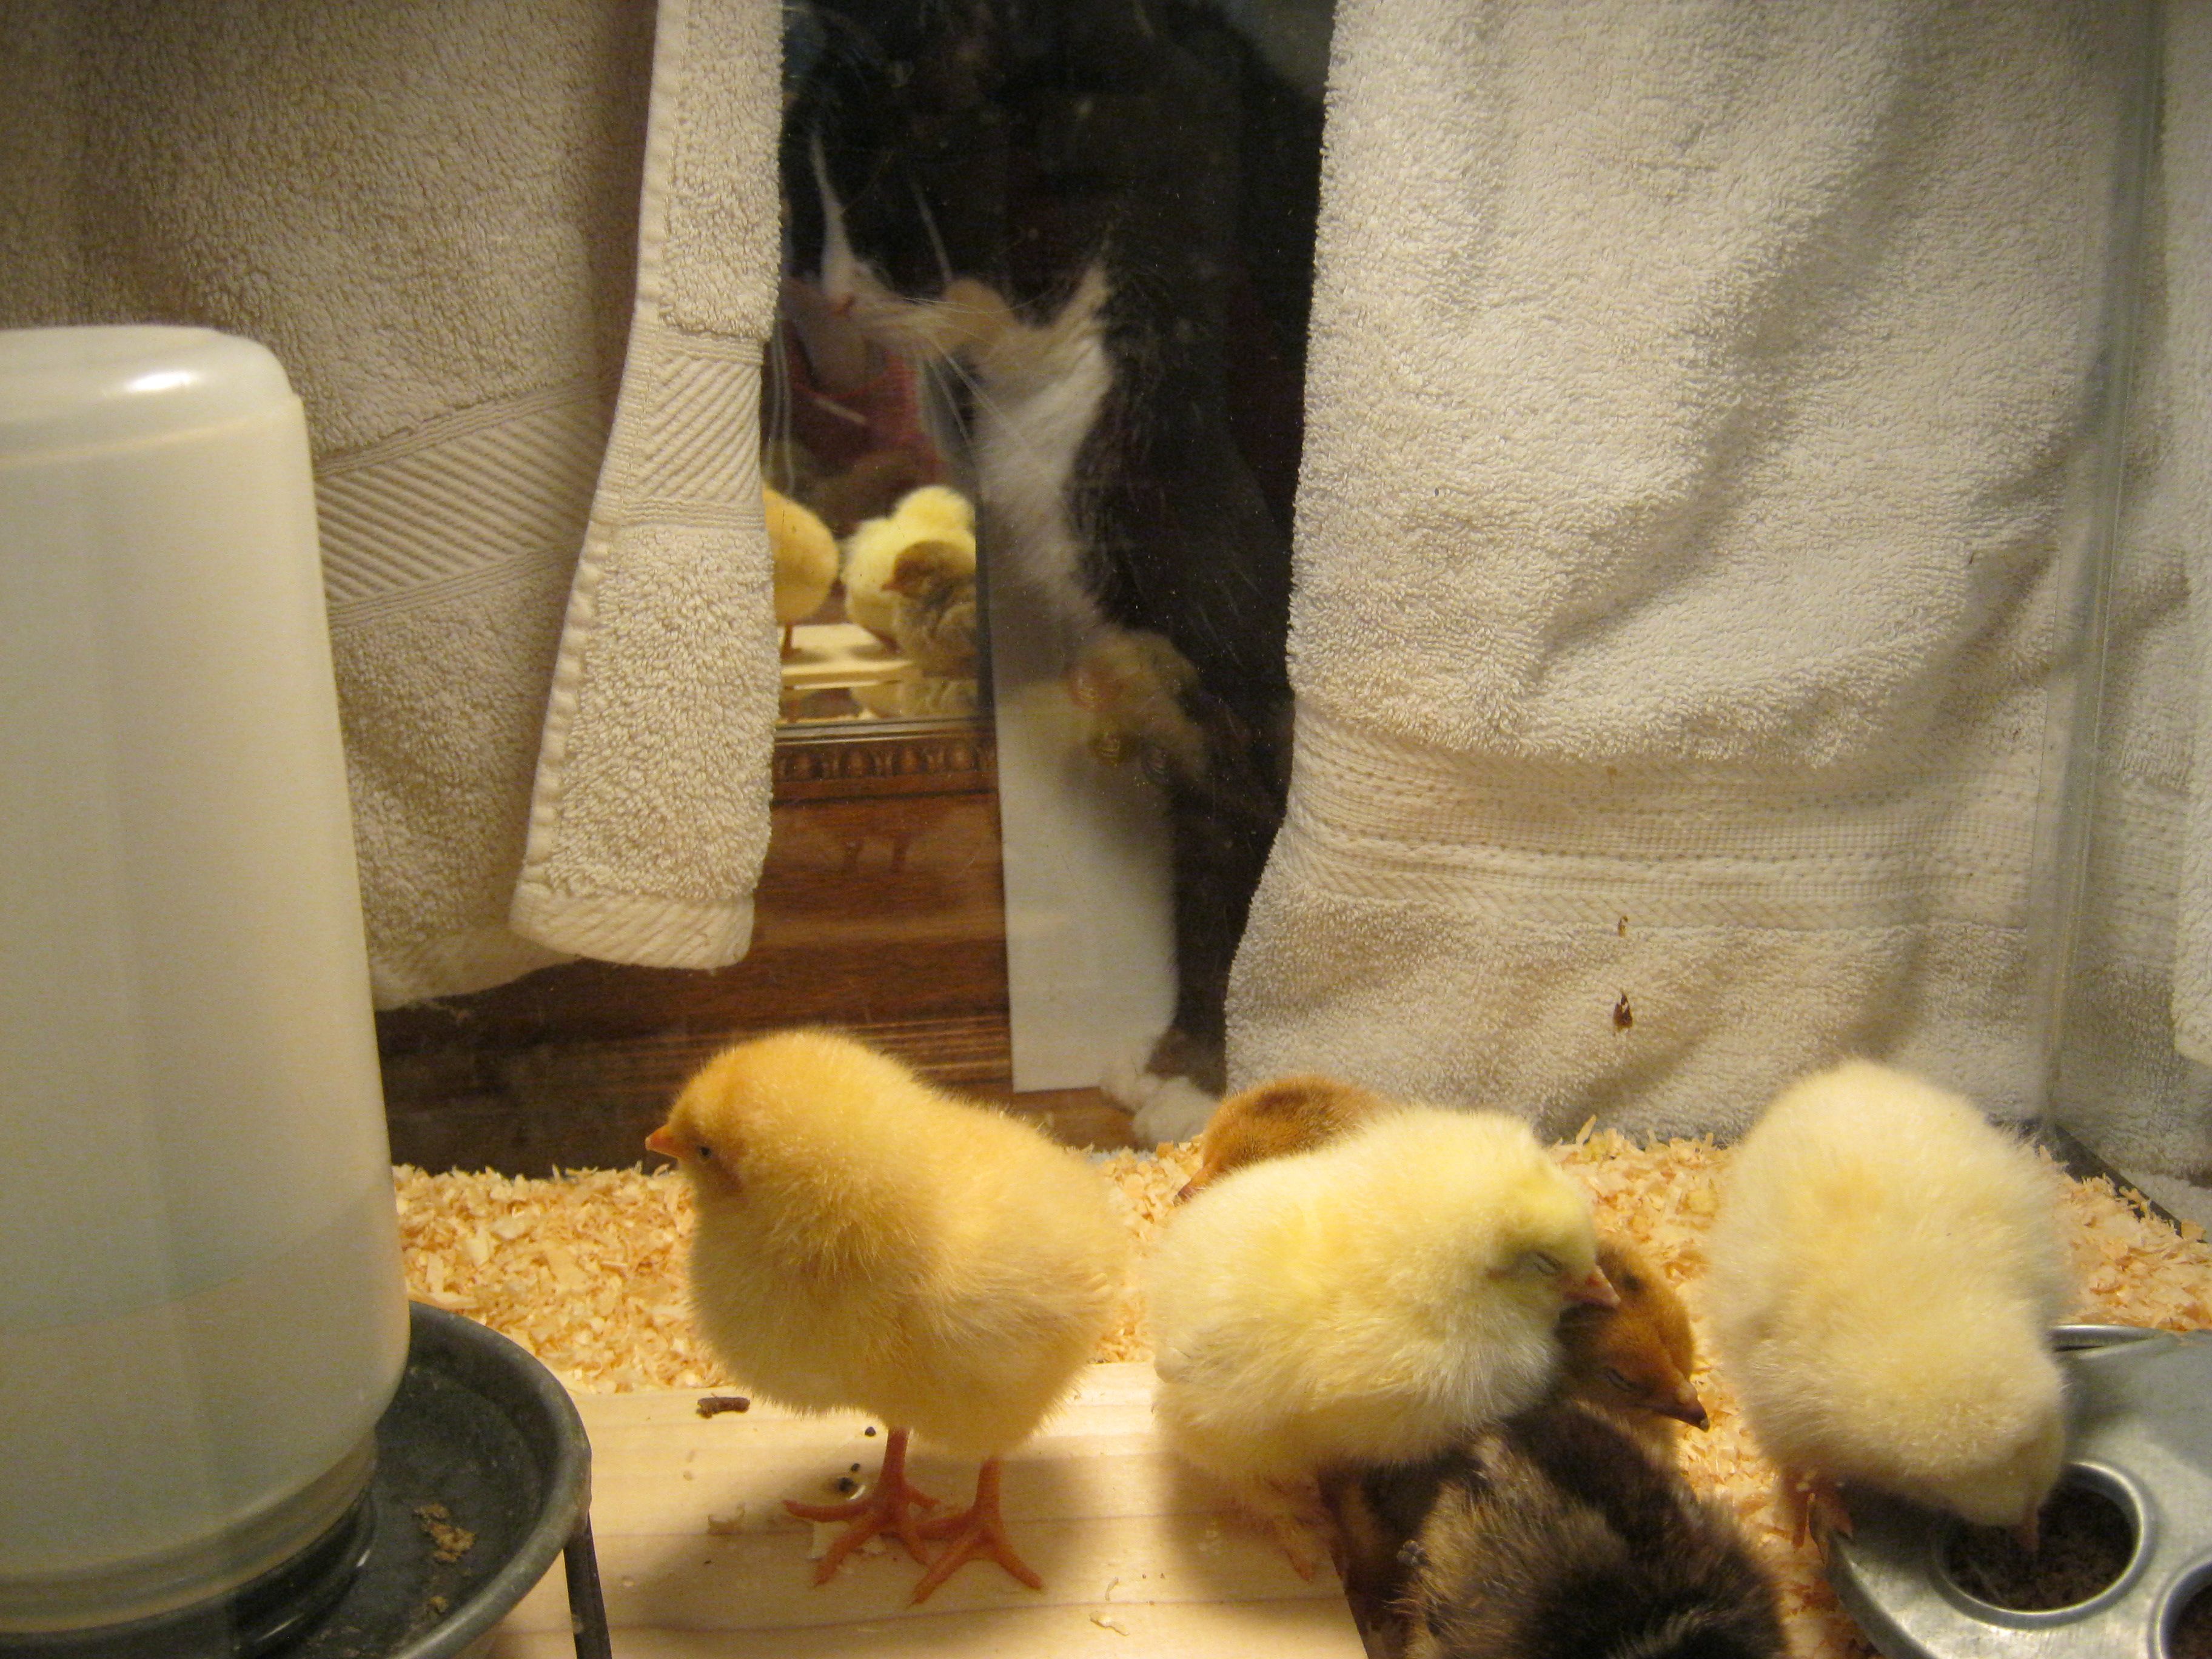
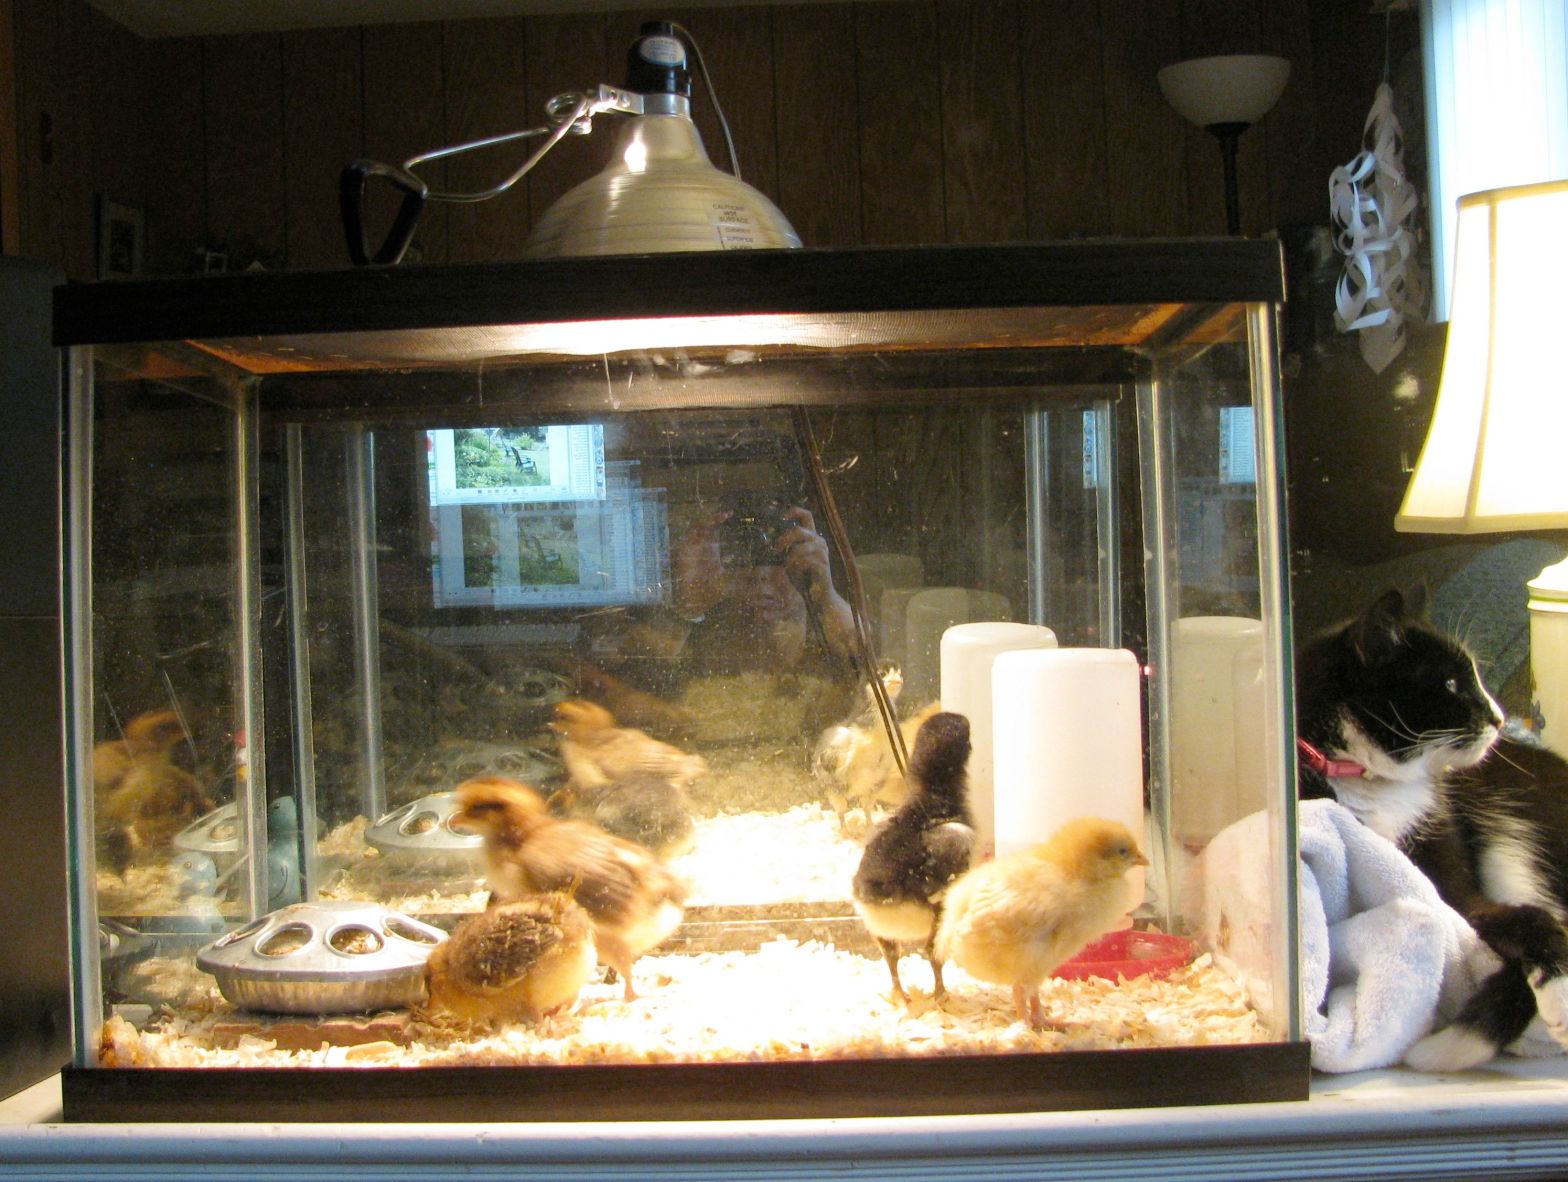
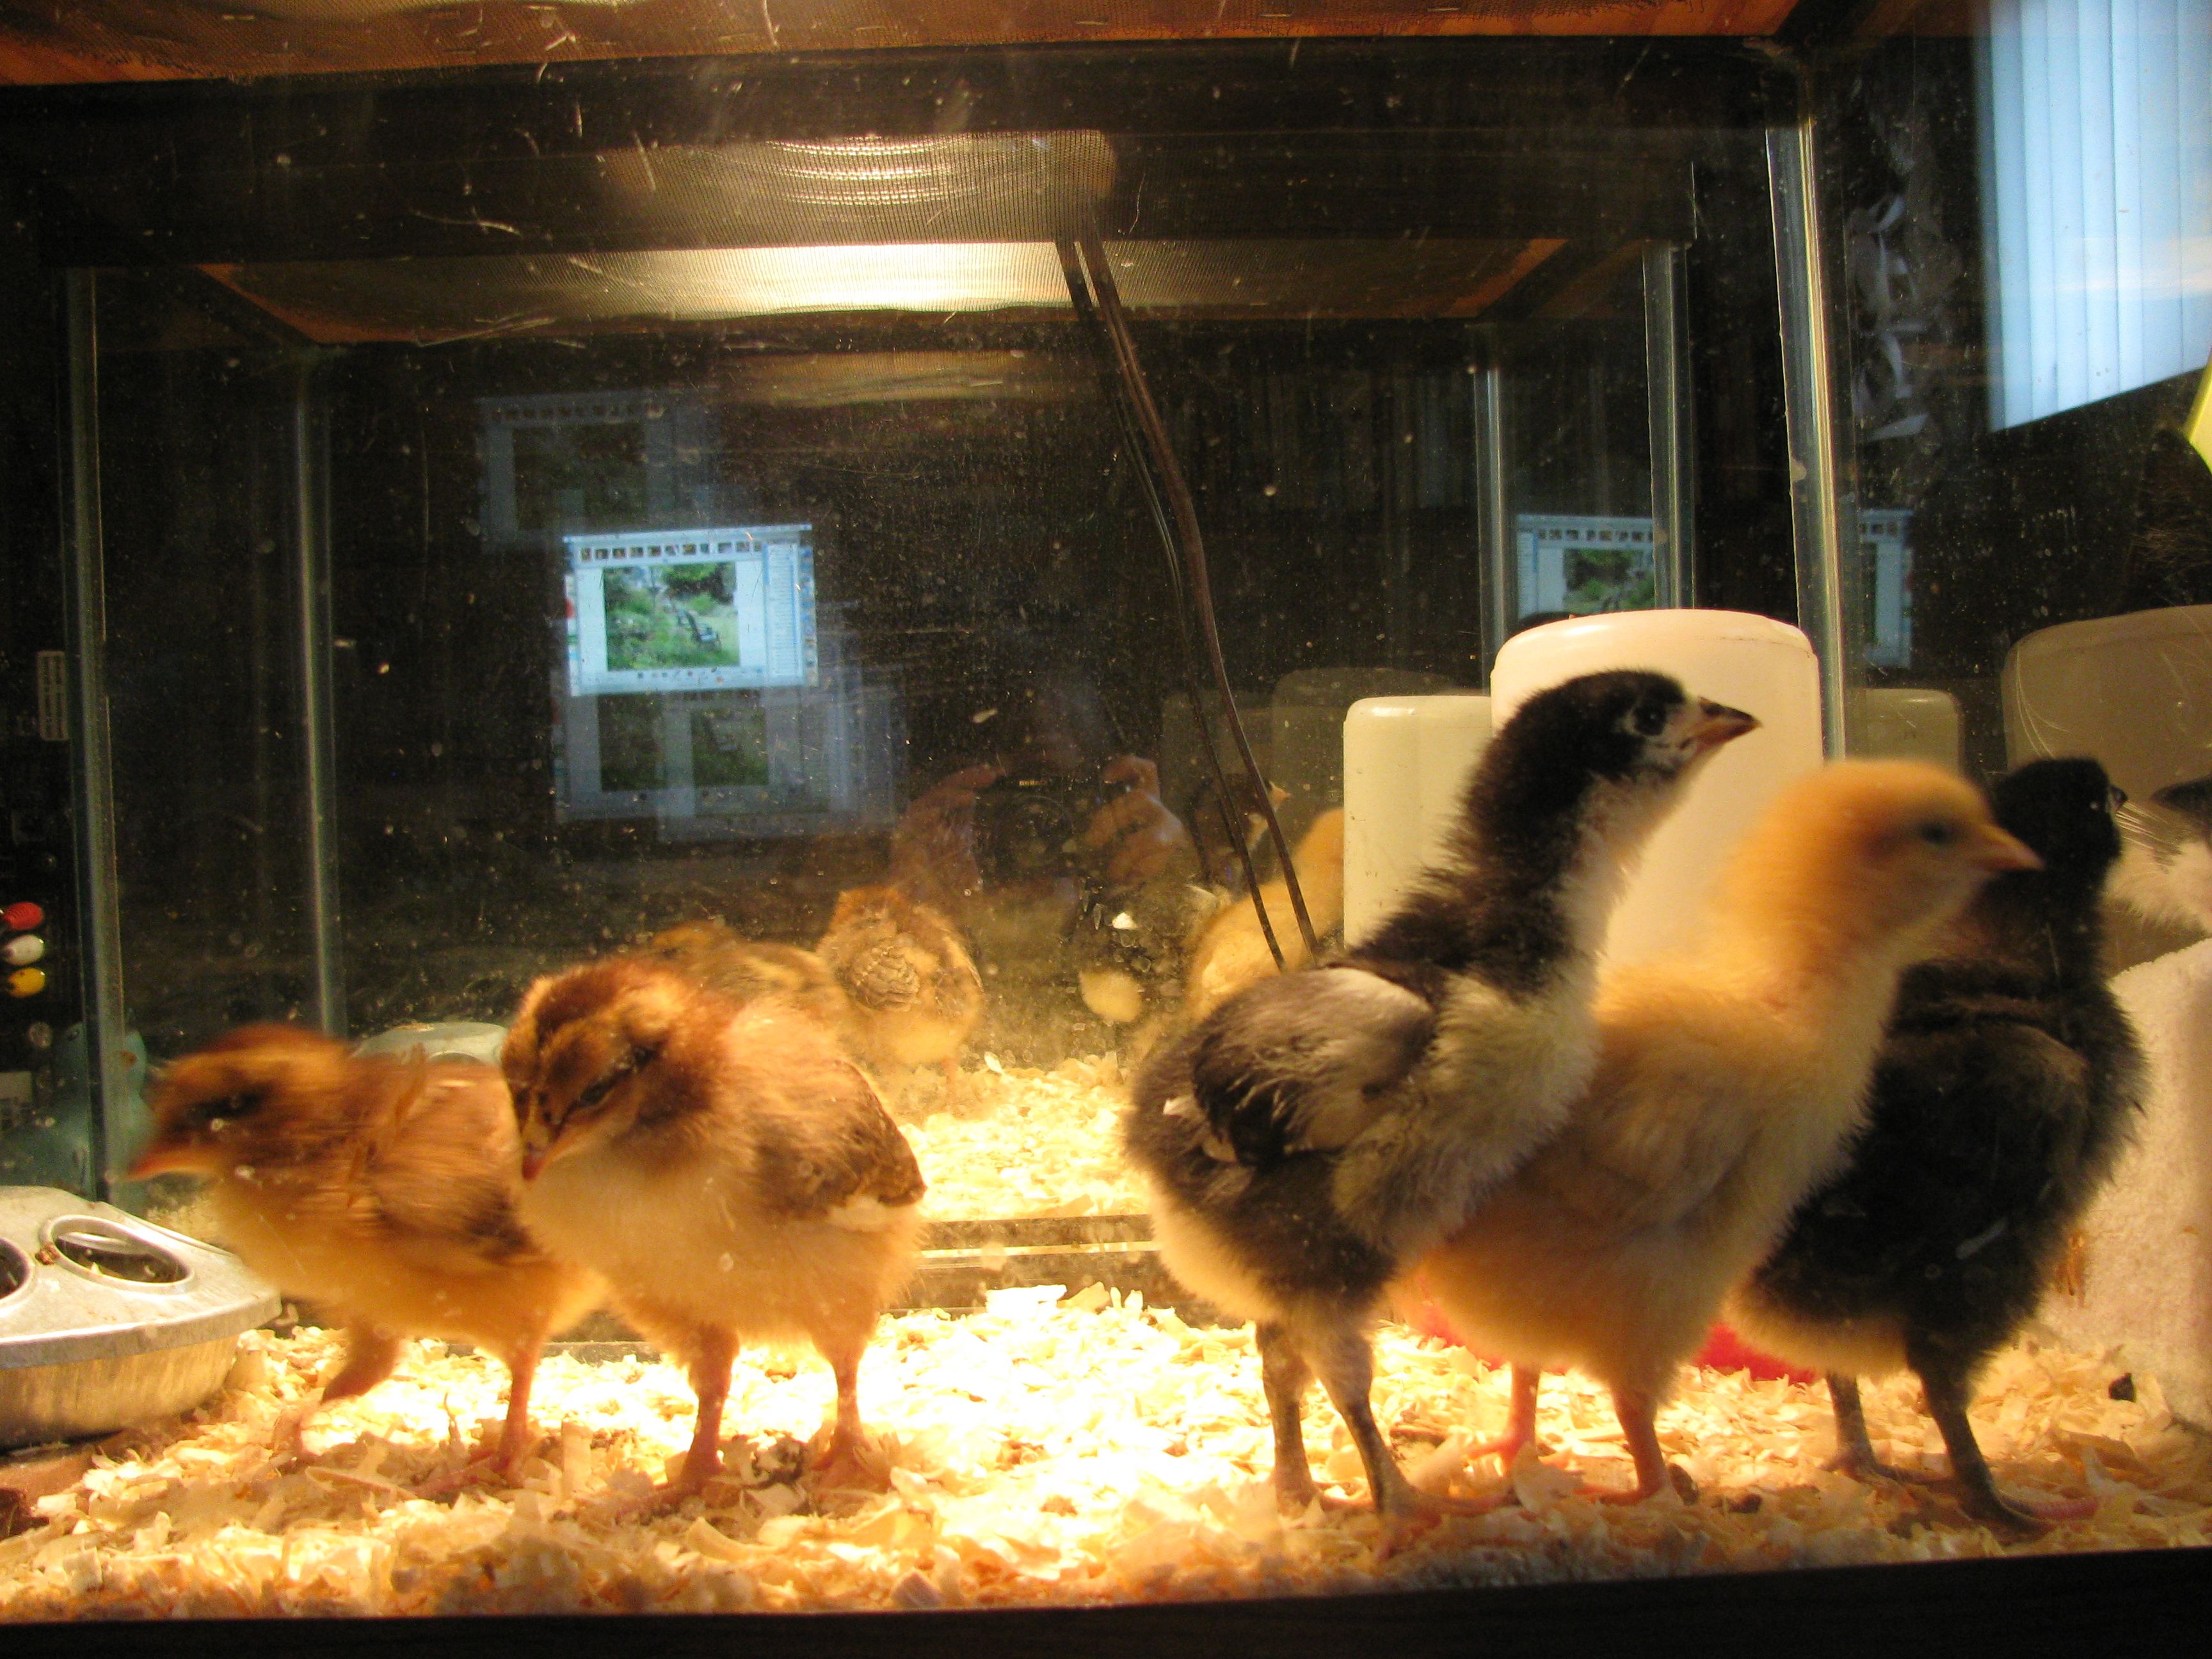
We didn’t exactly plan the coop before our first batch of chicks arrived in 2007 so our pullets (young chickens) lived in our basement for several months during construction. I don’t recommend that at all. You will save yourself a huge amount of anxiety by building or buying a coop before your chicks arrive. We kind of go with the flow around here but those few months were quite difficult. Fortunately we were totally in love with our brand new chickens so we all got through it together.

Okay, here goes:
IMG_0440
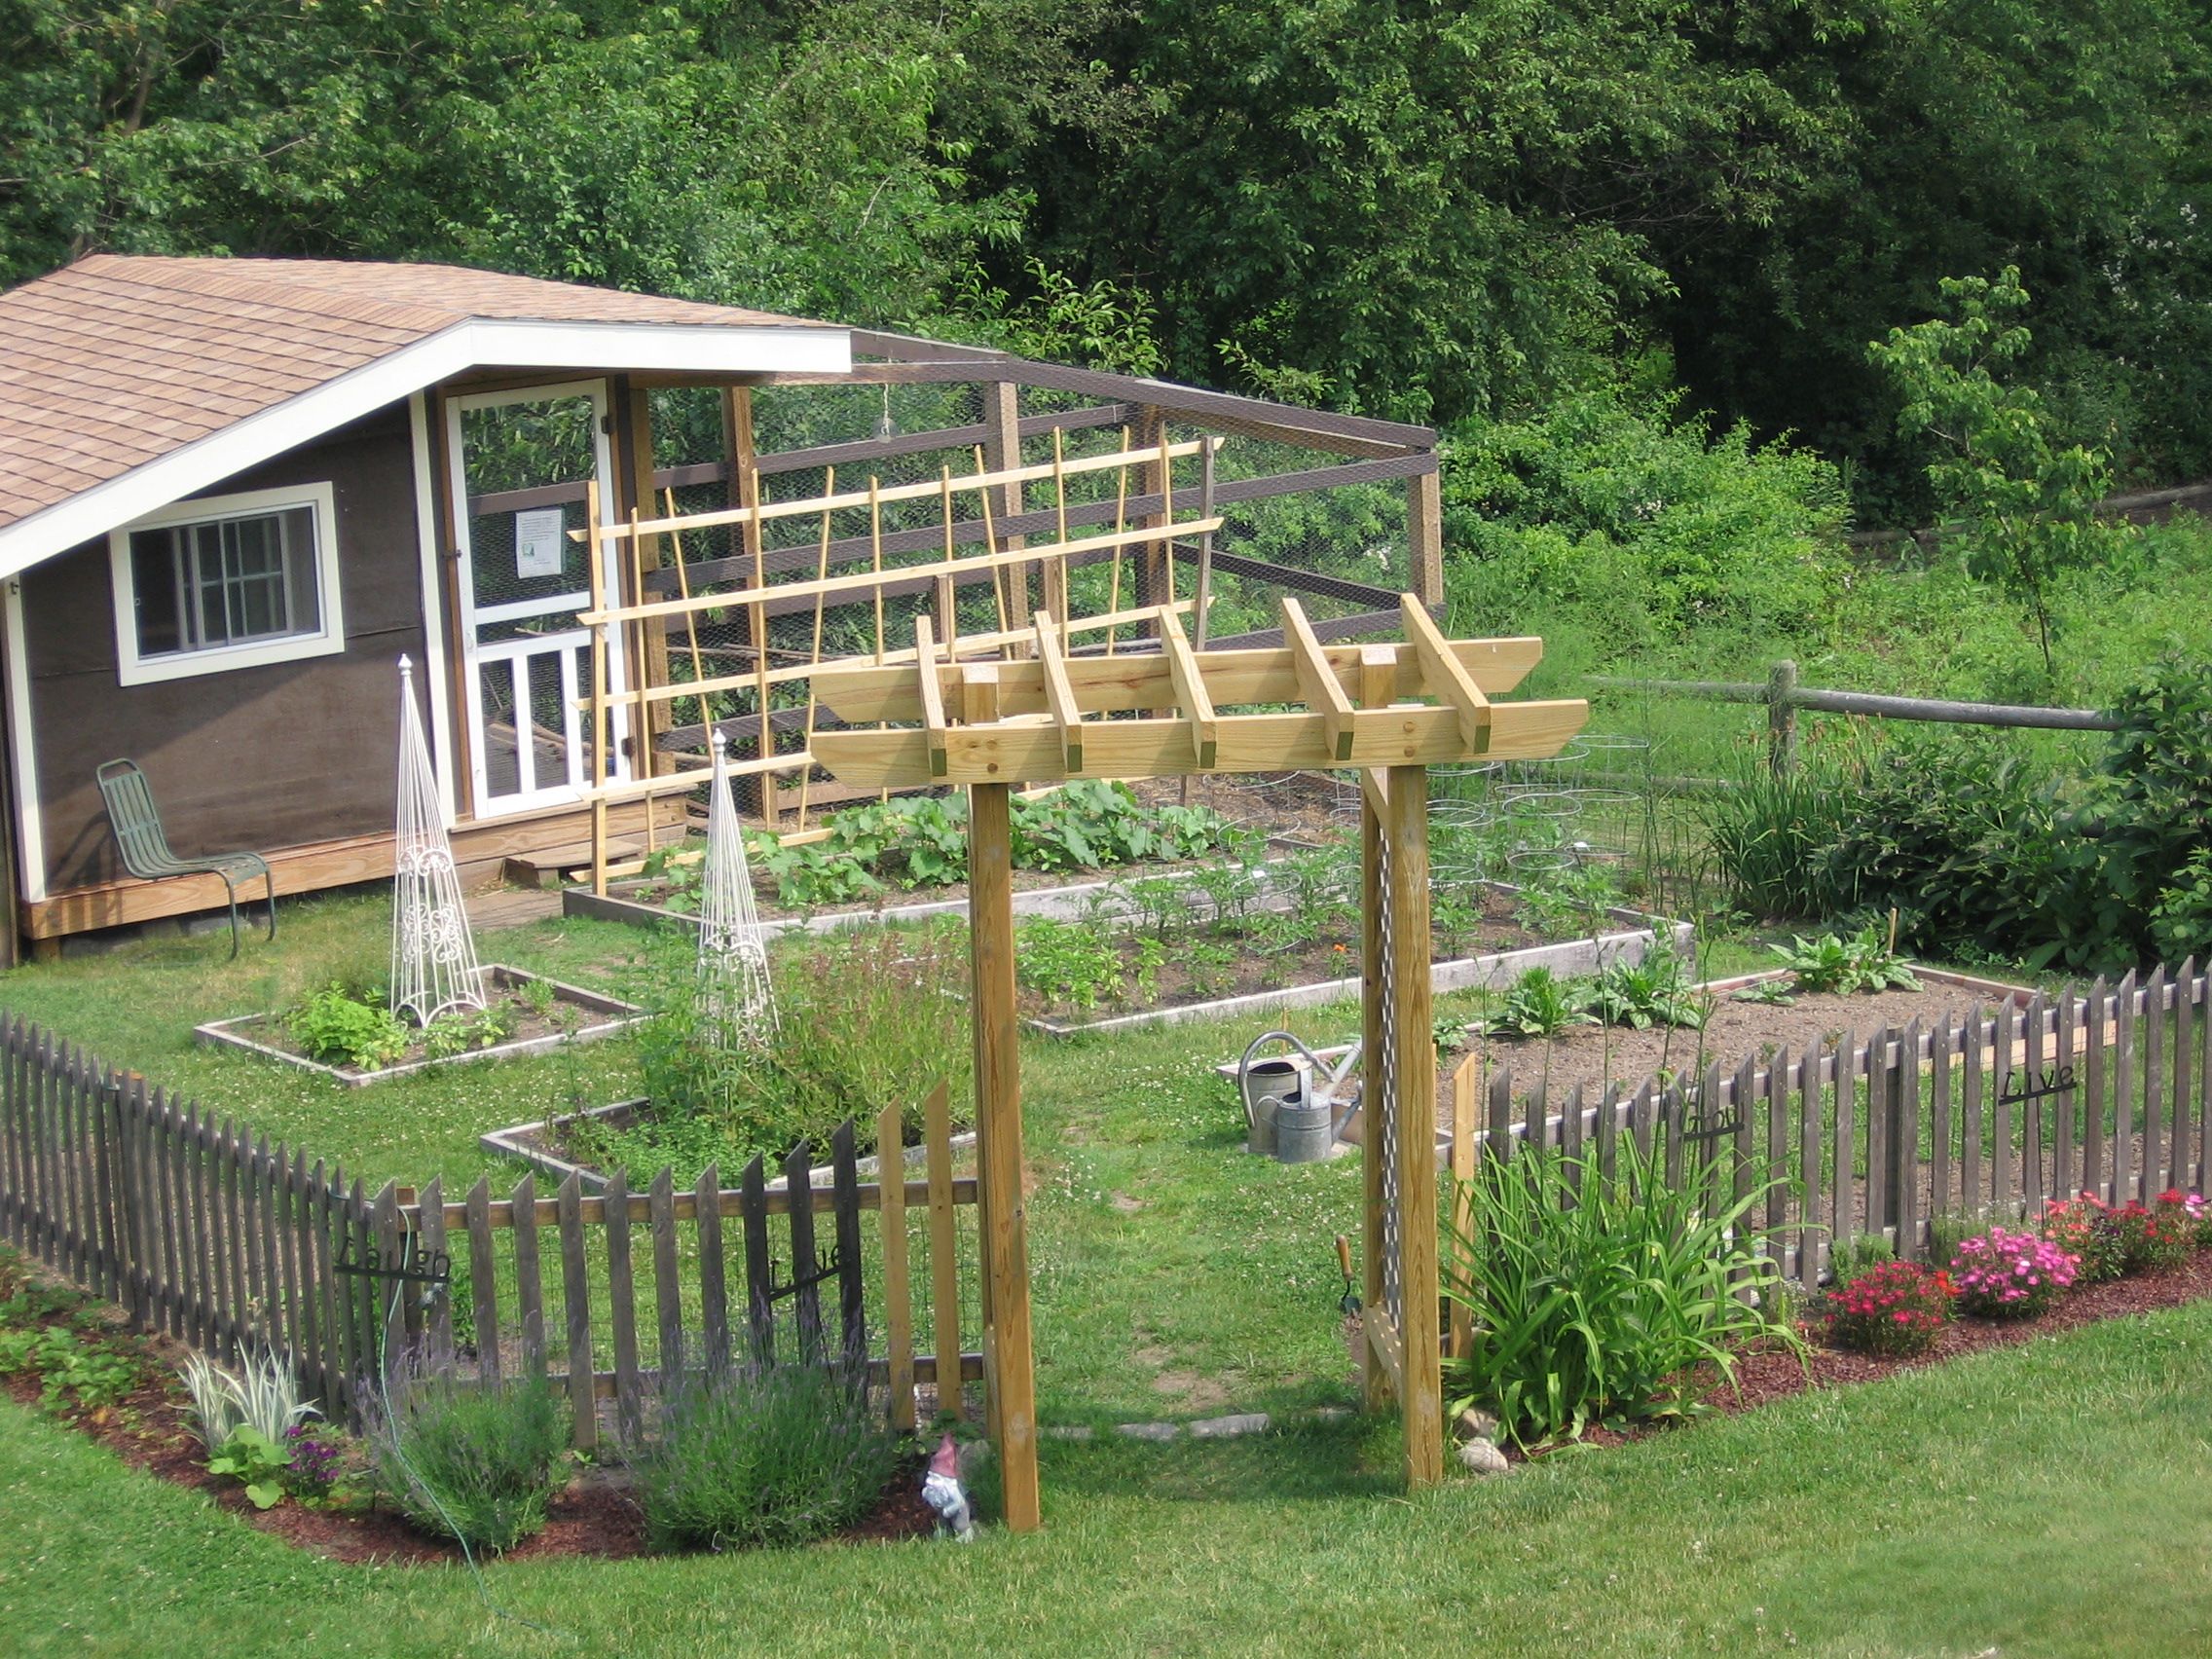
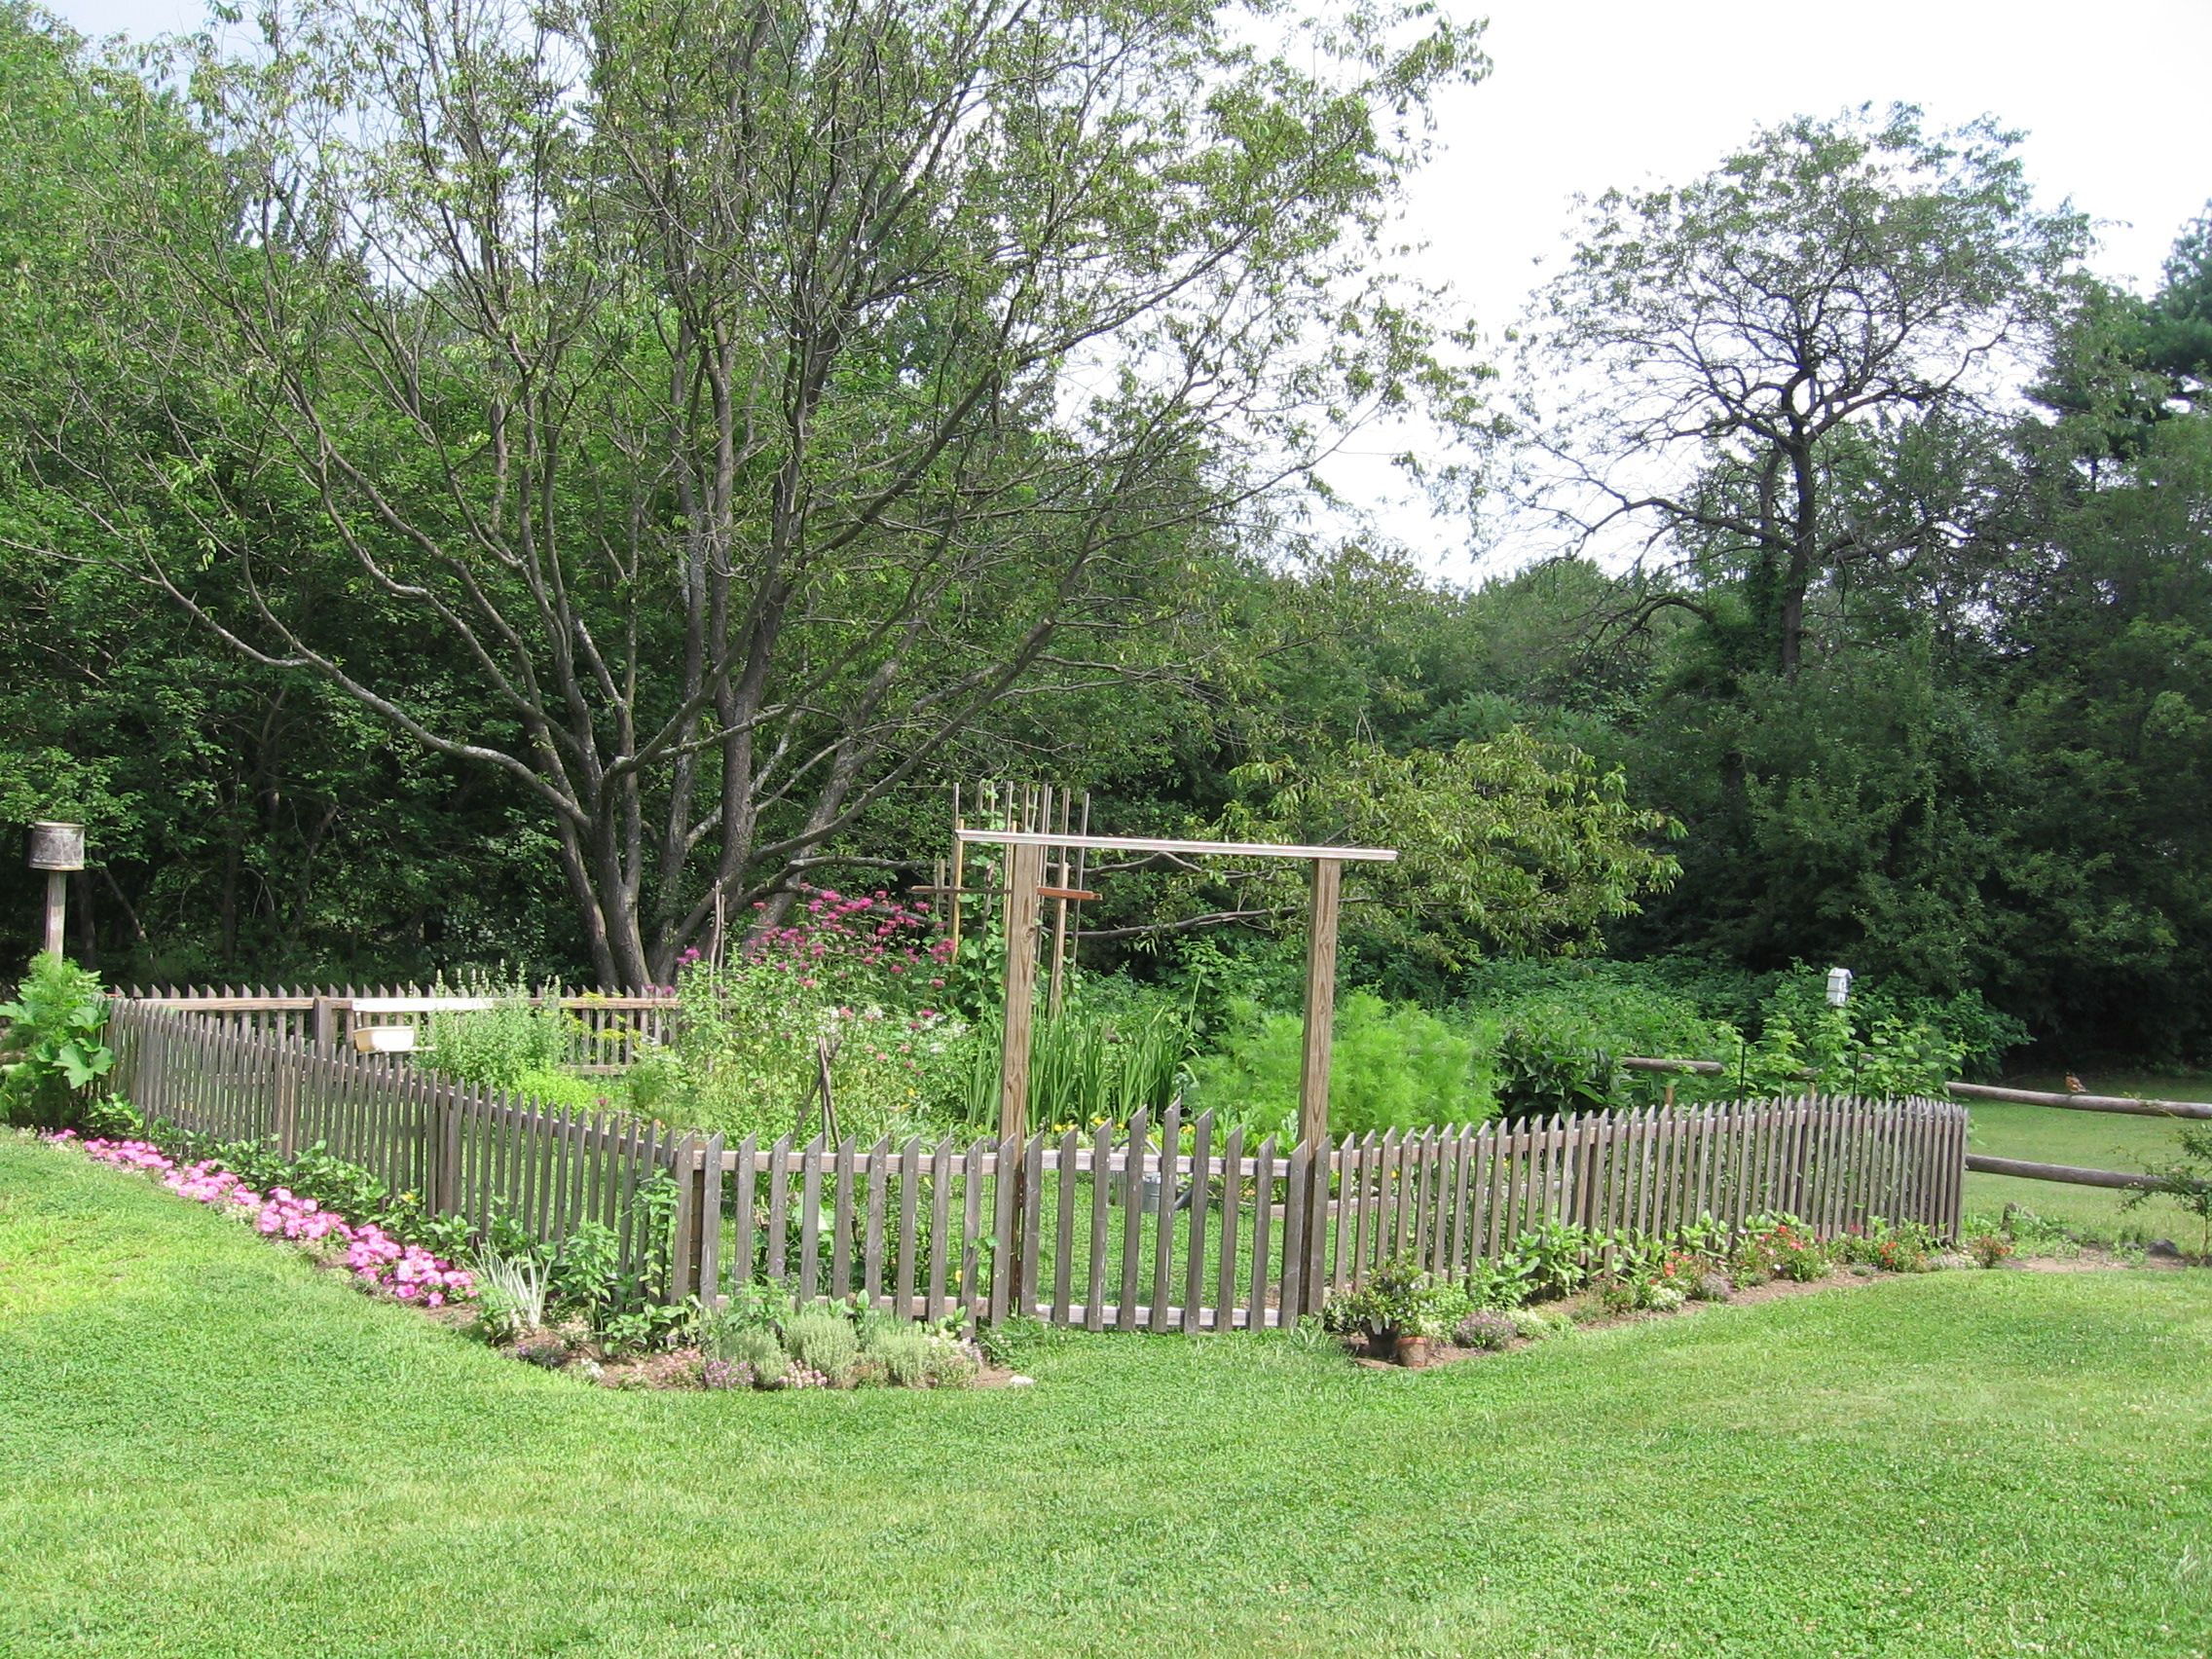
The garden, pre chicken, around 2006.

IMG_1507

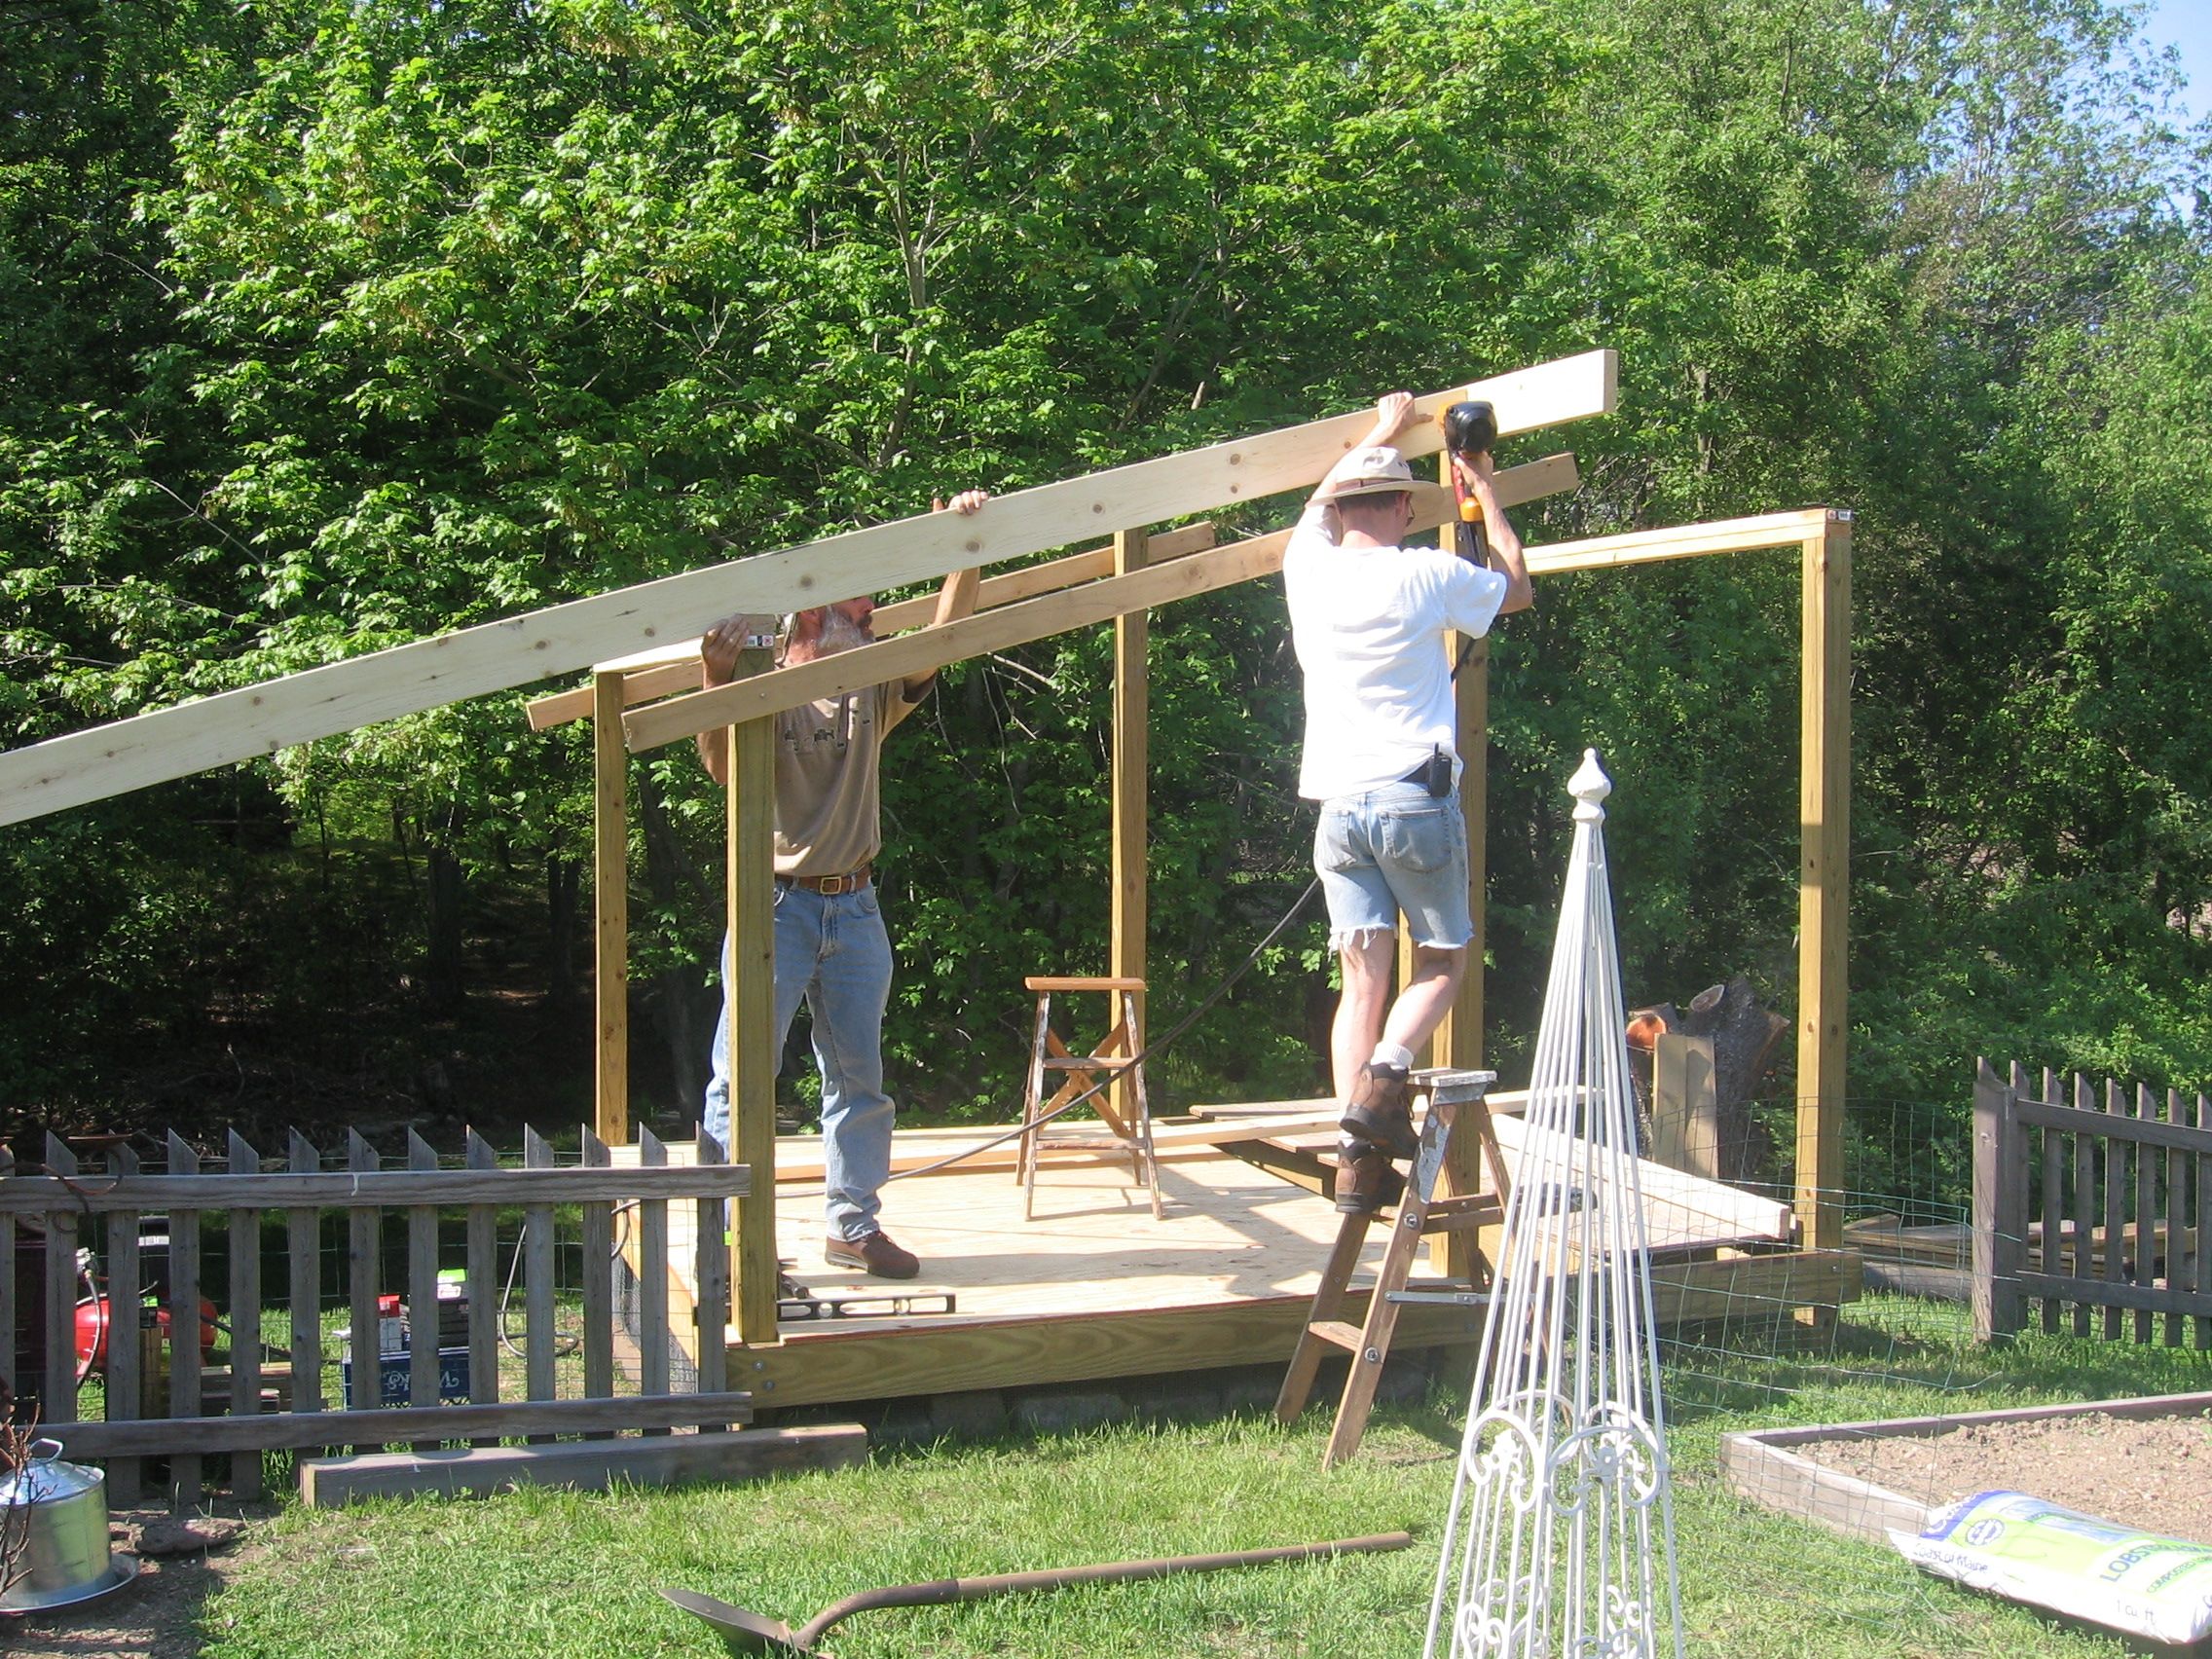
The very beginning… The corner posts were placed into holes dug approximately two feet into the ground. Michael hit a lot of rock but says he put them in as far down as he could go. The floor is plywood, the main posts are 4×4, the floor and ceiling were constructed with 2×6 boards and the walls with 2x4s.
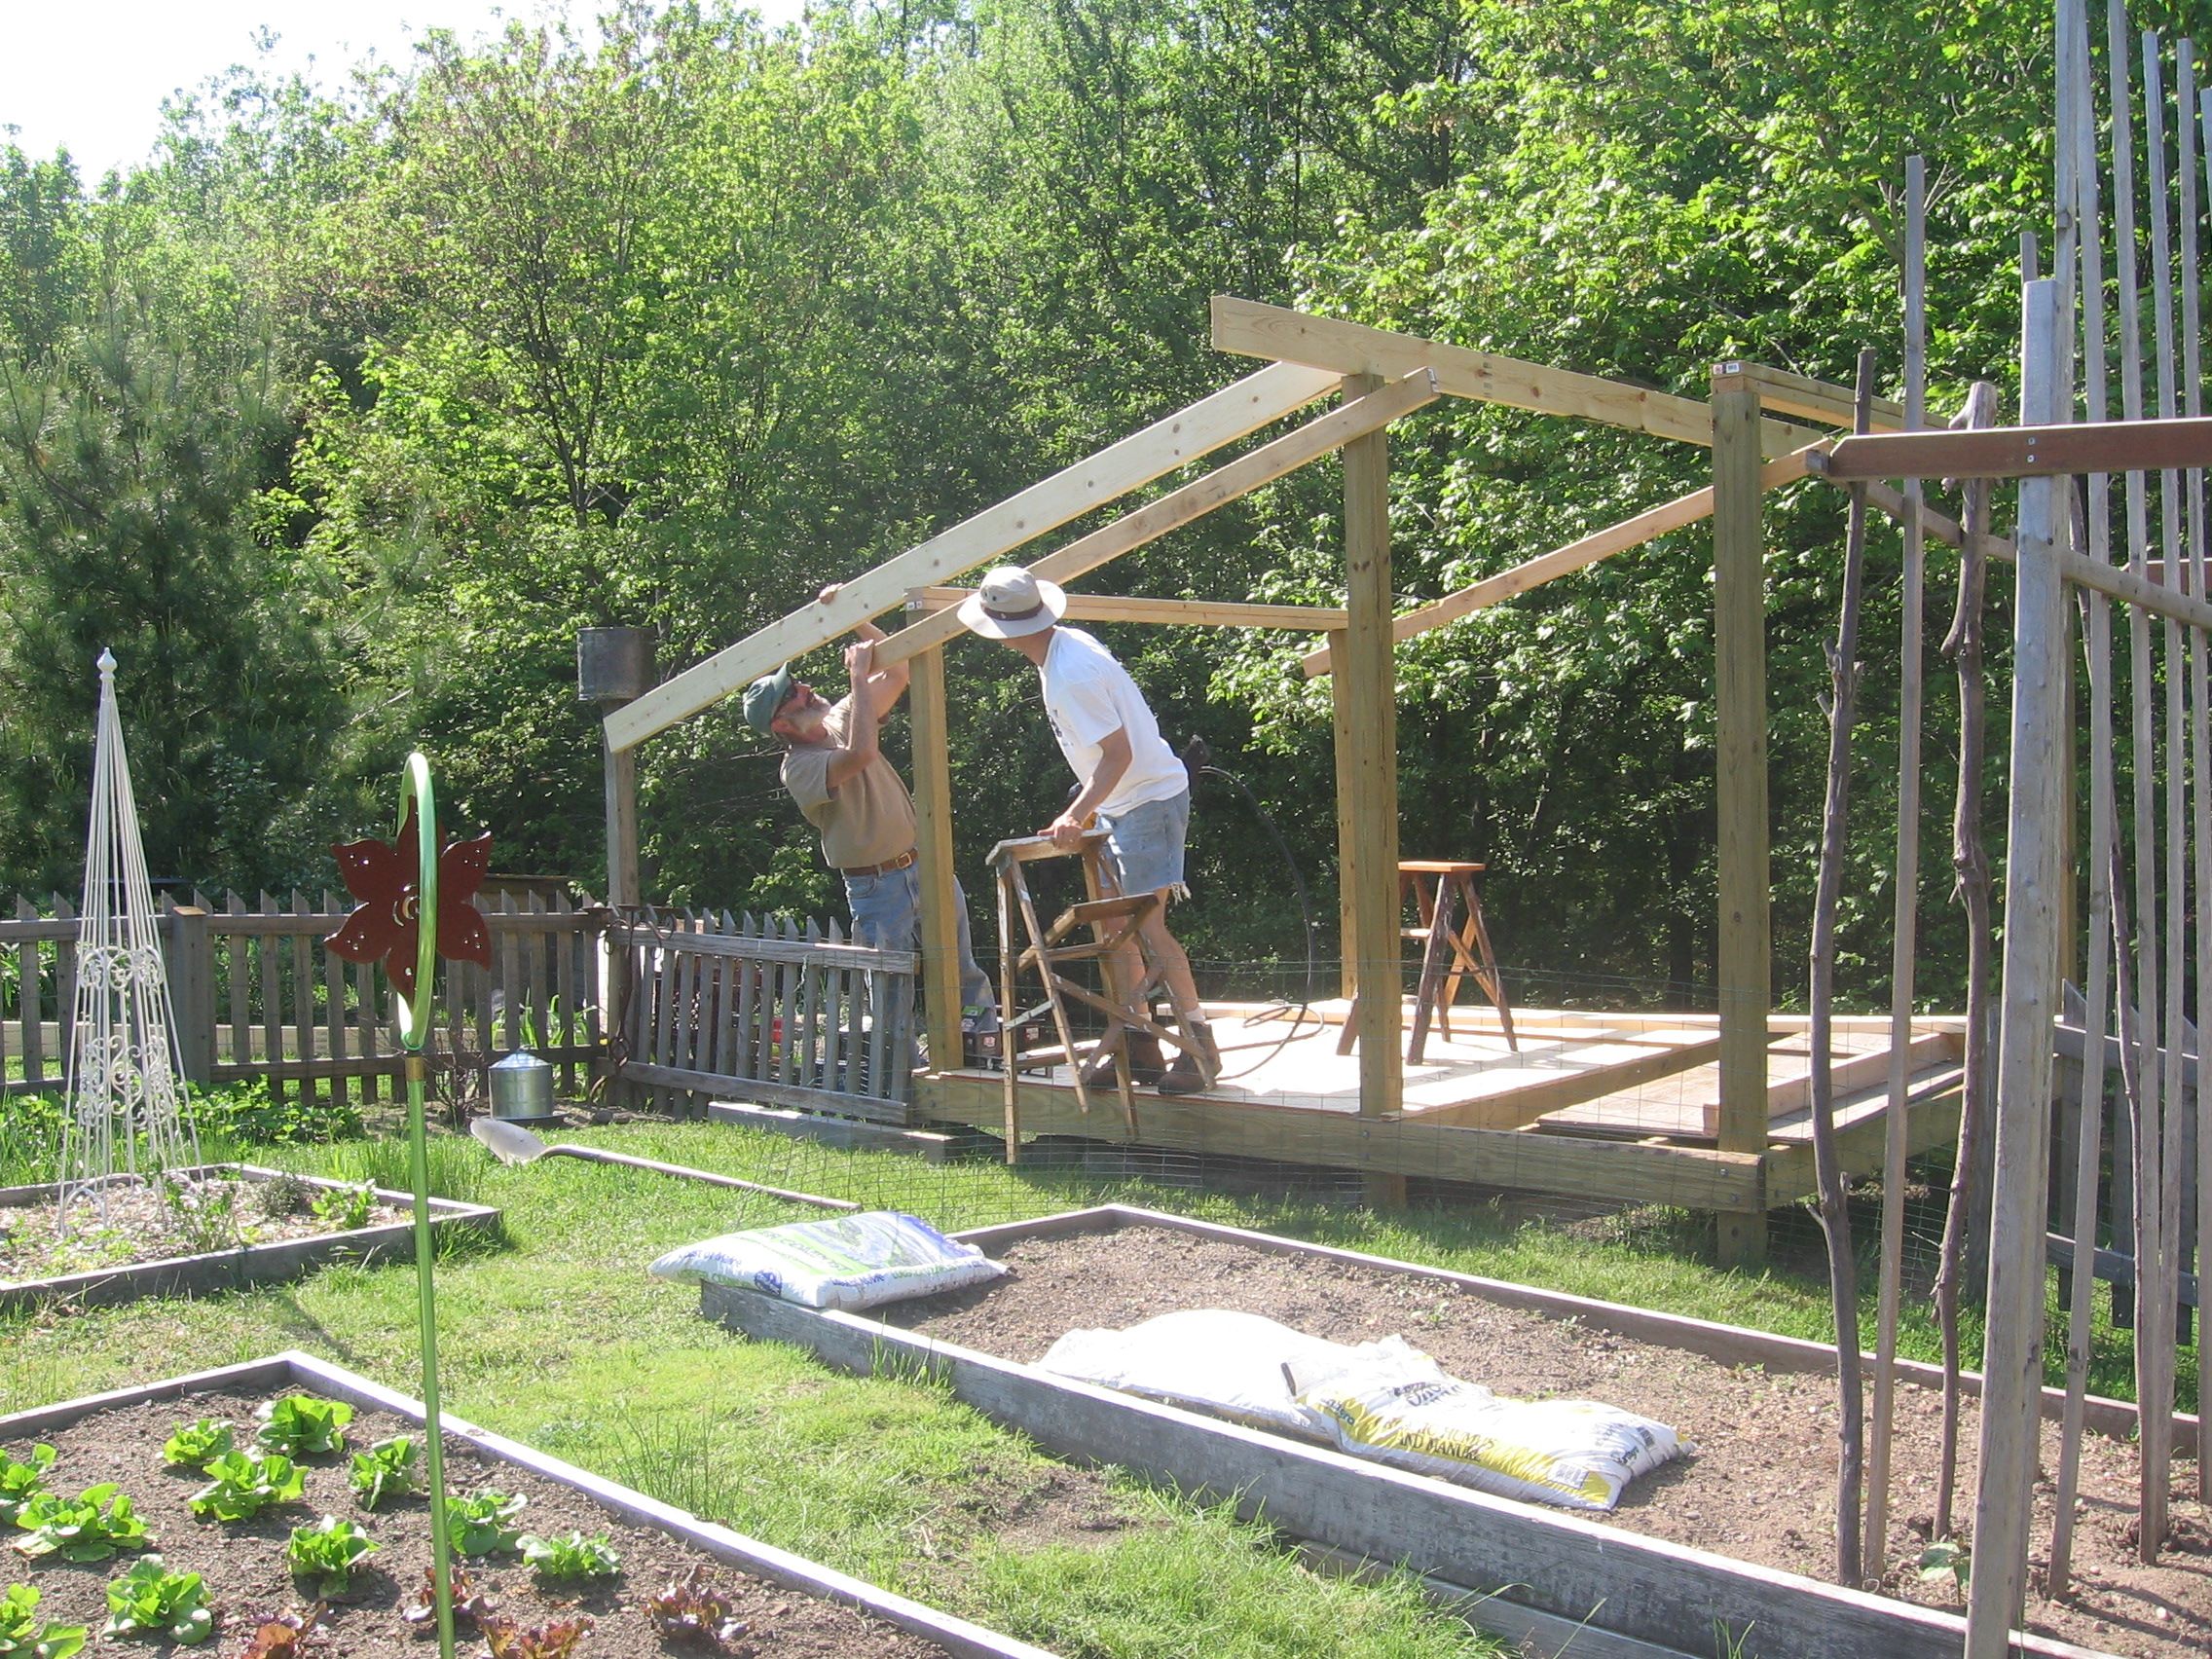
IMG_1510

The roof going on..IMG_1511

IMG_1510

The roof pitch echoes our house’s roofline. It doesn’t match but it coordinates nicely.

IMG_1616

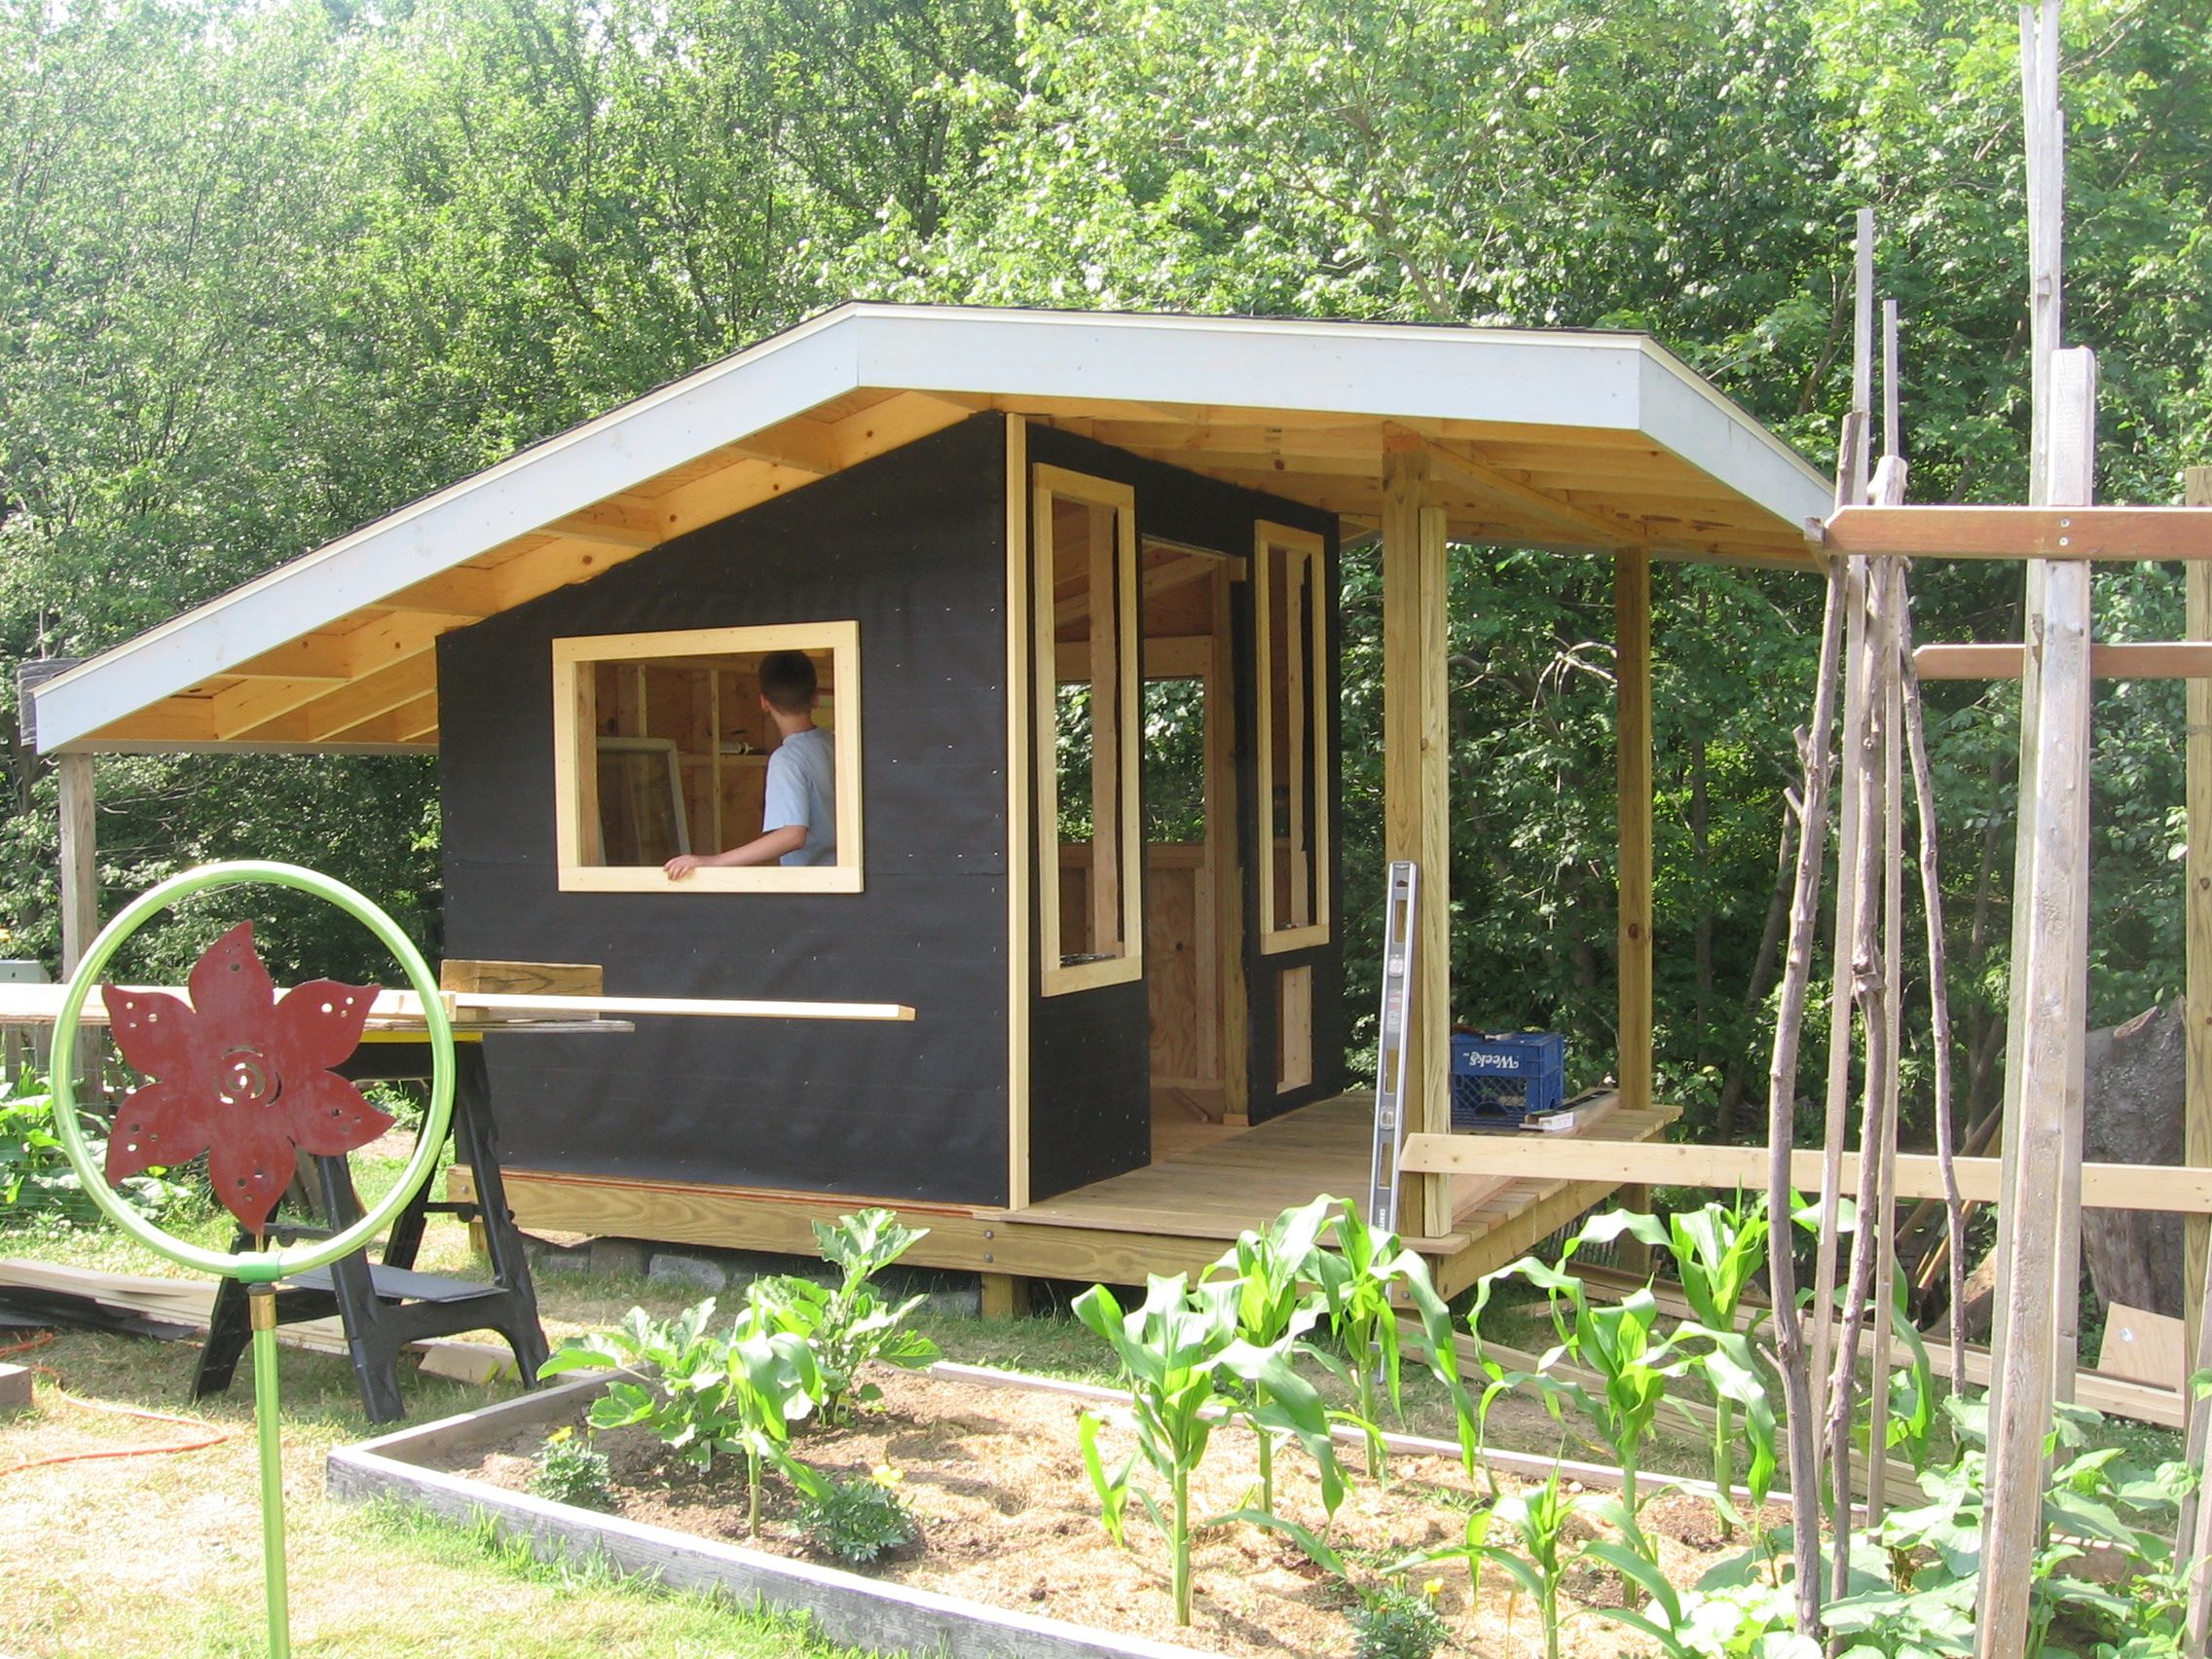
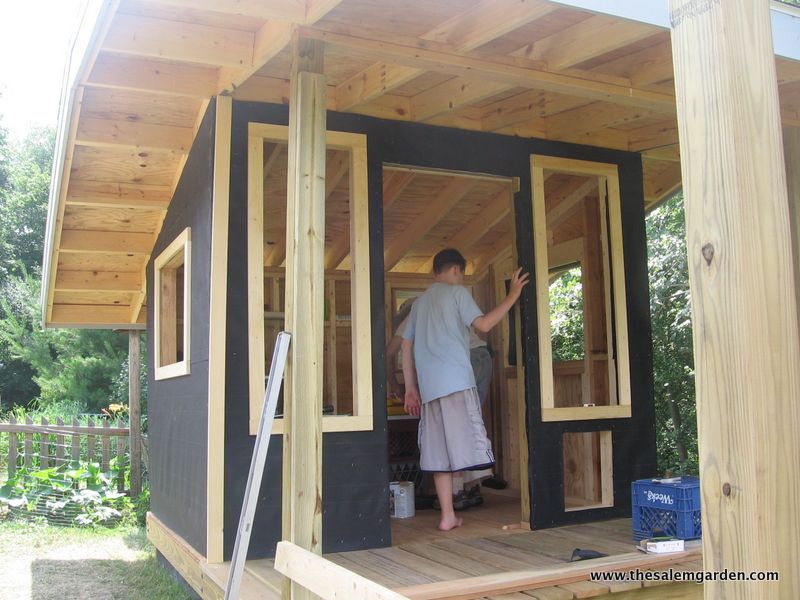
The walls are plywood attached to the frame with roofing paper applied over it to seal. The windows were mostly salvaged with the exception of the front window that my son is standing in. I think that one came from a building supply warehouse nearby (on the clearance rack I’m sure).

IMG_1618

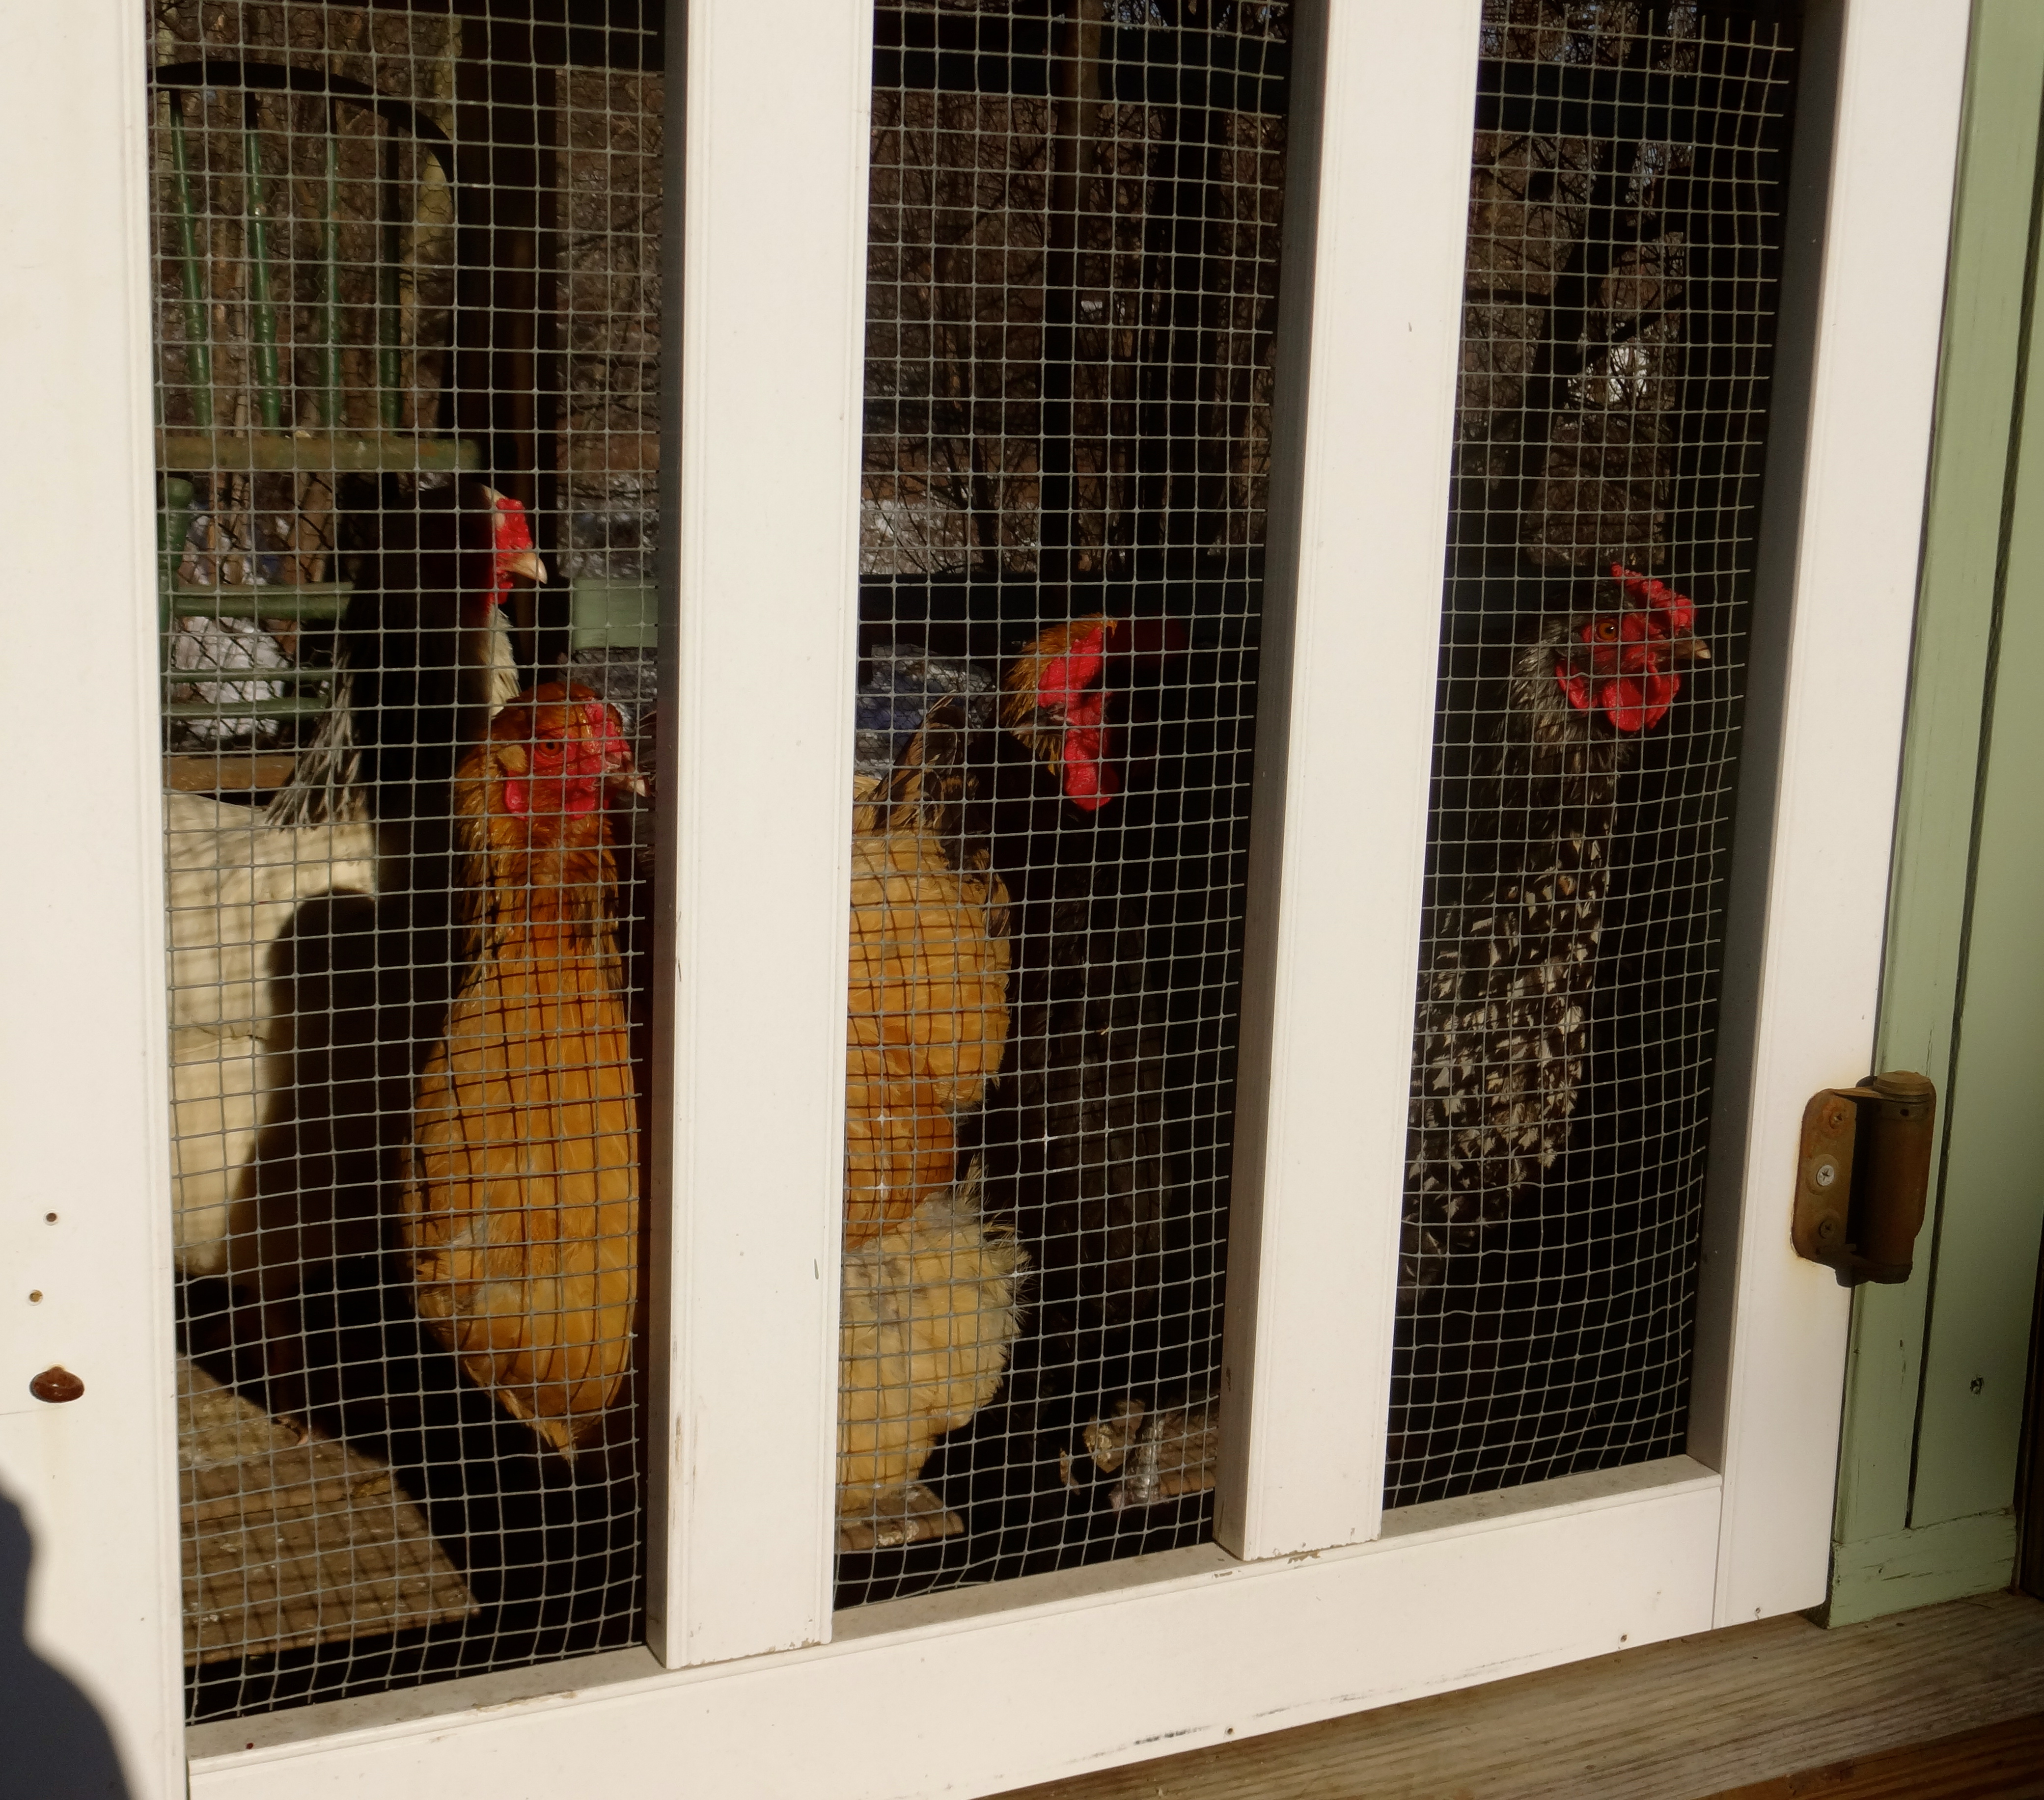
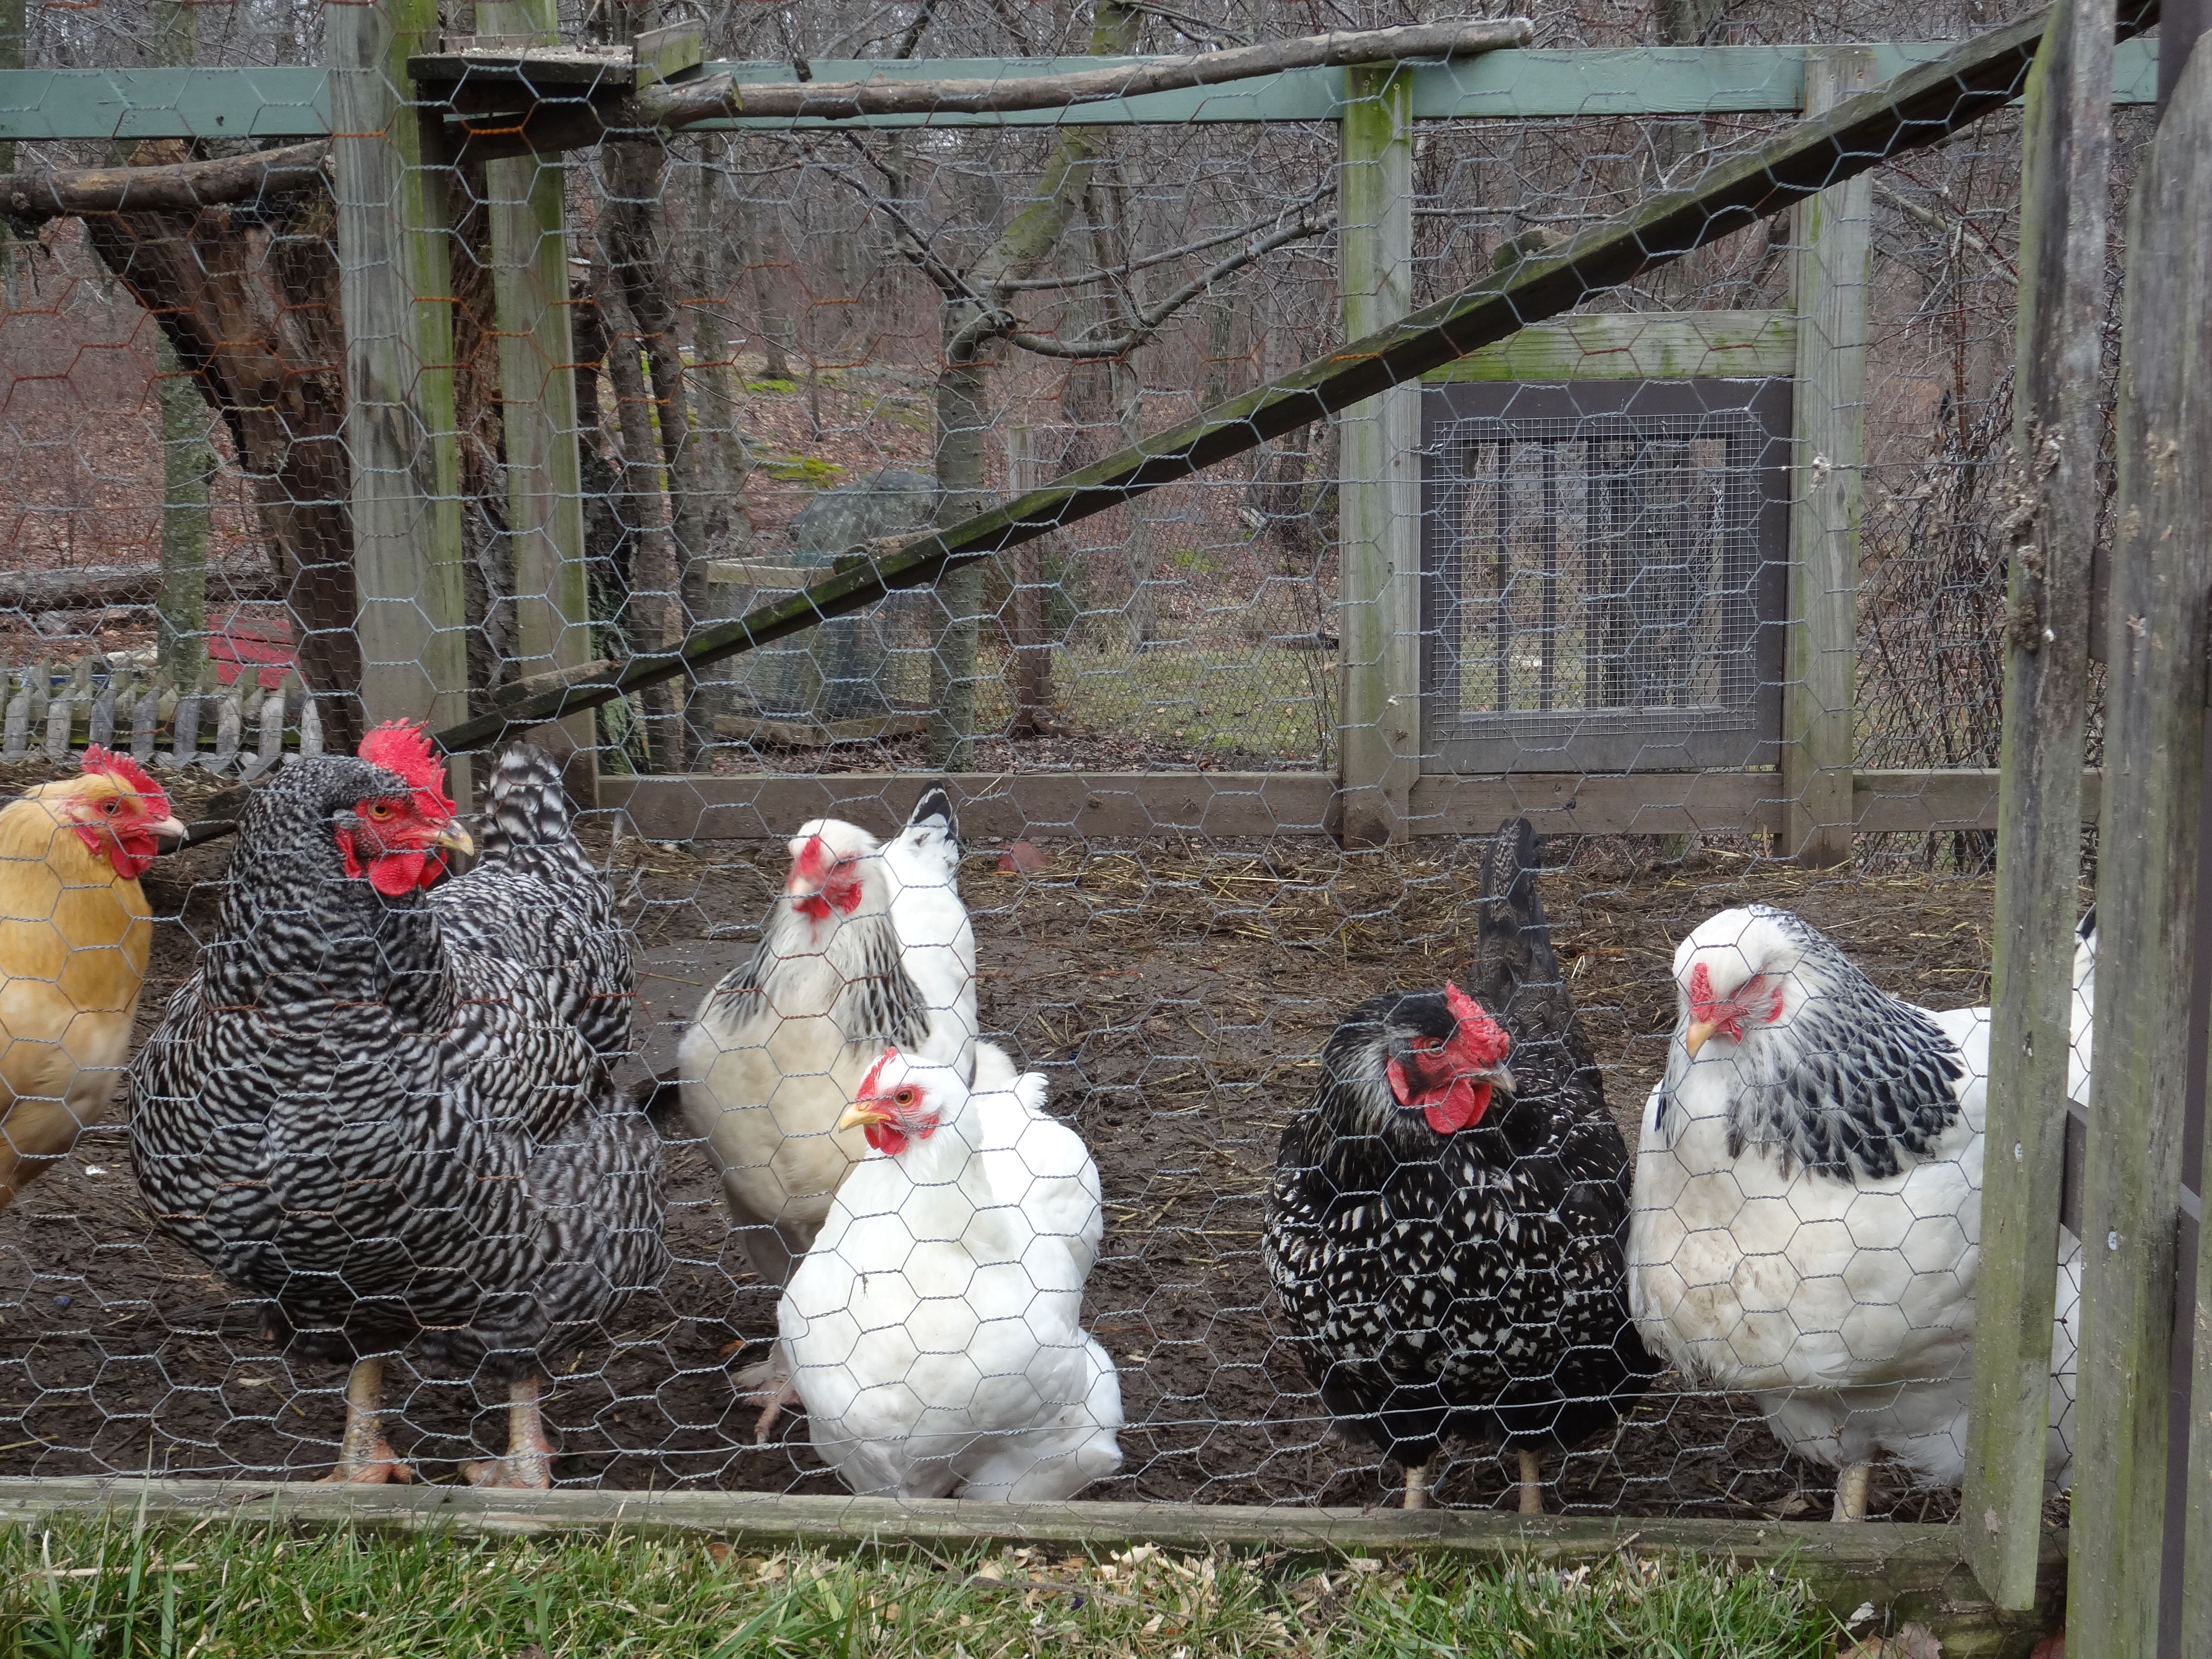
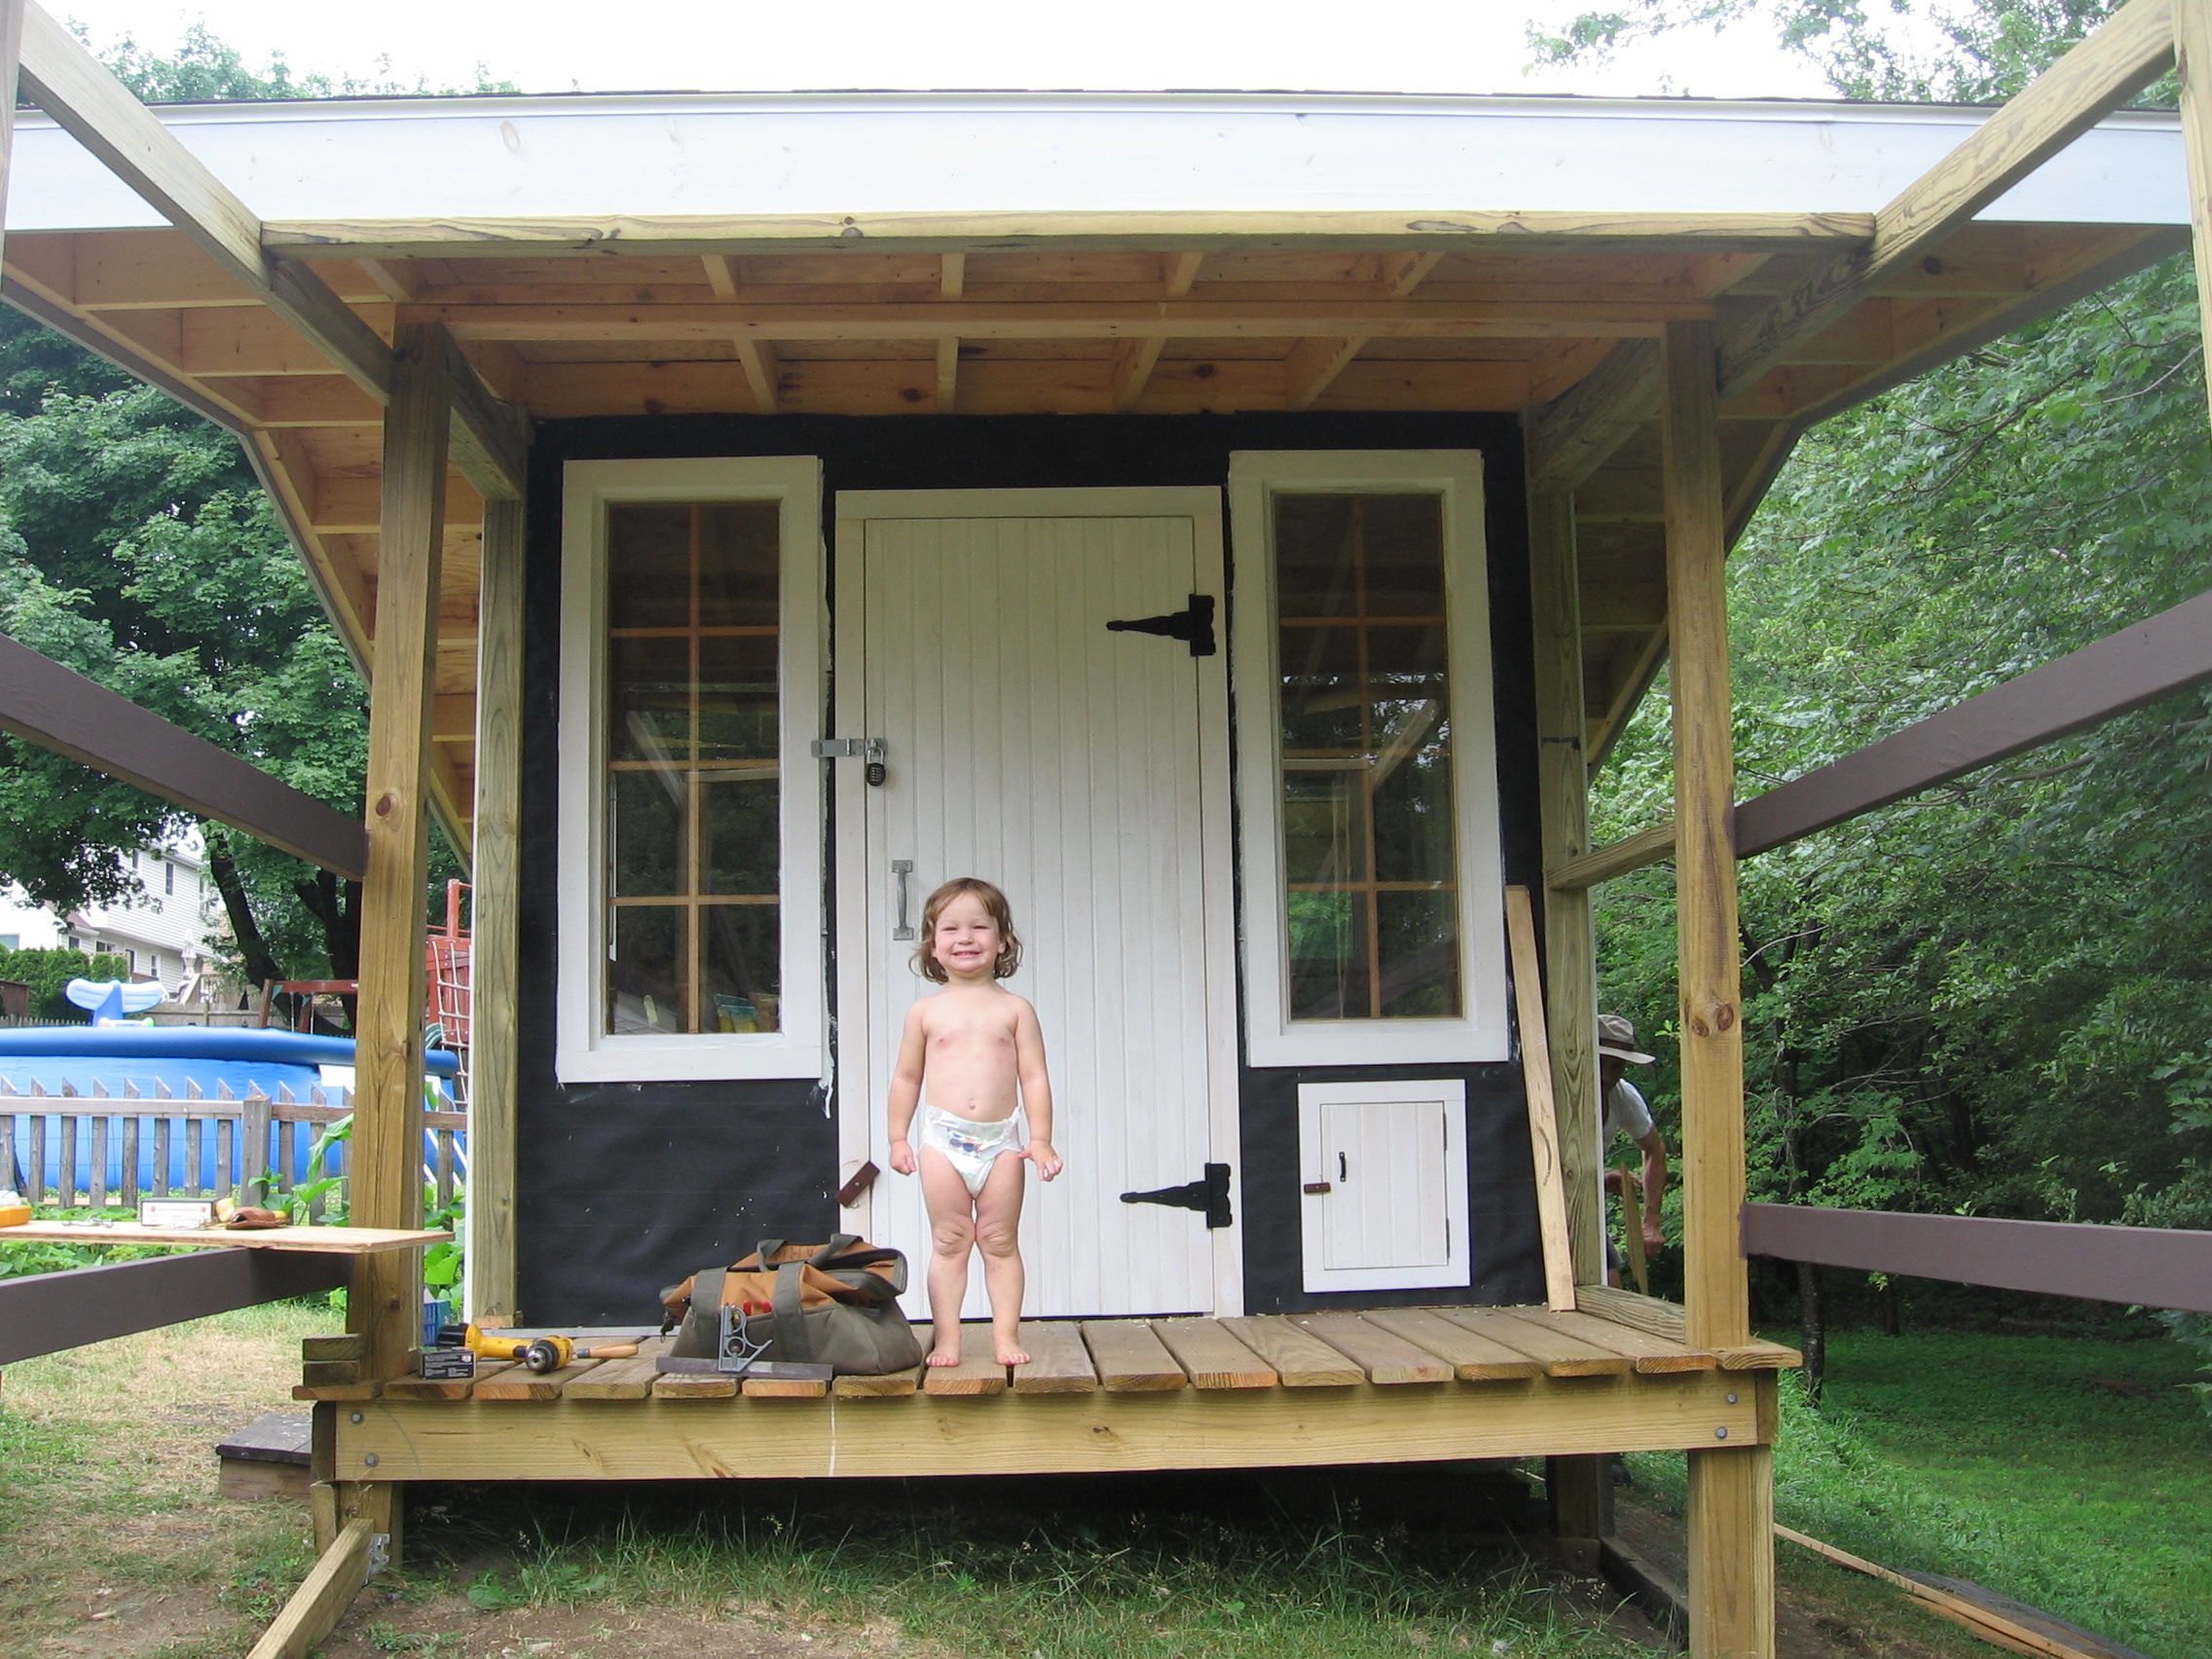
Looking at the front; long windows for lots of light, a nice wide front door for easy access and the little chicken door on the bottom right.

IMG_1619

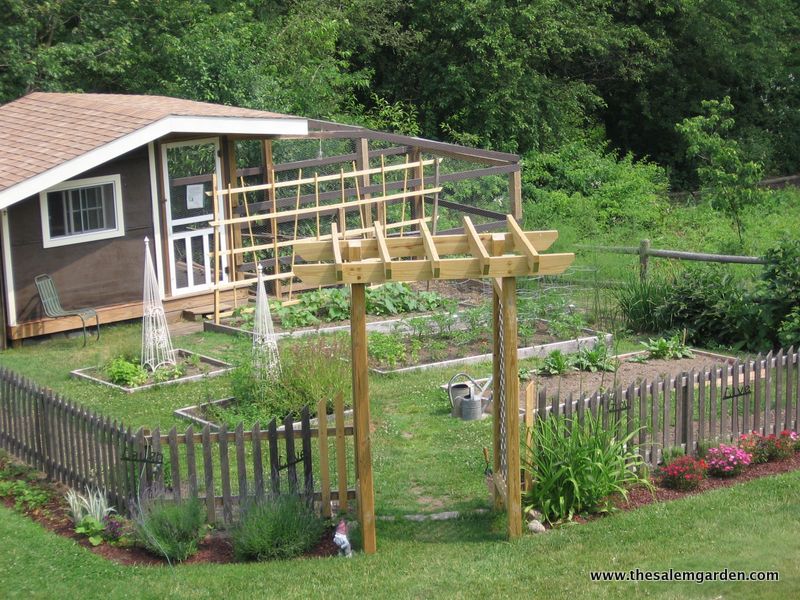
Here’s the back side. That overhang provides handy shelter for things like garden tools and wheelbarrows.You just have to watch that you don’t hit your head on the corner.

IMG_1622My little girl (who turned nine last week!)… windows and doors in. No screening on the run yet but that was in process.

IMG_2537

Looking down at a habitable coop without siding. It took another year or two for siding to be added.

IMG_4828

But then it was, and primer was applied to preserve the clapboard.

IMG_0654

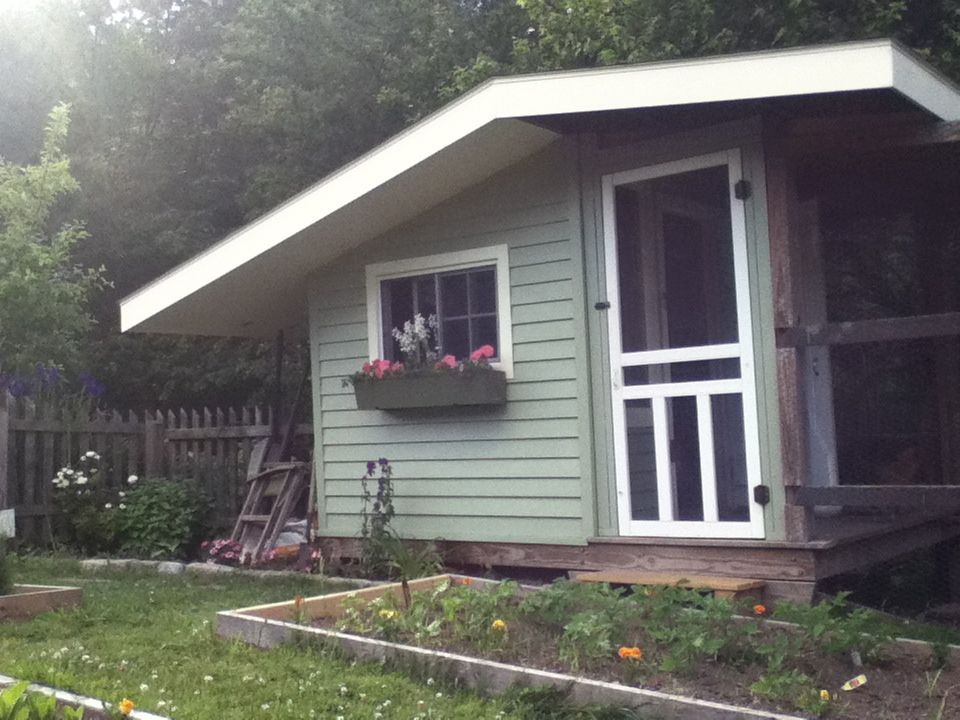
Painted and decorated, with flowers growing, of course.

IMG_7748

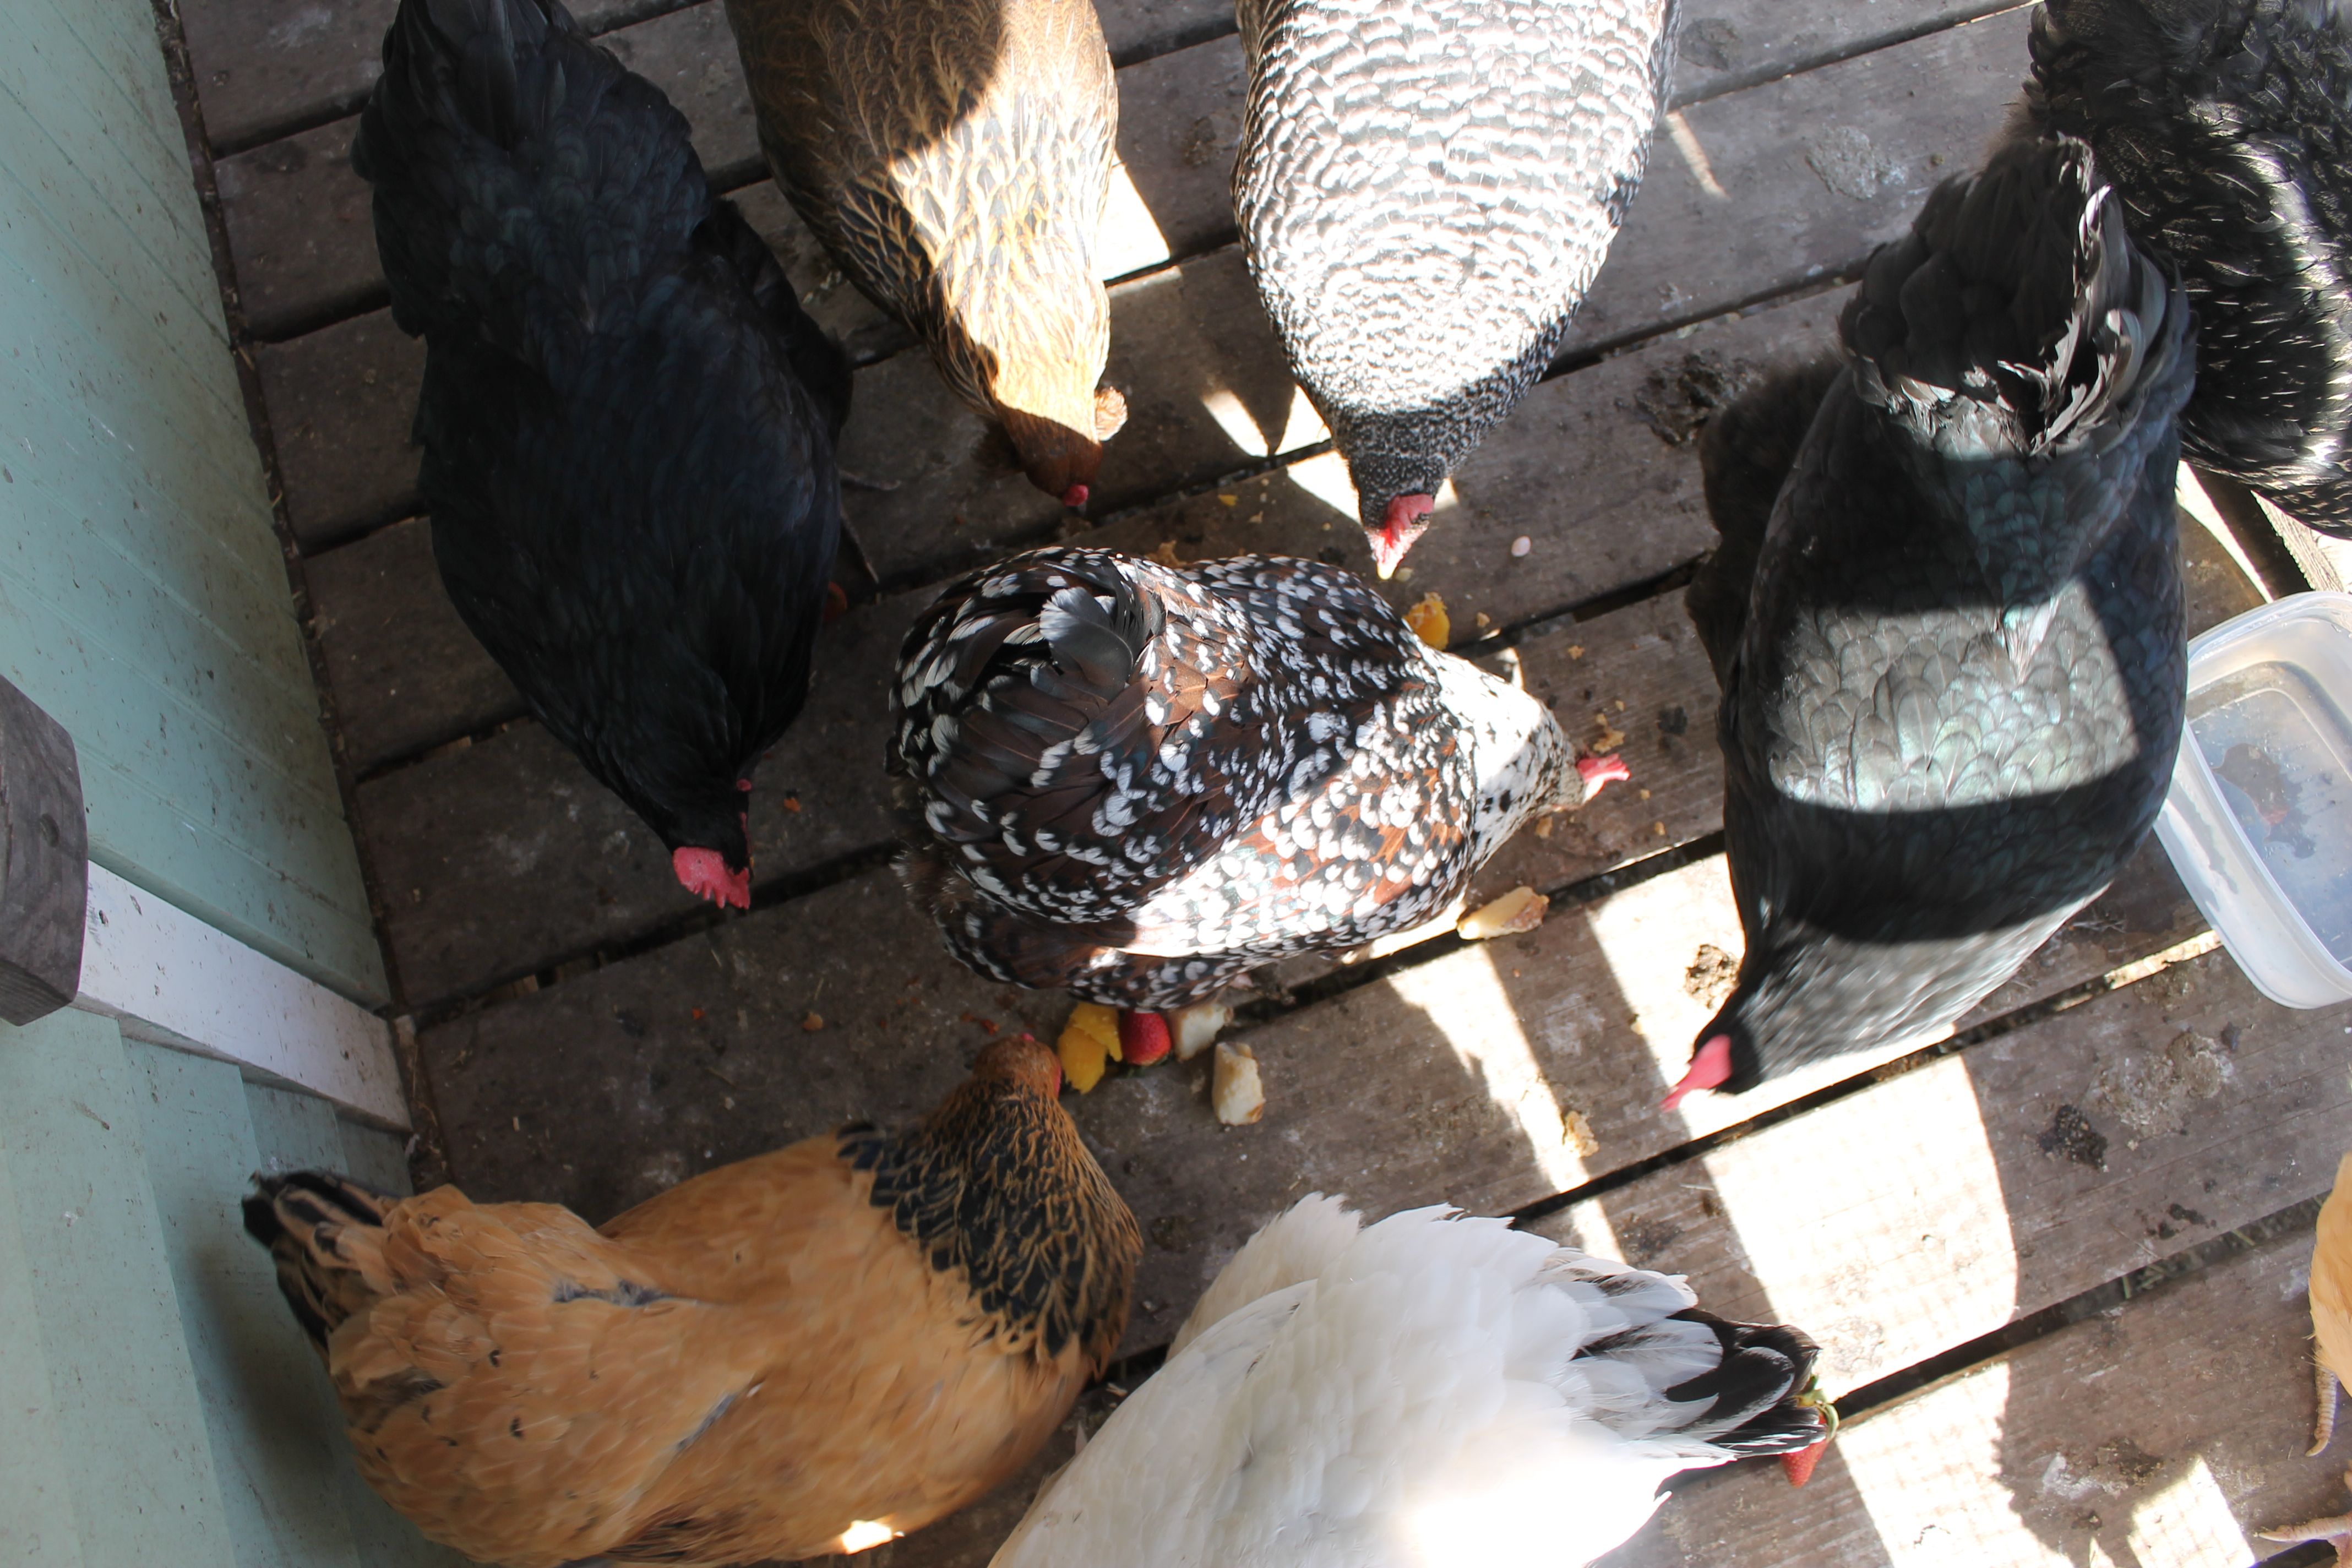
It is a pretty little coop!

DSC01461
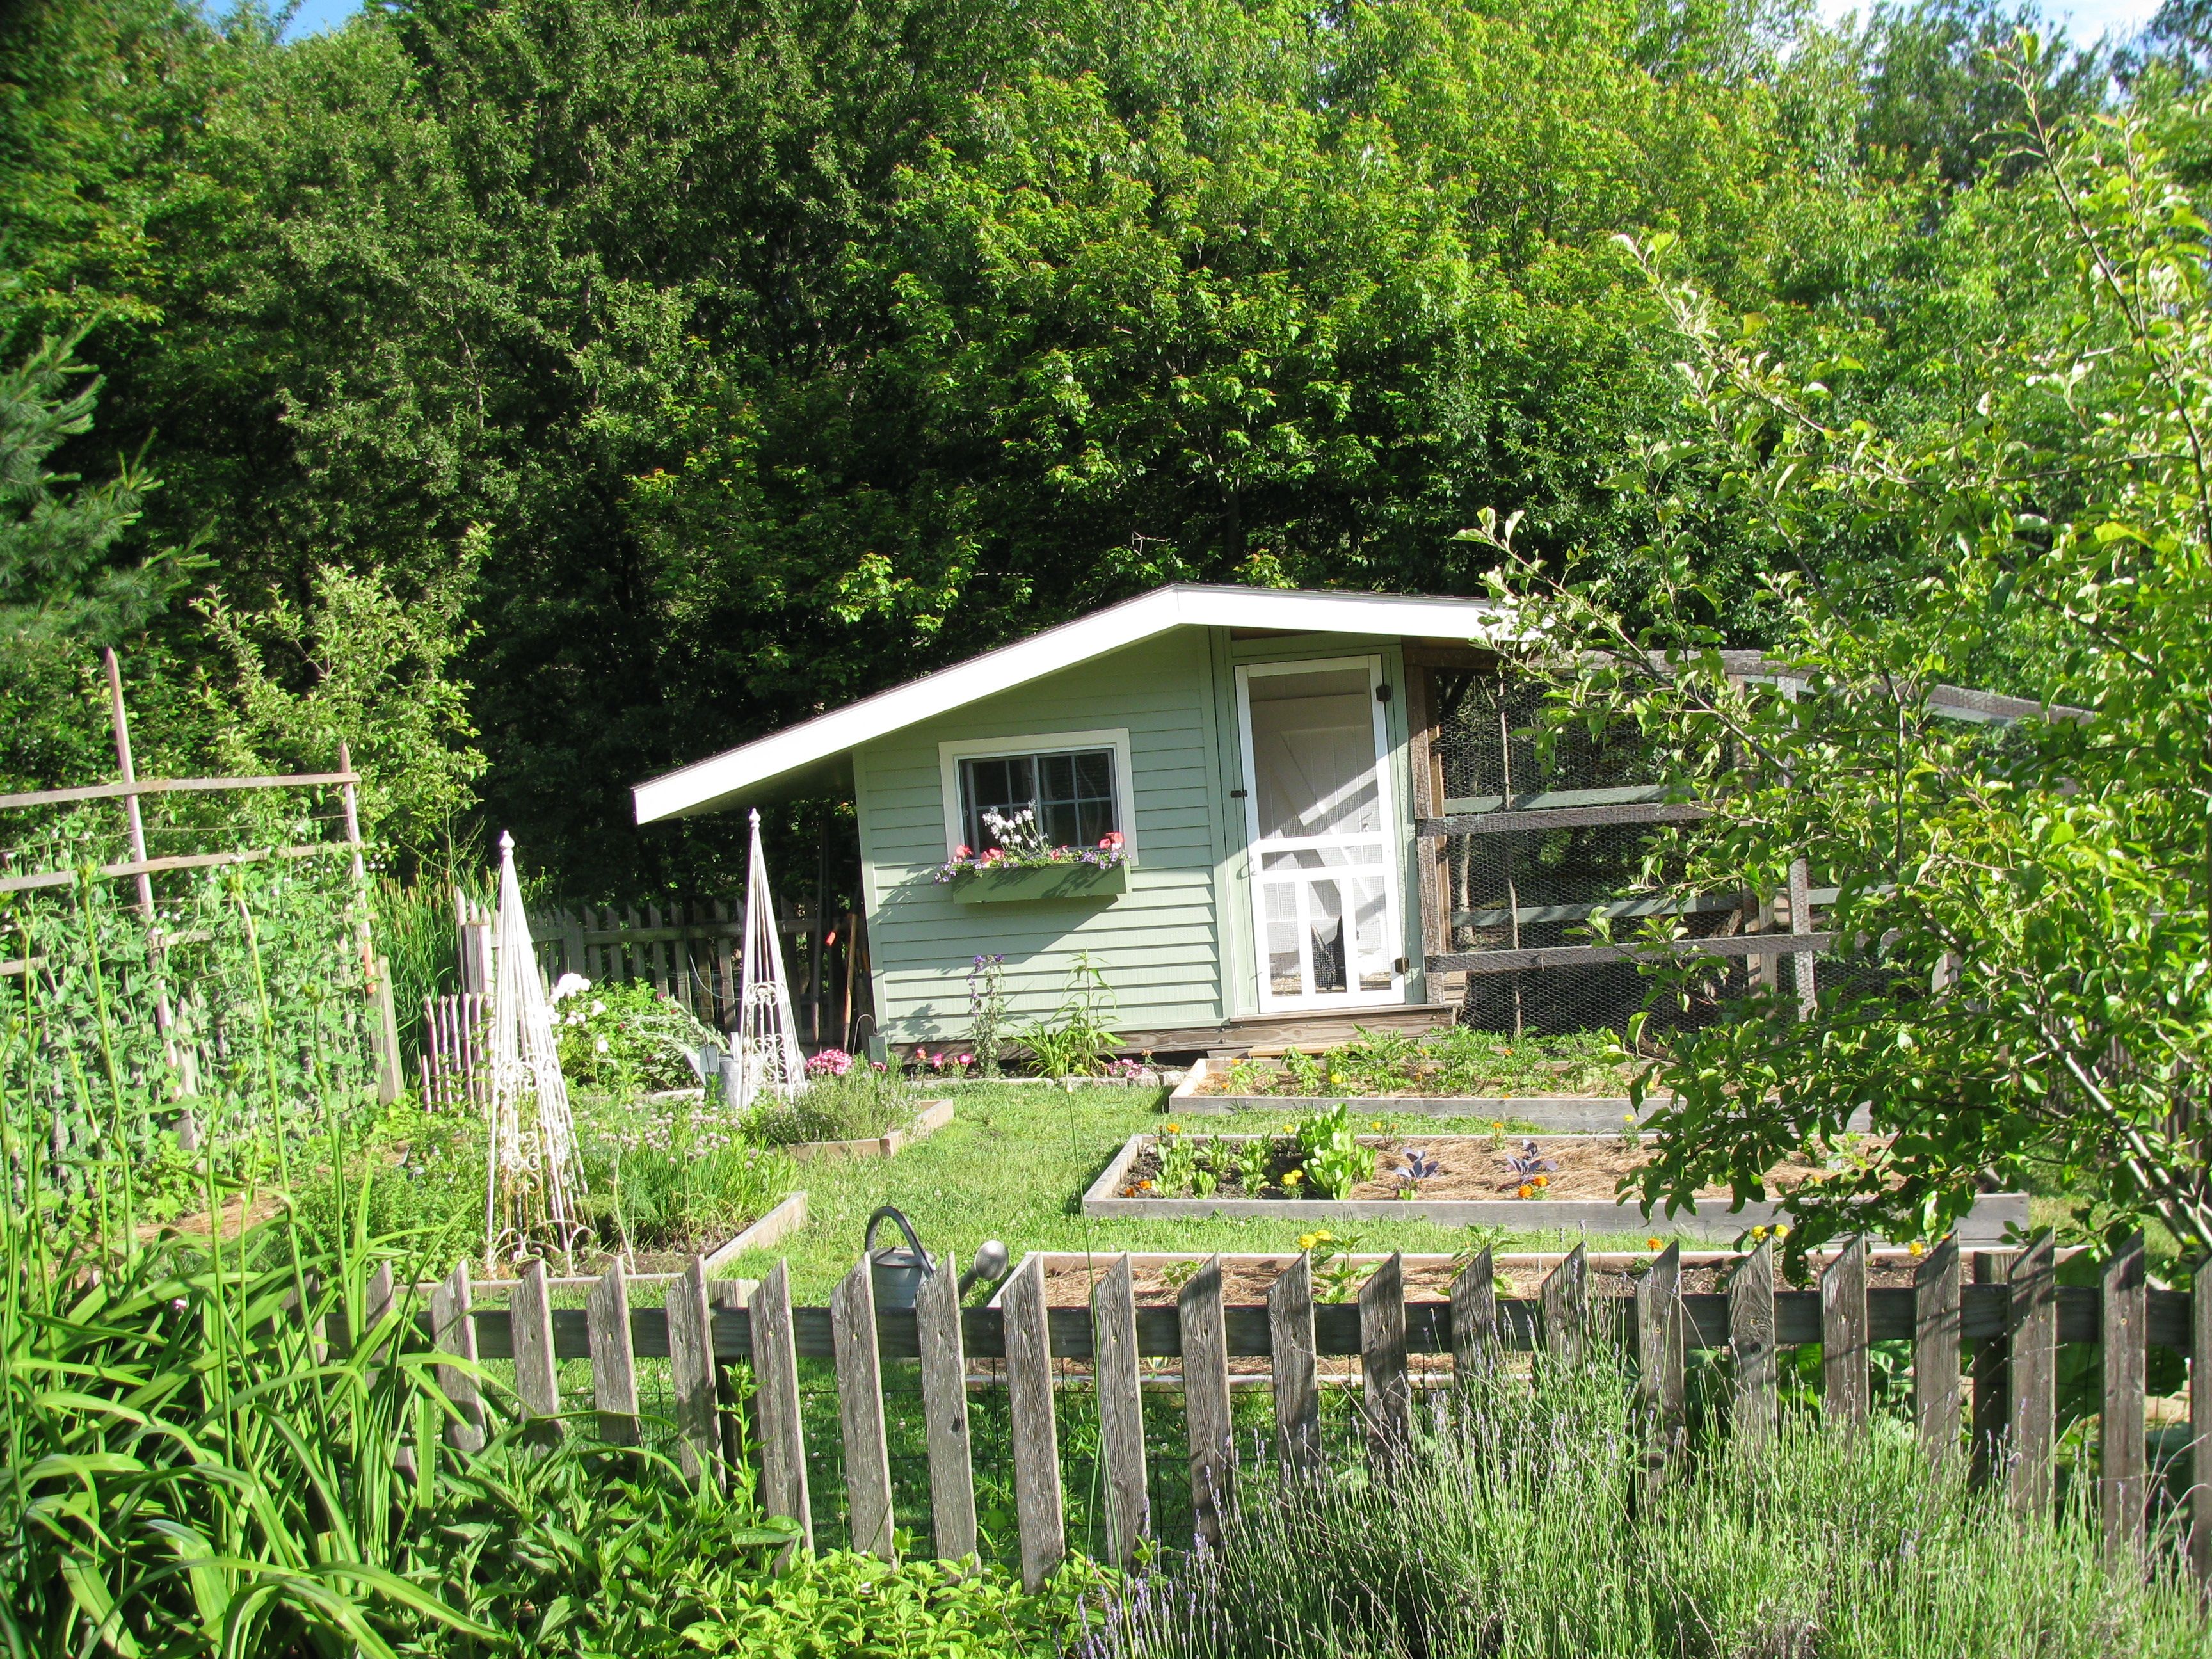
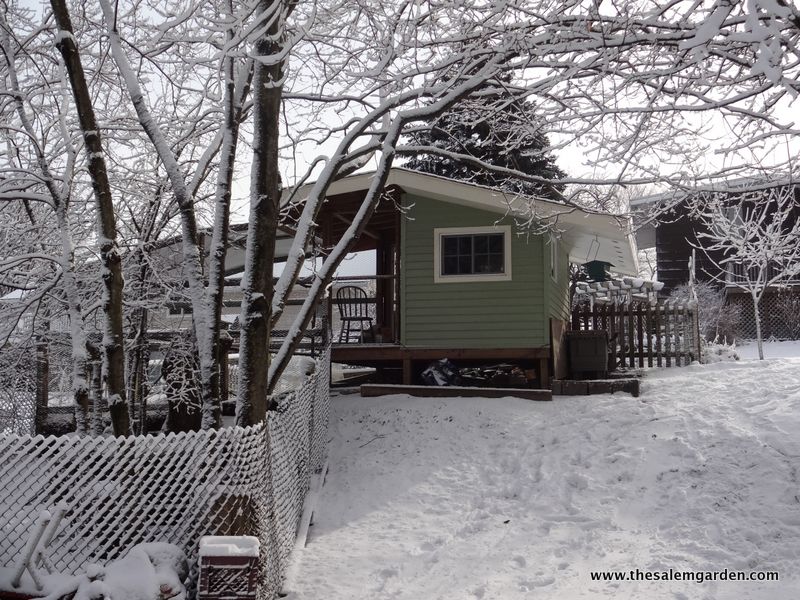
Far back view in winter. The girls get afternoon sun through that window which helps to keep them cozy in the colder months.

DSC03864

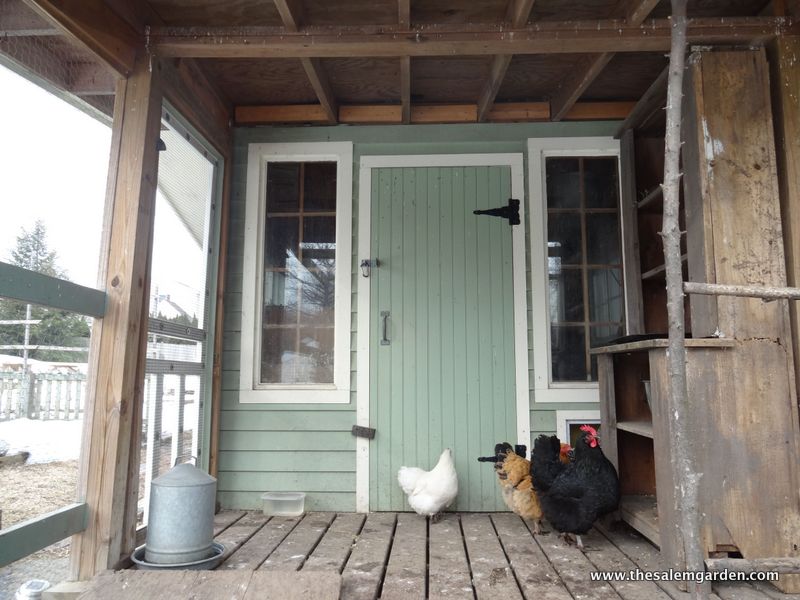
Here’s the front door and porch area. The porch is great because it gives the chickens a dry place to spend time and there’s space under it so they can hide if needed. It also saves us from having to step into mud pits…

DSC03863

… like this one. Unless your a blogger who wants to take a picture of the front door of the chicken coop during mud season.

But who do you know who would do that? 😉

I realize that this is kind of a quick overview of our process and there’s lots of details missing. I took these photos as we went along but never with the idea that they would someday be used on my blog. So, I apologize for the gaps but hope it gives you an idea of what our coop exterior looks like and what our construction journey entailed. I’m going to do an inside tour in the next week or so.  I think I’ll include the head chicken keeper’s direct input as I write it to insure accuracy and probably some entertainment.

Leave me questions! Michael and I will be happy to answer them!

Happy Coop Building!

Michele

Consider the Australorp

IMG_7674We love our australorps. They’re classic chickens… very beautiful, good layers, just nice to have around. One of ours tends to wander a bit more than the rest of the flock. I once opened our front door to find a neighbor whom I had never met, coming by to tell me that one of our chickens was in his yard. I went to check on it and there she was several houses and some woods away, foraging in their grass. DSCN0312

They begin life as multicolored chicks.

IMG_7676-001

Before you know it that baby will have become a stunning hen.

It’s amazing how that happens.

Consider the australorp if your choosing your breeds today!

Michele

They’re Here! Baby Chicks 2014!

IMG_4822

What could be in this box?

IMG_4823

Maddie thinks it sounds familiar

IMG_4824

She’s heard this before…

IMG_4825

Yay!! Two buff orpington, a cuckoo maran, a dark cochin, and one gold and one silver laced wyandotte…

IMG_4831

IMG_4835

IMG_4839

IMG_4843

Soon they were safe and sound in our new brooder.

We made it from a bunny cage for protection with a brown box inside, light above and towels for warmth. I think it’s going to work. I’ll keep you posted..

IMG_4848

The chicks were hungry and thirsty…

IMG_4860IMG_4861IMG_4864IMG_4865IMG_4859and ready for a nap.

Actually I think we’re all ready for a nap.

More to come soon!

Michele

The Chicken Bucket

One of the most important parts of our role as chicken keepers is to provide food for our girls. We do feed them chicken feed and I’ll talk about that at some point, but we also collect everything that we don’t eat into a handy plastic container known as “the chicken bucket.”  The chicken bucket is absolutely central to our kitchen’s function. If we don’t  have one on the counter, even for a minute, all food production and clean up comes to a halt. If it’s been taken out to the coop someone immediately replaces it with a new container so that we’re good to go for the next few hours. We feed our chickens almost everything that we don’t eat with the exception of uncooked potato peelings, citrus fruit and chicken. We don’t feed the chickens chicken… that just feels wrong.

IMG_4775

Feeding them lots of scraps helps to keep our feed bill down. We eat a pretty well balanced diet so I like to think that it also gives them some balance and variety.

DSC01468

It might help with socialization skills too.

IMG_4807

Anyone holding the chicken bucket is always made to feel very welcome and loved.

There are many joys that come with having chickens and watching their reaction to this is near the top of the list!

Enjoy everything!

Michele

ps/ 12 more days till spring! 🙂

The Beautiful Sweet Buff Orpington

IMG_9683If we could only raise one breed of chicken in our flock, I would choose the Buff Orphington. I think of this breed as the golden retriever of the chicken world. Their fluffy, yellow, friendly, obedient, loyal, and great with kids and adults. They’ll sit in your lap, come when you call and play with you. This is a family-friendly chicken!

IMG_0665

A newborn buff orphington is a cute little yellow fluff ball and it grows up to be a wise, sweet creature that you can take anywhere.

IMG_4575

I take chickens into schools sometimes and this is the breed that I choose for those events. I can put one down on a tarp with twenty first graders sitting around the perimeter and she’ll just stand there politely waiting for the presentation to start. Then she will allow all twenty kids to pet her (one at a time of course) and repeat the process for three more classes during the day. I’ve even had one lay an egg in the classroom a few feet away from the children during a presentation. This is a laid back, happy chicken.

These girls are good layers, winter hardy, docile and sweet… if your trying to decide what type of chicken to start with or add to your existing flock you just can’t go wrong with a buff orphington!

Michele

Let’s Talk About that Brooder…

Yesterday you saw the brooder that we used for our first chicks, and for many others that have come along since then.

IMG_2940

As I mentioned we made it out of a twenty gallon glass aquarium that we’ve used over the years as a temporary home for creatures that need care. Many wounded birds and stray frogs have spent a few hours in that aquarium. To set it up we simply cleaned it thoroughly, put a shop light with a  60 watt bulb on top of the wire screened lid and filled the bottom with wood chips. The wood gives the chicks something to scratch at, sleep on and absorbs poop which helps with the almost daily cleaning that needs to be done.

We like to use the tall red and white water distributors and round feeders that you see above.  You can buy these at your local feed store or on-line. We find that the specially designed feeders are worth the investment because they stand up to all of the pushing, pulling and scampering that baby chicks do.

The warm light along with towels draped over the sides at night when the heat is down maintain an inside temperature is 95 degrees for the first week, then 5 degrees lower for each week after.  I should mention that our chicks stay in the glass brooder for just a few weeks before they get too big and we move them to a larger metal cage that’s also cloaked with towels to keep heat in. We gradually remove the towels and light over the cage as they outgrow them as well. We also lower the lightbulb from 60 to 40 watts as they get  bigger in the aquarium, then back up to 60 again when we move them to the much airier cage.

The “aquarium as brooder” idea isn’t really the typical route that most people take, but it’s worked very well for us. It’s easy to move as needed and it gives us a great view of our new flock in action. You can find lots of other brooder systems by googling “brooder”, or checking Pinterest. People are really creative and I’ve seen brooders made from kiddie pools, plastic bins, even a portacrib! Really, if the chicks are safe and the temperature, food and cleanliness level are correct they’ll be fine.

We’ve been fortunate to have never lost a chick in our aquarium brooder, which leads me to sad news; our beloved aquarium “bit the bullet” as Michael would say and had to be thrown out last fall. Now we’re searching for a new one, or a good idea for our next brooder. Stay tuned… it’s coming soon!

Questions, questions… I know you have them! Leave them for me and I’ll answer them as best I can. Maybe some of my chicken raising friends who are following will step forward to give their input too… come on, I know your nearby!

Enjoy everything!

Michele

IMG_2939

Thinking About Raising Chickens? Well You’ve Come to the Right Place!

DSC01497

And that’s because I herby declare March 2014 to be Chicken Month at The Salem Garden! If a crocus or snowdrop decides to miraculously appear in our garden you’ll see it before the camera cools down, but I’m going to focus on chicken keeping for a few weeks. This is the time of the year when most keepers in the northern hemisphere add new chickens or start a flock.  I’m hoping to cover a range of chicken related topics– everything from breeds, to equipment, to daily care.  Starting a new flock is easier and harder than you might think. With a little bit of information and some planning yours will be wonderful! What are your questions? Leave them in the comments and I’ll try to answer them in the posts that I’m working on.

Consider The Salem Garden to be Chicken Central for a little while (actually it already is, I can hear our girls out there enjoying the morning air).

Cluck, cluck!

Michele

Zebra Finches, Guitars and a Chinese House–Just a Typical Afternoon in Salem

DSC03774

It’s hard to believe that this afternoon we threw on our shoes, drove five minutes and walked into this amazing building in downtown Salem.

Then paid nothing (because Salem residents are admitted for free), and waited in line for twenty minutes to view from here to ear, an exhibit featuring zebra finches playing electric guitars and cymbals…

No photos were allowed, but check out the video in the right margin here on the PEM website and you’ll get the idea. It was quite an experience.

While we waited to see the birds we looked out and enjoyed this view of Yin Yu Tang, a two hundred year old merchant’s house that was brought here piece by piece from China in 2003 and reassembled by the museum…

DSC03750

DSC03746

DSC03745

DSC03739

DSC03742

DSC03738

No photos are allowed of the inside of Yin Yu Tang either, but it’s full of original artifacts from the house as it was while it was used by the family that owned it. It was easy to imagine what it might have been like to live there.

After all of that amazing cultural opportunity, we ran right into this guy

DSC03756

Who elicited this reaction from my littlest girl…

DSC03736

There was even a quick view of a frozen garden through a window…

DSC03764

Maybe we don’t need spring in Salem after all?  We’re doing just fine.

Enjoy everything!

Michele

Making Pots From Newspaper

Here’s an activity that we worked on at Bass River today. For my adaptive gardening/horticultural therapy friends and followers, I found that as simple as this was to do, it was full of good opportunities to talk about recycling, work on fine motor and social skills and to start thinking about spring. The post just before this one on Bass River Gardens features a seed tape project that we’ve been doing, which has similar benefits. Most importantly, it was all fun! Michele

bassrivergarden's avatarBass River Gardens

Here’s another fun activity that we did this week to help us get ready for spring.

We made seedling pots from newspaper!

image

We used a sheet of newspaper, a soup can and a little bit of tape.

image

First we folded the newspaper in half lengthwise…

image

then we rolled it tightly over the soup can.

image

We folded it in, creating the bottom of the pot and used a piece of tape to hold it together.

image

Then we slid the can out and we had a pot shape!

image

We folded in the top edge to give it stability.

image

And we had created a nice pot, ready for some seed starting soil and seeds. When the seedlings are ready, we’ll be able to plant them right into the ground because newspaper is highly biodegradable and a good source of carbon, and the inks are made with natural earth pigments and soy.

image

Now we…

View original post 27 more words