Foolproof Cucumber Seedlings- You Can Grow That!

The other day I blogged about the fun I’ve had this year with growing tomatoes. I’ve been in kind of the same mode with cucumbers (and pumpkins, and squash, and peppers, and several varieties of flowers). There’s a background story to my seed starting obsession that I have to share. In February one of the women who I work with in my job as an adaptive gardening specialist at Bass River approached me with a package of cucumber seeds that were dated 2011 and asked if we could grow them. I thought that starting them successfully was a long shot but I also saw the challenge as a chance for a fun learning opportunity. We decided to plant some of the seeds in pots of seed starting mix, and to try to germinate another group on a damp paper towel in a jar. Within a few days we had a jar full of cucumber sprouts that were flourishing. The seeds planted in the soil never did germinate, not one. We transplanted the sprouts to a container of soil and now we have little cucumbers growing on a trellis in a sunny window. So, we concluded that a little bit of humidity goes a long way in sprouting seeds and even older seeds might respond to this special treatment. I’ve been reading a lot about adding humidity to help the germination process and I brought the idea here to my home garden.  I’m growing all kinds of things in plastic bags and jars!

Here’s a step by step description of my easy foolproof way to grow cucumber seedlings:

IMG_5338
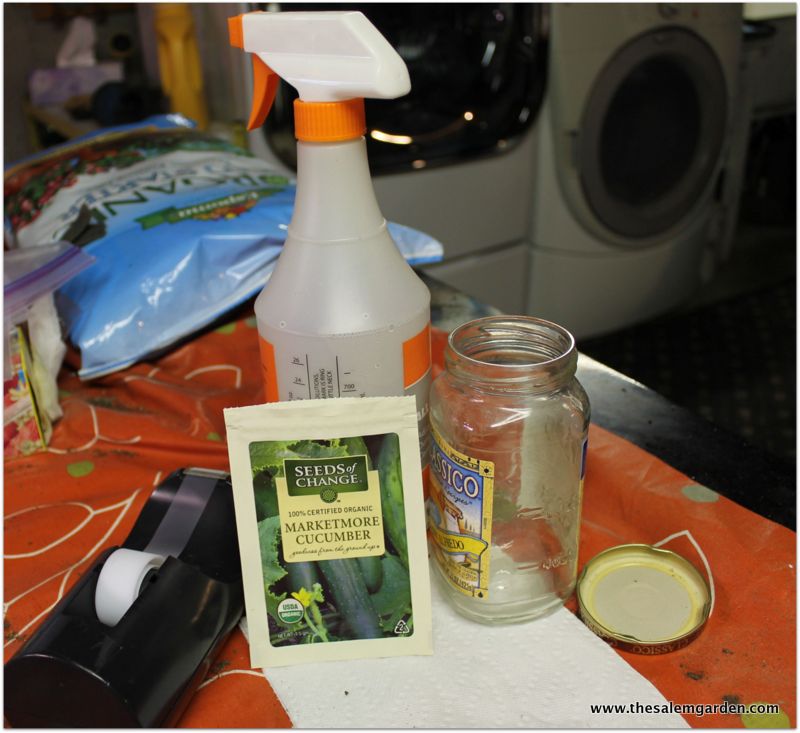
I start with a paper towel, a clean jar with a lid, a water spray bottle, some tape and a package of seeds.

IMG_5343I dampen the paper towel and spread the seeds evenly over it.

IMG_5345Roll it up gently…

IMG_5346and place it in the jar and close the lid.

IMG_5354Then I mark it with a sharpie or as in this case I tape the seed package to the jar.  I did this on April 25th, remember that date!

IMG_5355Here’s what I found when I took them out on April 29th. These are a little bit overgrown, they could have come out of the jar on the 28th or even the 27th.

IMG_5357
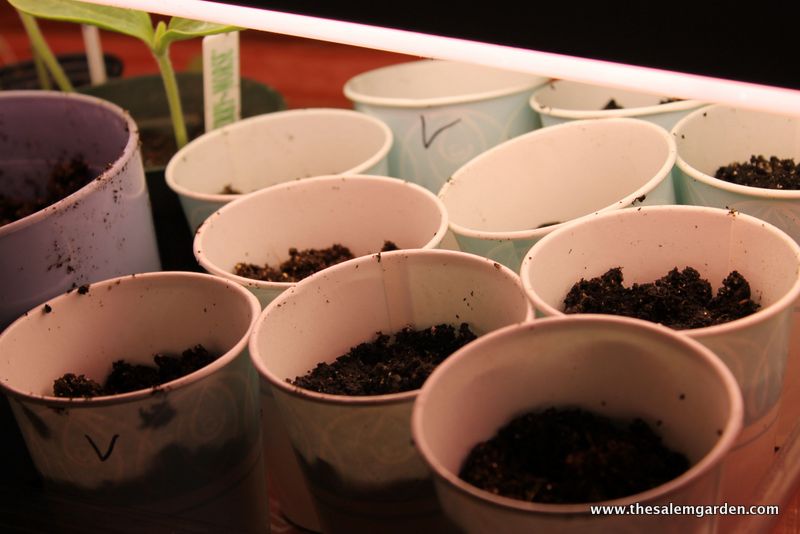
I gently placed well moistened seed starting mix in cups with a hole punched on the bottom… I don’t usually use paper cups but I had these on hand and the seeds needed to be transplanted right away.

IMG_5360I dug a little hole and placed a seedling in each container with the root facing down,

IMG_5362and just barely covered it with soil.

IMG_5363I put the cups under the grow light,


IMG_5432
and here they are on May 3rd. The first leaves are sprouting and the second set is close behind!

They would be ready to go out in a few days if our last frost date were closer. Unfortunately it’s not quite time for tender plants to be planted outside here on the New England coast. I’ll move them out from under the light when they get a little bigger and keep them in a sunny window for a few weeks. When transplant time is close I’ll put them outside in a protected spot for the daytime hours for several days to harden them off (help them get used to outside temps) before I plant them in the garden.

Just to summarize the dates; I started them on April 25th and eight days later their well on their way. That makes the turnaround time from putting them in the jar to being garden ready about 12-14 days.

Guess what that means? You have plenty of time to do this! And it’s easy, and I dare say it’s fun!

I hope that you get some seeds started soon!

Remember, you can grow that!

Michele

Displaying ycgt_web.jpg

“You Can Grow That” is a website hosted by garden blogger and author C.L Fornari which was created to widely share the message that plants and gardening enhance our quality of life. On the fourth of each month garden bloggers participate by publishing a “You Can Grow That” post. The hope is to create a national conversation about the benefits of gardening and to encourage people everywhere to participate in and experience all of the joy that the garden brings. Be sure to visit the “You Can Grow That” website to learn more about this wonderful effort and to find links to other bloggers’ posts.

A Few Thoughts About Growing Tomatoes From Seed

I’ve really gotten in to starting seeds this year. I have three varieties of tomatoes growing (Rutgers, Matina and Supersweet 100) and I think it’s safe to say that their doing quite well.  I spent a lot of time reading about seeds over the winter so I’ve approached the project from a different knowledge base this year.

I’ve made a few simple adjustments:

–I started the seeds on damp towels in sealed plastic bags and planted them in seed starting mix as soon as they germinated. This is one of my new favorite approaches with seeds of all kinds. When I visited my friend Betsey (the onion lady) in January she showed me that her husband often starts “harder to germinate” seeds in plastic bags. I’ve also experimented with forcing germination at work lately with great success. Betsey recommended a blog called Tomato Dirt  and as I read over their many tips for growing tomatoes from seed, I’ll be darned, this method was mentioned again. I tried it and the extra humidity got things going and before I knew it I had beautiful seedlings that had been transplanted into potting soil.

–I’ve kept the lights very close to the plants, about two inches above the tops of the seedlings. This keeps them from getting leggy and encourages them to grow stronger and sideways, rather than upward and spindly.

–I’ve brushed them gently with my hand once a day which also encourages a stronger, stockier plant.

–The lights are on a timer, twelve hours on, twelve hours off.

–I used one florescent bulb and one plant bulb in a regular shop light.

–I water from below encouraging strong root formation.

–I used seed starter containing vermiculite to encourage root formation.

–I talk to them, love them and spend time with them as I work on other projects.

I’d be growing well too if I were these tomatoes!

IMG_5369

Here they are today. I’m thinking about moving them away from the lights and up to my sunny office, maybe even into larger pots.

Are you growing tomatoes this year? How’s it going? Share your tips in the comments!

and of course, enjoy everything!

Michele

What’s Happening in the Garden- April 25, 2014

I’m working on a million little projects this morning but  I’m well behind here in the blogosphere so before I move on I must do a quick garden update. I don’t know what it is about my blogging hobby but somehow publishing a post grounds me and propels me forward like nothing else.  I think it’s the sense of accountability, or maybe the creativity (not that I’m that creative), or maybe it’s the satisfaction in having finished something. Anyway, thanks for reading and commenting and helping me to keep moving!

So, after the coldest snowiest winter ever, and the coldest early spring ever, we are finally seeing a little bit of an improvement here in Salem, Massachusetts. I’m convinced that we love our gardens more in New England than anywhere else because we work so darn hard to get through the winter and into the sunshine.

IMG_5309I’m pretty sure that the lady’s mantle would agree with me. It’s been a long, long winter!

IMG_5311Just behind the lady’s mantle a clump of iris is springing into action. It won’t be long now!

IMG_5313We have lettuce! I believe that this is Black Seeded Simpson.

IMG_5314There’s also a little bit of mesclun peeking through.

IMG_5316And those onion sets that I planted two weeks ago are settling in nicely. We had a lot of rain the day after they were planted so the rocks really came up and I had to reset some of the bulbs. It’s nice to see the greens. I think I’ll add some compost around them later today to give them an extra boost.

IMG_5318The little peek of rhubarb has filled out nicely. We have several of these throughout the garden.

IMG_5320The asparagus patch looks empty and untended. I need to get Michael to take that little fence away so I can get in and out of there without incident. When you get a little older there are “incidents” when hopping over fences like this one. It was put up to keep our toddlers out and I think I can safely say that we’re well past the toddler stage now.

IMG_5321We do have teenagers though… I wonder if these will grow so I can outfit the younger kids with very expensive flip flops.

IMG_5322How about that, there is asparagus popping up on the slightly warmer other side of the garden.

IMG_5325This does my heart good…

IMG_5328This area needs some work. If I remember correctly I was choosing between Nutcracker rehearsals, soccer games and garden cleanup last fall.

IMG_5331

The baby girls say hi! IMG_5336Here’s a peek at the beginning of our newest project. We took out two juniper trees last fall and are planning to create a nice herb garden in this spot. I’m going to start by sifting out rocks and adding a lot of compost. I have plants that are ready to relocate and I may add a few new varieties. There’s a concrete “patio” and shingle sided wall to the left that I’m hoping to fill with containers.  I have lots of ideas and my handy dandy pinterest board is in full swing. Click on the words pinterest board to check it out.

In other news, I’m starting seeds, repotting houseplants and planting spinach later.

What’s happening in your garden?

I hope your enjoying the spring as much as I am!

Love, Michele


Square Foot Onions, and a Hint of Rhubarb

Recently these beautiful onions that my friend Betsey has stored in her basement inspired me to get serious about planting my own.

WP_000521Please pardon the quality of this photo which I took with my very unsophisticated non I-phone. I just wanted you to get the idea. Aren’t they amazing? This was in January no less!

I bought a bag of onion sets and after doing some research I decided to maximize my space and plant them using the square foot method.

I haven’t intentionally square foot gardened before but I thought that onions might be a good crop to try with. The concept behind square foot gardening is to grow as much as is feasible in one square foot of space using optimum soil and raised beds. It takes some planning to be sure that plants have enough space for root development and air circulation.  The rule of thumb seems to be that large plants need one square, while smaller plants can be planted more densely. The recommended square foot spacing for red onions is nine per square foot, so nine it is!

IMG_5215I started with my package of onion sets and my tape measure.

IMG_5214Next I loosened the soil (which had been thoroughly turned over this past weekend and well composted last fall) and using my tape measure, I very unscientifically, and quickly, and without painstaking accuracy, because that’s how I do things, divided the end two feet of my bed into eight one foot squares. I used my trowel to make lines in the soil.

IMG_5220Then I placed each bulb in to the soil, three inches apart in a grid so the bulb was just below the soil with the top pointing up. The top of the bulb is the pointy part that you see here, while the bottom where the roots develop, is flatter and usually has a slightly rough texture.

IMG_5219Some are sprouted already. I think that’s fine.

IMG_5223Here’s my finished grid. My research tells me to make sure that they don’t dry out too much but that they’ll resume growing again if they do. I’ll keep you posted!

IMG_5225In other news; the rhubarb is peeking through! I wish I liked it more. I’ll cook and bake it for Michael and I love to give it away. It looks so pretty in the garden when it gets big. Rhubarb has so much going for it, I think it’s just the tartness or texture that I personally struggle with.

Anyway, grab a bag of onion sets at your local garden center and plant them in your well fertilized eight square feet of space and let me know how it goes!

Enjoy everything!

Michele


Gangly chicks

I can’t believe they’ve grown this much! Where did the time go? That cute, fluffy stage is winding down fast.  At three weeks old the chicks are looking pretty gangly. This early adolescent age is cute in it’s own way. It’s fun to see the feathers coming and get a sense of how they’ll look as adults.

IMG_5015

Their still in their brooder with towels and a light to stay warm. It’s kind of chilly in our playroom.

IMG_5017

Michael took the cardboard box out to give them more space and added a log.

We’ll put a nice perch in soon too.

IMG_5020
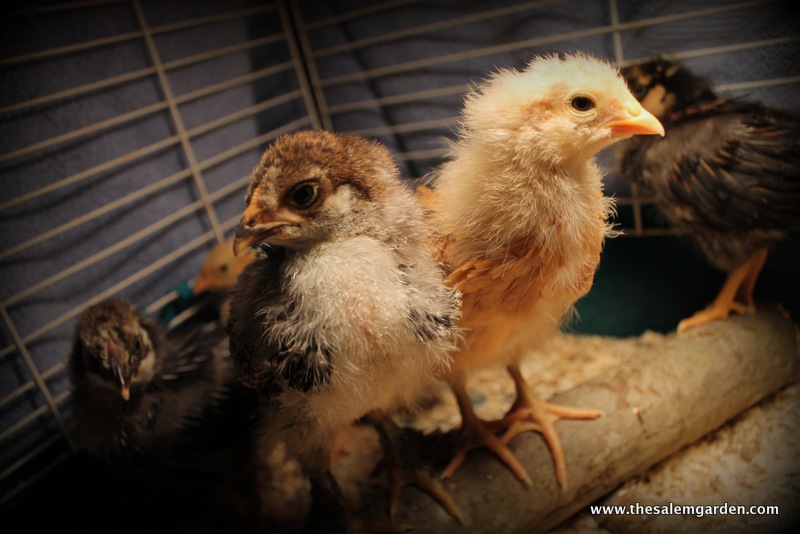
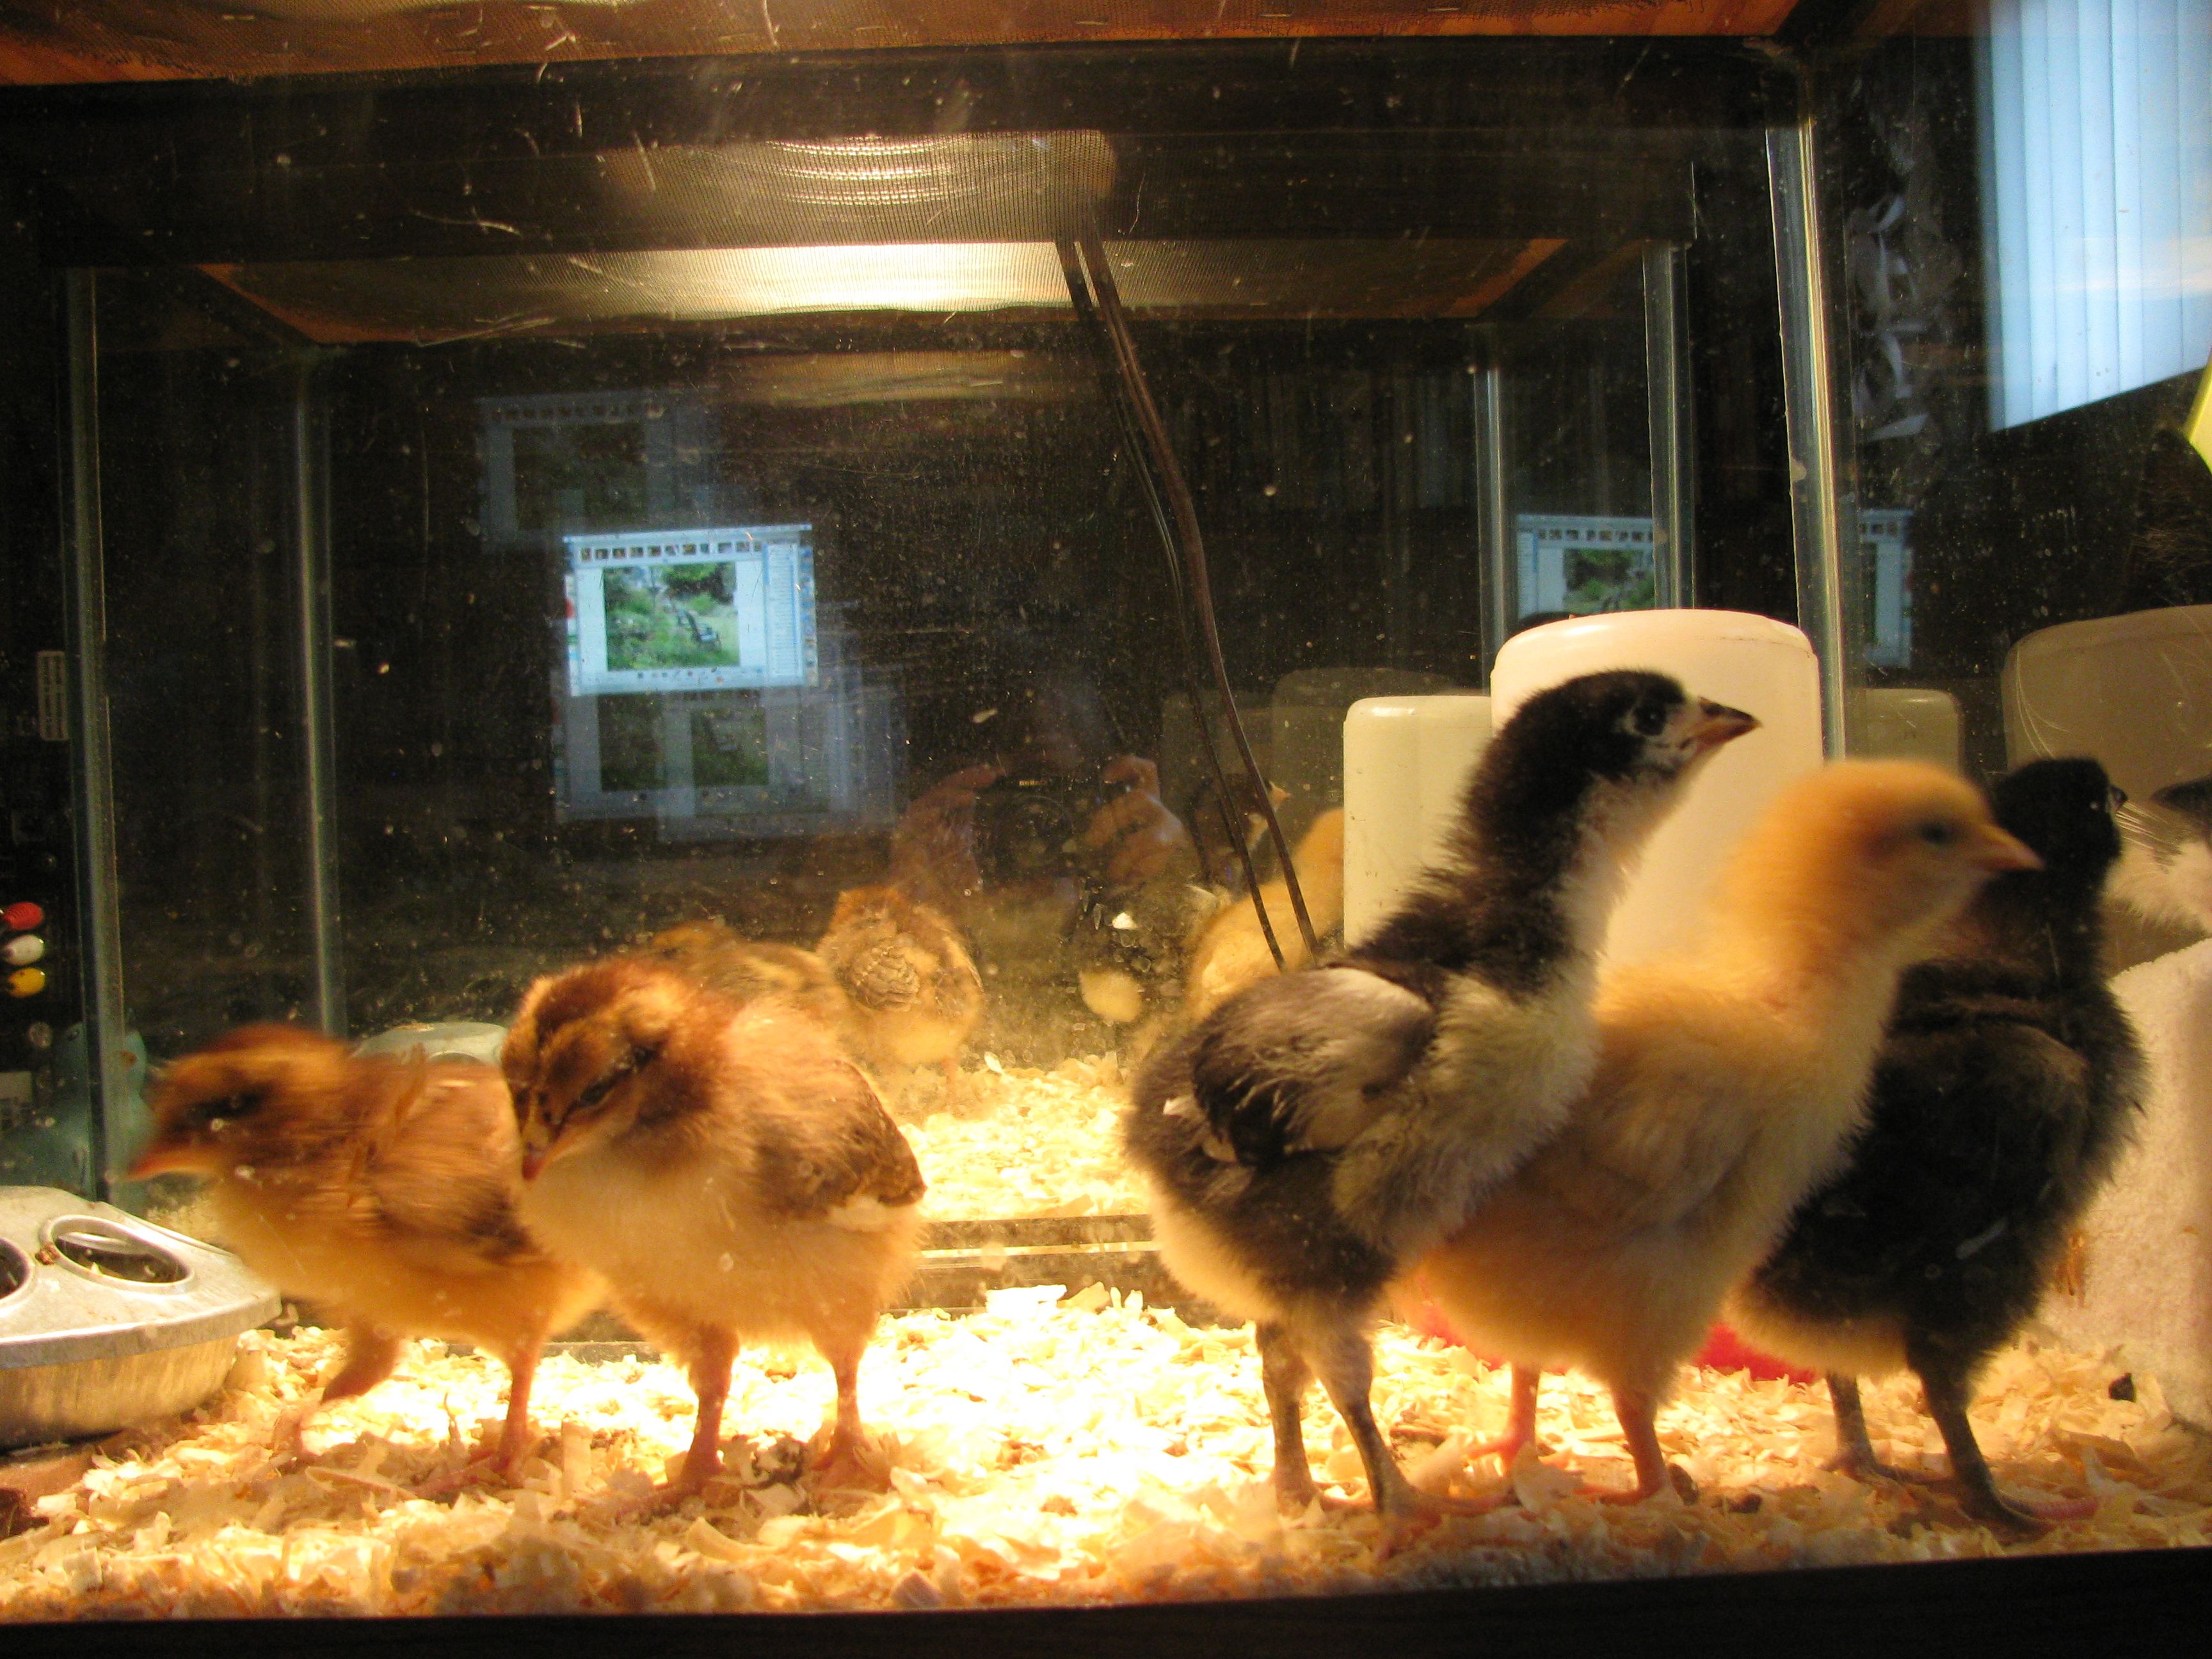
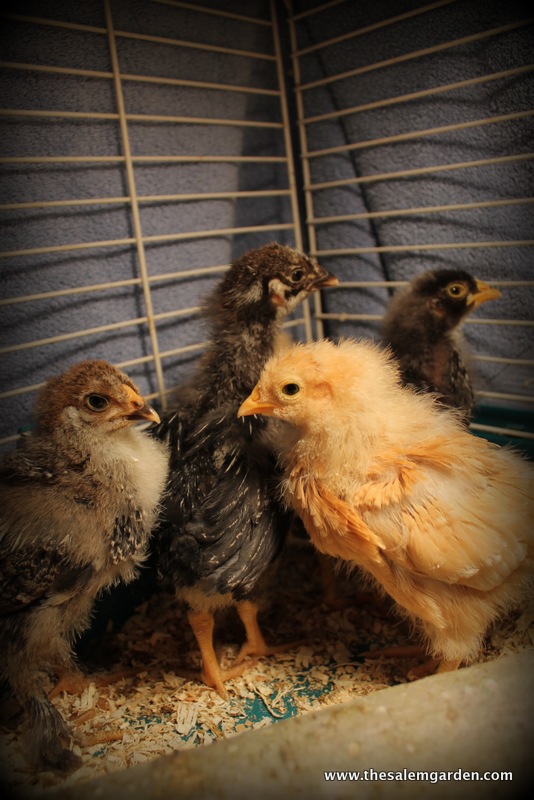
Golden-laced wyandotte…

IMG_5021Buff Orpington…

IMG_5022Silver-laced wyandotte…

IMG_5025The back of the golden-laced again, this girl is going to be beautiful.


IMG_5027Our dark cochin..

.
IMG_5031

The other buff orpington; we need more than one to maintain good balance and we’ll have three when these two chicks grow up

IMG_5037

Here’s our little cuckoo maran. I’ve been trying to give her extra socialization training because this breed is known to be pretty unfriendly. Doesn’t she look thrilled to see me?

IMG_5035

Best friends for life!

That’s how we raise them here~

Enjoy everything!

Michele


I Promised…

and there they are!

IMG_5010

 Snowdrops!

In part sun, part shade, and not even open yet. We’re still waiting for crocus and all of the other bulbs and most anything that’s green, but this is a start! The ducks made a brief appearance on the pond yesterday but their gone today. I’m sure their hiding because it’s too cold to swim through the skim of ice on top of the water.We’ll see them again in a few days. It’s supposed to snow tomorrow night into Wednesday, then warm up again at the end of the week.

This is spring in New England. We wait and wait and wait!

More chickens coming!

Love, Michele

Let’s Talk About that Brooder…

Yesterday you saw the brooder that we used for our first chicks, and for many others that have come along since then.

IMG_2940

As I mentioned we made it out of a twenty gallon glass aquarium that we’ve used over the years as a temporary home for creatures that need care. Many wounded birds and stray frogs have spent a few hours in that aquarium. To set it up we simply cleaned it thoroughly, put a shop light with a  60 watt bulb on top of the wire screened lid and filled the bottom with wood chips. The wood gives the chicks something to scratch at, sleep on and absorbs poop which helps with the almost daily cleaning that needs to be done.

We like to use the tall red and white water distributors and round feeders that you see above.  You can buy these at your local feed store or on-line. We find that the specially designed feeders are worth the investment because they stand up to all of the pushing, pulling and scampering that baby chicks do.

The warm light along with towels draped over the sides at night when the heat is down maintain an inside temperature is 95 degrees for the first week, then 5 degrees lower for each week after.  I should mention that our chicks stay in the glass brooder for just a few weeks before they get too big and we move them to a larger metal cage that’s also cloaked with towels to keep heat in. We gradually remove the towels and light over the cage as they outgrow them as well. We also lower the lightbulb from 60 to 40 watts as they get  bigger in the aquarium, then back up to 60 again when we move them to the much airier cage.

The “aquarium as brooder” idea isn’t really the typical route that most people take, but it’s worked very well for us. It’s easy to move as needed and it gives us a great view of our new flock in action. You can find lots of other brooder systems by googling “brooder”, or checking Pinterest. People are really creative and I’ve seen brooders made from kiddie pools, plastic bins, even a portacrib! Really, if the chicks are safe and the temperature, food and cleanliness level are correct they’ll be fine.

We’ve been fortunate to have never lost a chick in our aquarium brooder, which leads me to sad news; our beloved aquarium “bit the bullet” as Michael would say and had to be thrown out last fall. Now we’re searching for a new one, or a good idea for our next brooder. Stay tuned… it’s coming soon!

Questions, questions… I know you have them! Leave them for me and I’ll answer them as best I can. Maybe some of my chicken raising friends who are following will step forward to give their input too… come on, I know your nearby!

Enjoy everything!

Michele

IMG_2939