Early Spring Veggies That You Can Plant from Seed Today!

There’s lots of potential for the garden season to start much earlier than Memorial Day!

Everyone is used to planting vegetables in late May, but you can direct sow many seeds right now if you’d like to!

You only have a dollar or two to loose, and so much to gain! All it takes is a packet of seeds, some well nourished soil (add organic compost), sunlight and water.

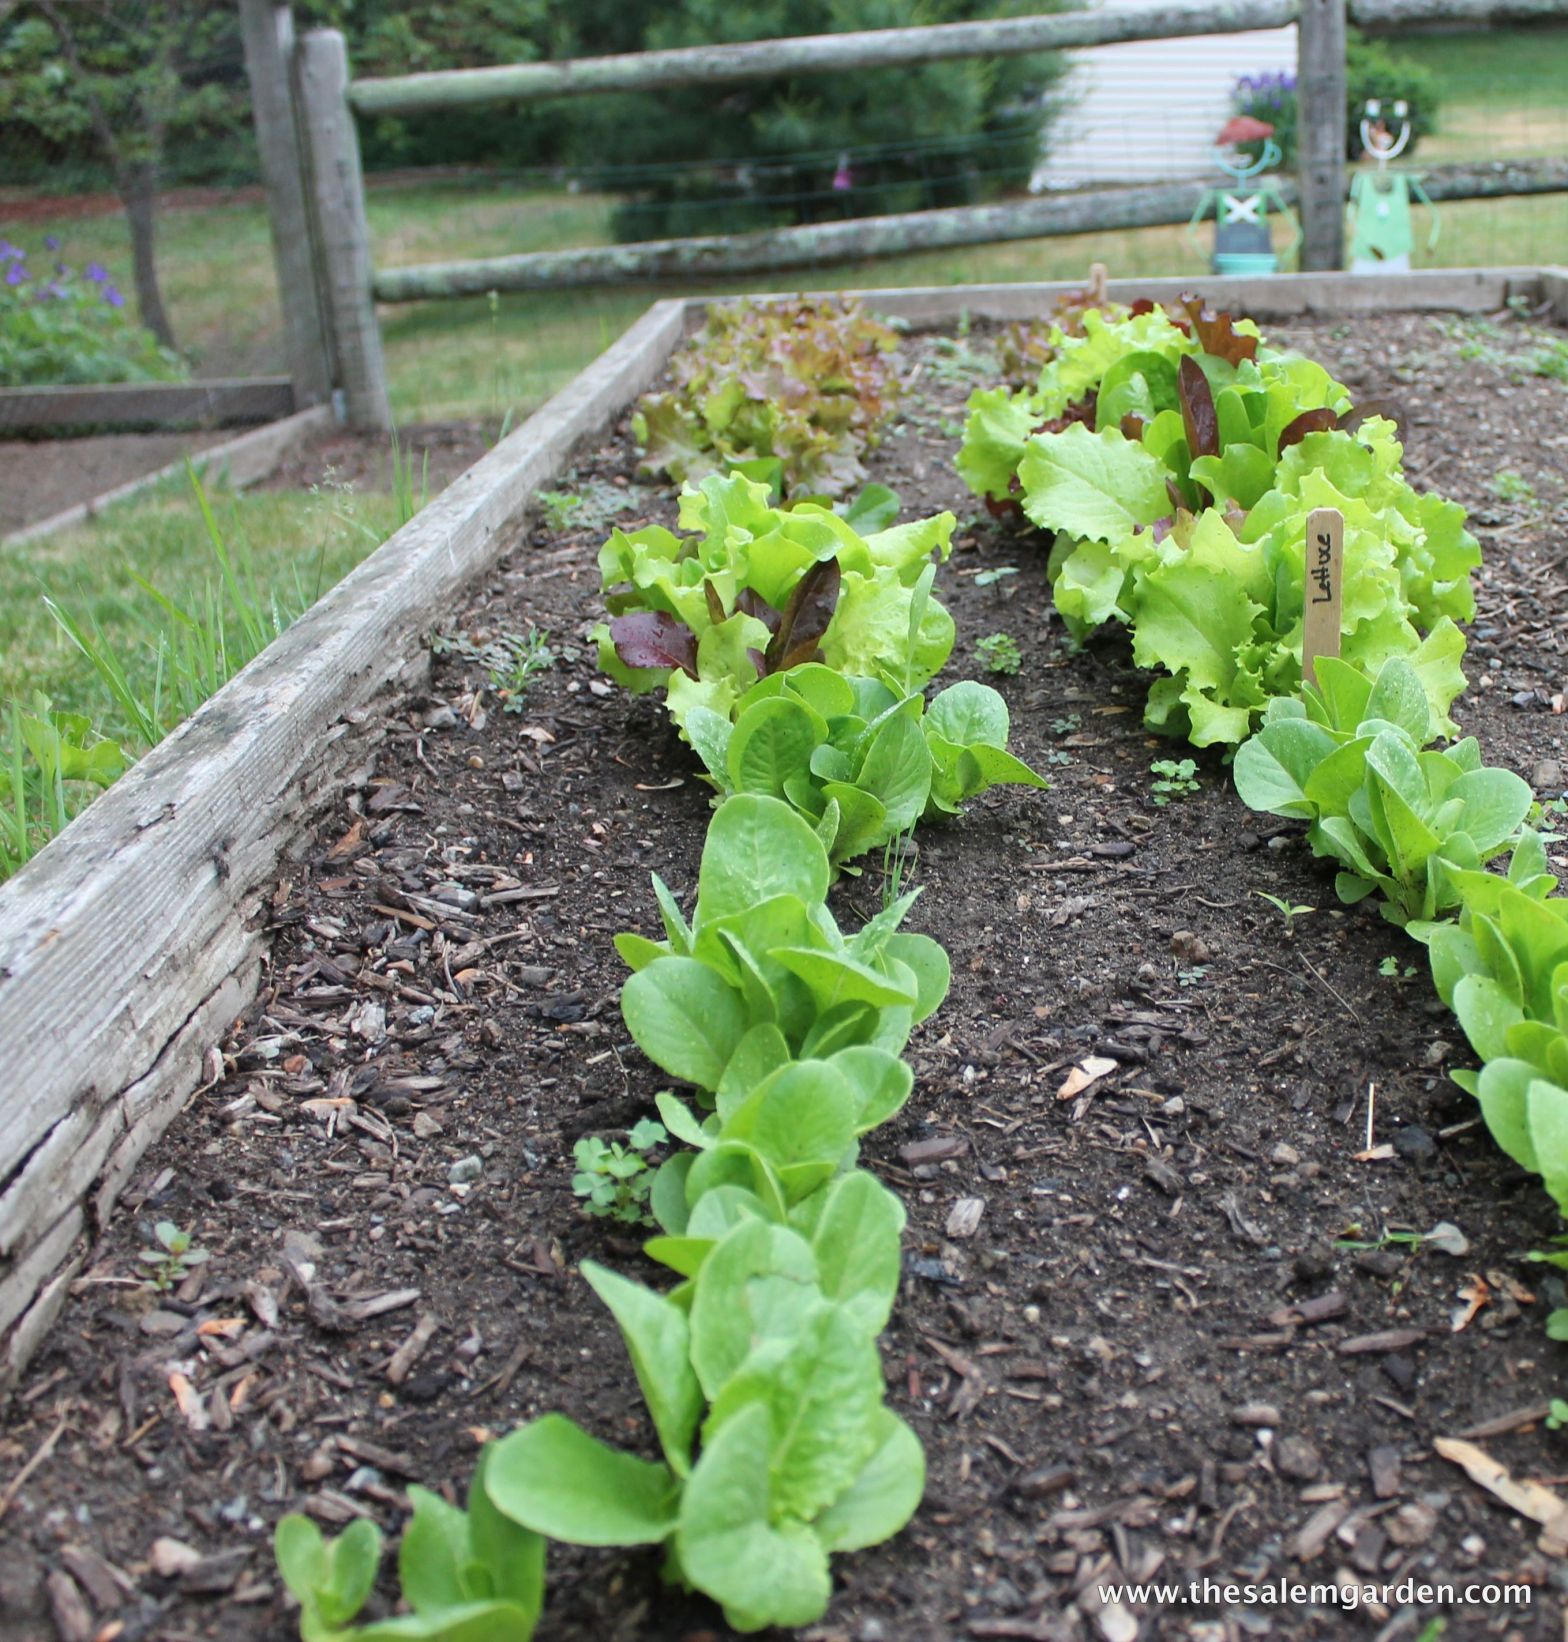
It isn’t too early for lettuce, and with the warm weather forecast for New England over the next few weeks, I believe that we’re going to see a nice early lettuce harvest this year.IMG_8936


Peas are another early favorite.  They can be sown directly in an area where a fence or trellis is ready to support them as they grow.

IMG_5760Here’s the peas a few years ago just starting their climb.

Radishes will germinate now, and they grow so quickly. You could be eating home grown radishes in just three weeks if you plunk a short row of seeds into some well nourished soil!
IMG_2694As I looked at this photo from a few years ago I noticed the rocks… I’m always removing rocks.. but small rocks are okay, as long as you add lots of compost. It’s really all about the compost.


Kale and Swiss Chard are also very hardy. When we say that a plant is “hardy”, we usually mean that it will withstand cold well.

IMG_9478

This is swiss chard from last summer. Some of it actually wintered over a little bit (photos of that are  here ). I added more seed over the weekend to fluff it up and fill in the spaces between plants.

Spinach is another good early spring choice. It loves cool weather and will bolt as soon as it gets hot, so plant it now!

Here’s a quick list of spring vegetables that you can plant outside from seed right now:

-Lettuce

-Peas

-Radishes

-Kale

-Swiss Chard

-Spinach

-Scallions

Most of these will be ready by Memorial Day, or the 4th of July!

Our weather changes so quickly at this time of year, but don’t be afraid, give it a go!

Have you planted anything yet?

Leave me your questions, concerns, successes, anything that’s on your mind…

Happy Planting! Happy Spring!

Love, Michele


Advertisement

The Seed Order Is Underway!

I’m working on the next post about our trip, but I thought I shouldn’t stray too far away from the garden. The Grand Canyon was pretty snow covered, so, not much garden activity to report. When I move on to Winslow that will change in a big way! Still wintery, but definitely some gardens to share at that stop.

In the meantime, here’s what’s happening here in Salem this morning:IMG_0753
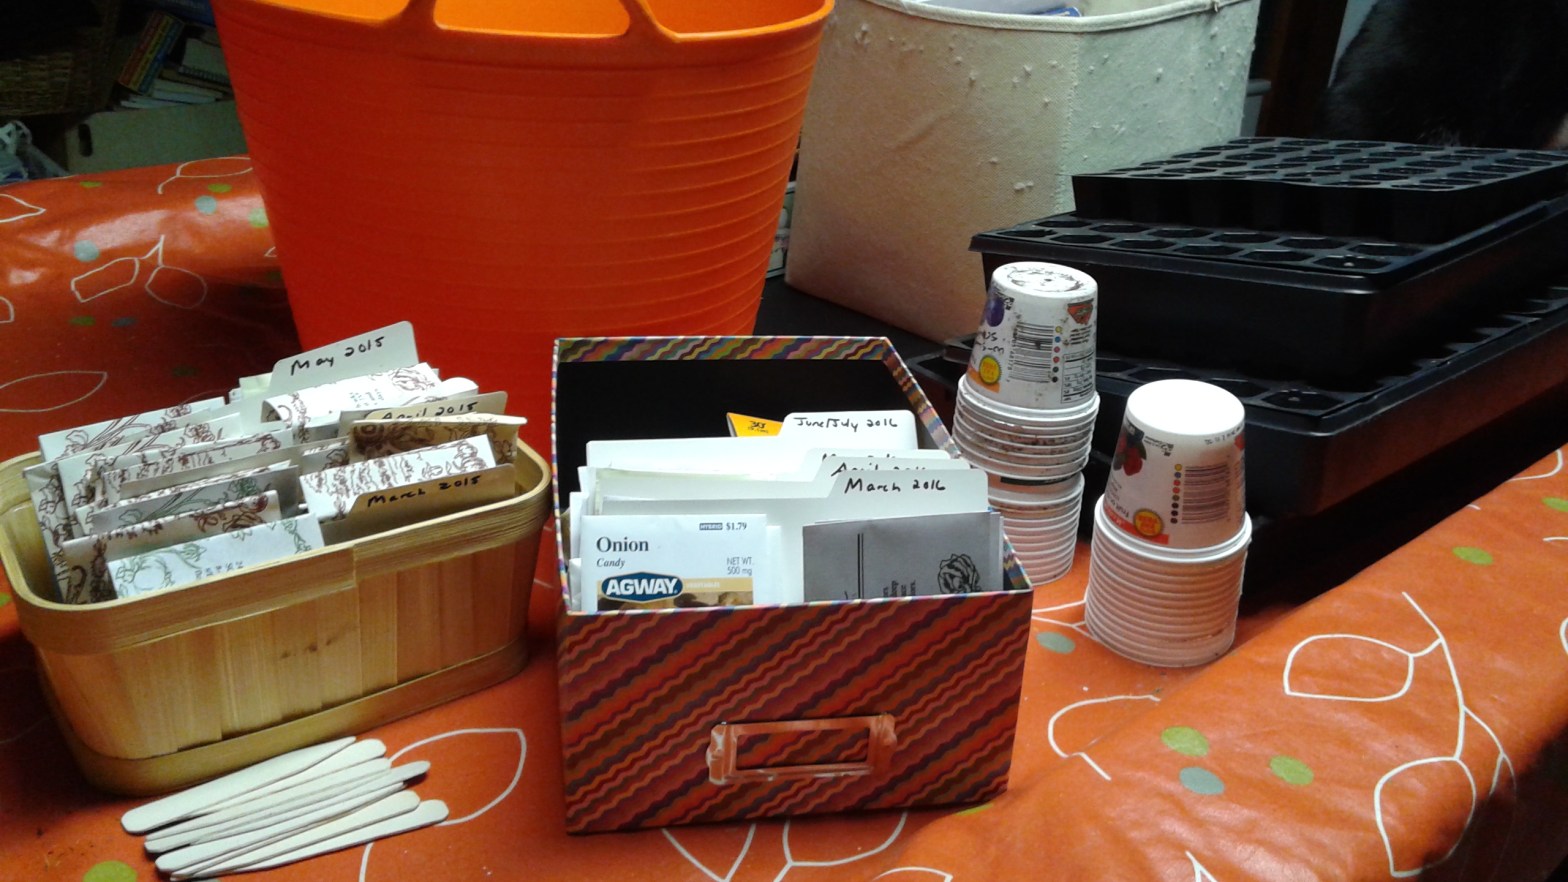
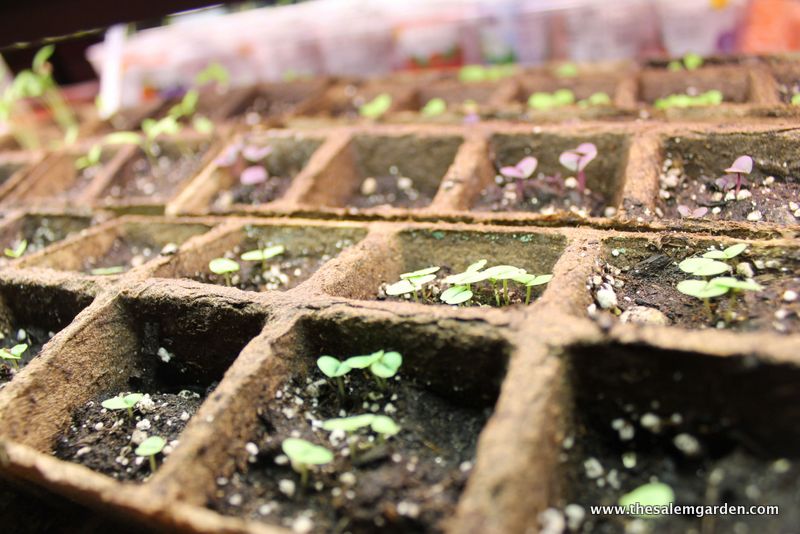
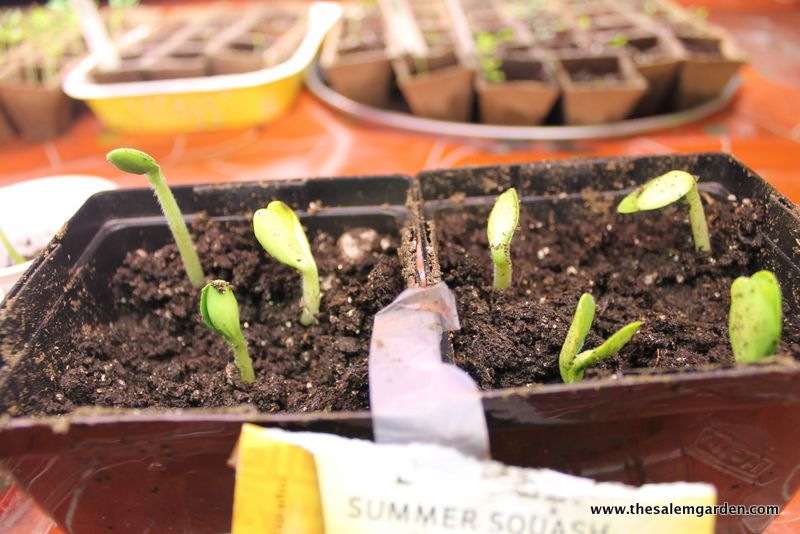
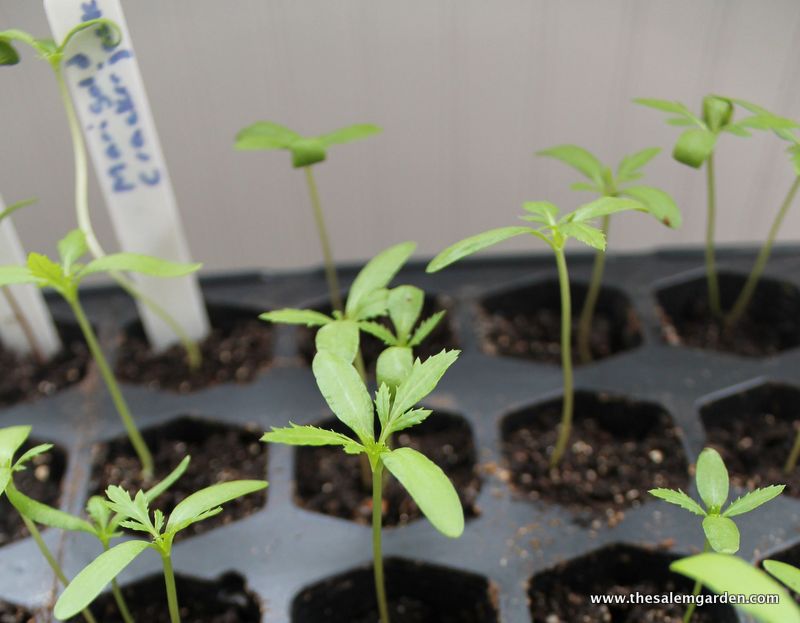
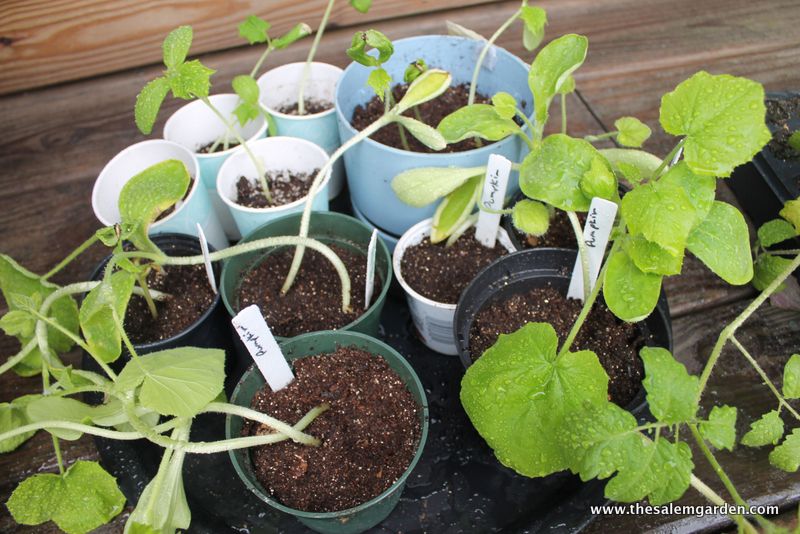
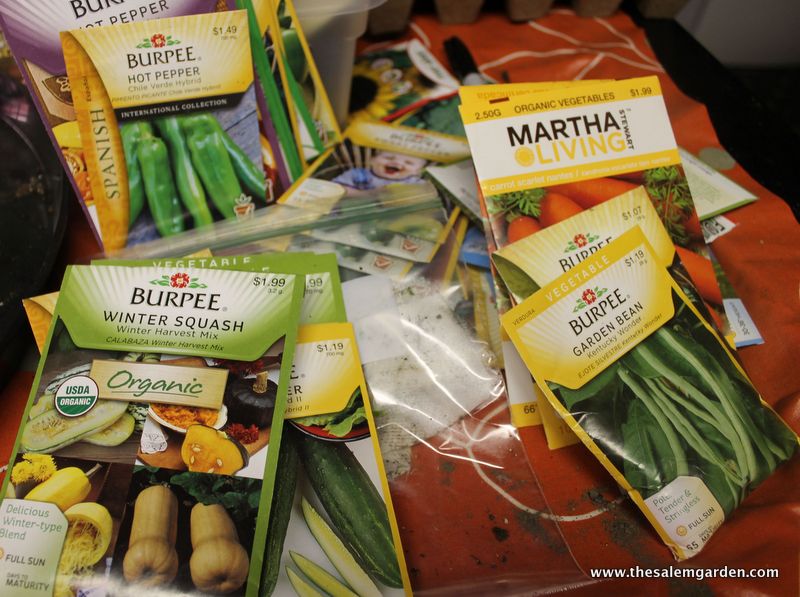
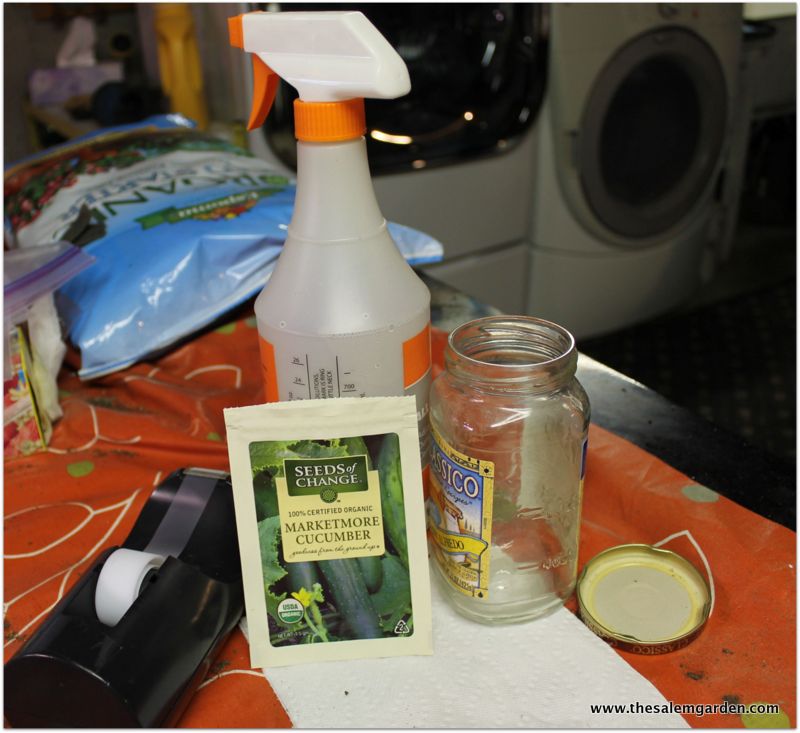
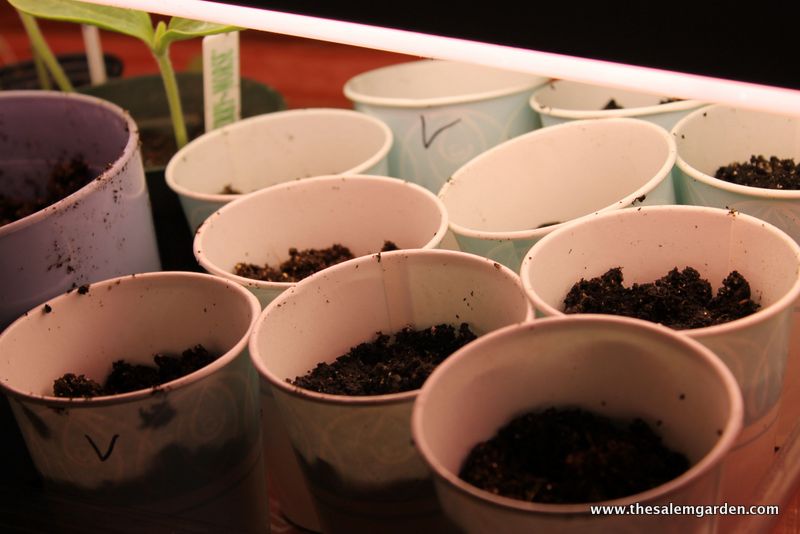
Yes! The seed order is underway!

I’m anxious to get this done because it’s almost time to start the onions and a few other things that need a lot of time to get stronger and can hang in there in the natural light of my office while I use the grow lights for other plants.

I like to use sticky notes to organize my order. This year I had these cute color coded stickies on hand so I’m actually marking the possibilities by color… green is a yes, light green a probably, pink a maybe and orange needs some research. I just texted Michael a picture of this and said “I think we need more beds”… no response back… I wonder why? Lol

This is the Pinetree Seed Catalog which is the company that I used last year. I like Pinetree because their based in Maine, so it tends to be geared toward the New England climate. Another big plus is that they sell seed in smaller quantities at a much lower price. This gives me the chance to grow close to the specific mount of produce that we’ll actually use with more variety, so my garden is more interesting and there’s less waste of plant material and money. I had a nice high germination rate last year as well. I didn’t keep track formally but I’d estimate it at about 90%. I’m looking at other catalogs but I tend to come back to this one.

IMG_0749

It’s also time to start saving yogurt cups, plastic cups and clear containers that make good mini greenhouses. I love these yogurt containers because their nice and sturdy and just the right size for many of the plants that are best for us.

I really, truly can’t wait to get things growing again!

Have you started your seed order yet? What are you thinking about growing?

Hope your enjoying this beautiful Saturday!

Michele


Lettuce Plant Lettuce

LOL, I can’t stop myself sometimes…

Creating blog post titles truly amuses me.

But, the title is true, we really can start lettuce from seed now.

IMG_8530Last Saturday was cold and windy but I had lots of fun planting four varieties:

-Merveille de Quatre Saisons

-Winter Density

-New Red Fire

and Pinetree Mix

I chose each type for different, specific reasons.

I’m hoping for an early harvest from the Winter Density. It went in on the late side because the ground was still frozen but it’s an early variety that grows quickly.

The New Red Fire is said to be slow to bolt, and it’s so pretty.

Merveille de Quatre Saisons is described in the Pinetree catalog as  “truly marvelous. It was the only lettuce in our trials that remained good tasting during an exceptionally dry and hot summer years ago, and continues to impress us each year. ” I couldn’t resist that kind of high praise.

And I chose the Pinetree Mix with the hope of having a nice little bed of baby lettuces that we could pick easily and often.

We love fresh lettuce!

IMG_8529

I also love taking pictures of lettuce markers early in the morning in my pajamas and Michael’s mud boots. 😉

Lettuce is easy…

–You can scratch up an existing bed then add compost and seeds at about 1/4 inch depth,

–or plant it in a pot

–or open up a bag of organic soil and just add seeds to it like this (click on the link to see!)

So lettuce plant lettuce! It’s finally time!

How’s your garden growing?

Love, Michele


And We’re Off! Spring Has Sprung!

Yes we are!

It’s finally here….

IMG_8431

The very first crocus of the year!

IMG_8435It lives right next to this pile of snow.

There will be more crocus on the way as soon as it melts.

… and there’s more good news!

IMG_8439 The first onion seedlings have popped through too!

I planted these last Sunday. Yesterday I checked them first thing in the morning and there was no change at all, just little cells full of seed starting mix.

Yesterday afternoon I saw Ed, one of my onion planting mentors, and he said that once they got going they’d just take off. I held onto that thought amid my worries about too  much moisture, not enough moisture, too much heat, not enough heat and maybe I should I have used a different seed starting mix.

I went back last night and voila… there were several little sprouts.

I am feeling encouraged, uplifted, excited, happy and most of all

READY!

Spring has officially reached Salem, Massachusetts my friends!  Woo hooo!!

How’s your garden growing? Has spring sprung? I hope so!

Michele

Today’s Mail… the Pinetree Seed Order!

seed order

There are so may fun things to look forward to in this envelope.

I can’t even list them all. There’s herbs and vegetables and flowers… lots of everything that I love to grow.

Among the early starts that I need to plant asap are onions… I chose Alisa Craig Exhibition and Southport Red Globe.

I also ordered Green Magic Broccoli which can be started outdoors in early spring, or indoors now. I’m torn about that because my indoor space is tight. Is anyone else direct seeding broccoli here on the coast of New England?

I have a few varieties of peppers to get going this week along with impatiens and pansies. We grew both successfully at Bass River last year so I’m looking forward to trying it at home.

Not far behind are the ten varieties of tomato, the cucumbers, the basils, the beans… the list goes on!

As you can see I had fun with this order. Pinetree Seeds was highly recommended by my friends Ed and Betsey who grow the most beautiful garden I’ve ever seen. Remember their onions?

One of the things that I like about Pinetree Seeds is that you can order a smaller quantity of seed at a much lower price than most other companies. This is great for the home gardener like me who only needs twenty plants per variety at most. I can try lots of fun creative things and still stay well within budget. The cute packaging and unexpected free gift of velcro garden ties were an added bonus. Let’s just hope these seeds germinate and thrive!

My goal is to grow almost, if not all, of our garden from seed this year. I had such a good time with my seed starting adventure last year that I’m feeling pretty optimistic about the season that’s about to begin.

Yes, the season is beginning!

IMG_8160

The garden may look like this, but spring is coming!

Woo Hooo!!!

Did you place your order yet? What are you thinking about growing this year?

Are you as excited as I am?

Michele

Loving My Seedlings, a Lot!

I really am! This appears to be my breakthrough year in the seed starting world. I think I got it and I love it! The time that I spent this winter reading and researching really seems to be paying off. I have quite a few plants ready for the garden now and there are more coming. Next year, look out, those seed companies won’t know what hit them! Did I mention that I finally got it and that it’s fun?

Okay, enough… here’s what I have at the moment:

IMG_5728This is my seed starting set-up. It’s simple; two shop lights with one fluorescent and one plant bulb in each. Next year I’m hoping to add a third light in the middle so that the entire table is covered.  I used the plant bulbs here at home, but at Bass River (work) I used one cool white and one warm white bulb. The seeds did very well there but I do see a faster growth rate and a sturdier plant with the plant bulb. The idea is to create light that mimics the light outdoors and the plant bulb is much brighter which is ideal for seedlings that would thrive in full sun.

IMG_5727These cantaloupe and watermelon seeds emerged from their bags (you can read about my handy dandy bag system here) the other day. They’ve been living in soil for two days and their well on their way.

IMG_5725This is cumin and purple alyssum. I have a love/hate relationship with these jiffy pots. They dry out quickly and I need to keep a very close eye on them. Actually, keeping a close eye is very helpful to new seedlings, peat pot or not.

IMG_5721The cilantro on the left is organic slow bolt, and the pots on the right are coriandrum sativum… there’s kind of a big difference in success rate so far.

IMG_5720We’ll have three varieties of basil this year; Genovese in the back, Red Rubin in the middle and Siam Queen in the foreground.

IMG_5714I started a little bit of summer squash in a jar a few days ago, planted it in the soil last night and I think they’ll be ready for the garden by the end of this coming week. I have some new ideas to help deal with the squash bugs this year so I caved and planted zucchini, even though I swore I’d take the year off after last year’s difficulties.

IMG_5702Up in my office the marigolds are showing their second set of leaves. I’m probably moving them outside later today to maximize the light and good air circulation.

IMG_5695These pumpkins and cucumbers from a few weeks ago need to be planted out asap. The weather looks pretty good so they should be in by Monday.

IMG_5691 If I could go back several weeks, I would have transplanted these tomatoes into larger containers. I think/hope the yellow at the bottom is because they need more root space. Looks like it’s time for these to hit the garden too.

IMG_5731

As you can see I have a lot more to do. The carrots need to be direct seeded, the beans will follow the peas that are growing, and the squash will probably be quick started then planted outside in the next week or two. I think I missed the window for growing peppers. What should we do? Start them indoors now anyway, direct sow or buy some plants?

IMG_5733My little girl started these seeds all by herself.

This is the best motivation in the world to share the garden with my kids, and with all of you. 🙂

Hope you plant something today!

Love, Michele


Foolproof Cucumber Seedlings- You Can Grow That!

The other day I blogged about the fun I’ve had this year with growing tomatoes. I’ve been in kind of the same mode with cucumbers (and pumpkins, and squash, and peppers, and several varieties of flowers). There’s a background story to my seed starting obsession that I have to share. In February one of the women who I work with in my job as an adaptive gardening specialist at Bass River approached me with a package of cucumber seeds that were dated 2011 and asked if we could grow them. I thought that starting them successfully was a long shot but I also saw the challenge as a chance for a fun learning opportunity. We decided to plant some of the seeds in pots of seed starting mix, and to try to germinate another group on a damp paper towel in a jar. Within a few days we had a jar full of cucumber sprouts that were flourishing. The seeds planted in the soil never did germinate, not one. We transplanted the sprouts to a container of soil and now we have little cucumbers growing on a trellis in a sunny window. So, we concluded that a little bit of humidity goes a long way in sprouting seeds and even older seeds might respond to this special treatment. I’ve been reading a lot about adding humidity to help the germination process and I brought the idea here to my home garden.  I’m growing all kinds of things in plastic bags and jars!

Here’s a step by step description of my easy foolproof way to grow cucumber seedlings:

IMG_5338I start with a paper towel, a clean jar with a lid, a water spray bottle, some tape and a package of seeds.

IMG_5343I dampen the paper towel and spread the seeds evenly over it.

IMG_5345Roll it up gently…

IMG_5346and place it in the jar and close the lid.

IMG_5354Then I mark it with a sharpie or as in this case I tape the seed package to the jar.  I did this on April 25th, remember that date!

IMG_5355Here’s what I found when I took them out on April 29th. These are a little bit overgrown, they could have come out of the jar on the 28th or even the 27th.

IMG_5357I gently placed well moistened seed starting mix in cups with a hole punched on the bottom… I don’t usually use paper cups but I had these on hand and the seeds needed to be transplanted right away.

IMG_5360I dug a little hole and placed a seedling in each container with the root facing down,

IMG_5362and just barely covered it with soil.

IMG_5363I put the cups under the grow light,


IMG_5432
and here they are on May 3rd. The first leaves are sprouting and the second set is close behind!

They would be ready to go out in a few days if our last frost date were closer. Unfortunately it’s not quite time for tender plants to be planted outside here on the New England coast. I’ll move them out from under the light when they get a little bigger and keep them in a sunny window for a few weeks. When transplant time is close I’ll put them outside in a protected spot for the daytime hours for several days to harden them off (help them get used to outside temps) before I plant them in the garden.

Just to summarize the dates; I started them on April 25th and eight days later their well on their way. That makes the turnaround time from putting them in the jar to being garden ready about 12-14 days.

Guess what that means? You have plenty of time to do this! And it’s easy, and I dare say it’s fun!

I hope that you get some seeds started soon!

Remember, you can grow that!

Michele

Displaying ycgt_web.jpg

“You Can Grow That” is a website hosted by garden blogger and author C.L Fornari which was created to widely share the message that plants and gardening enhance our quality of life. On the fourth of each month garden bloggers participate by publishing a “You Can Grow That” post. The hope is to create a national conversation about the benefits of gardening and to encourage people everywhere to participate in and experience all of the joy that the garden brings. Be sure to visit the “You Can Grow That” website to learn more about this wonderful effort and to find links to other bloggers’ posts.

A Few Thoughts About Growing Tomatoes From Seed

I’ve really gotten in to starting seeds this year. I have three varieties of tomatoes growing (Rutgers, Matina and Supersweet 100) and I think it’s safe to say that their doing quite well.  I spent a lot of time reading about seeds over the winter so I’ve approached the project from a different knowledge base this year.

I’ve made a few simple adjustments:

–I started the seeds on damp towels in sealed plastic bags and planted them in seed starting mix as soon as they germinated. This is one of my new favorite approaches with seeds of all kinds. When I visited my friend Betsey (the onion lady) in January she showed me that her husband often starts “harder to germinate” seeds in plastic bags. I’ve also experimented with forcing germination at work lately with great success. Betsey recommended a blog called Tomato Dirt  and as I read over their many tips for growing tomatoes from seed, I’ll be darned, this method was mentioned again. I tried it and the extra humidity got things going and before I knew it I had beautiful seedlings that had been transplanted into potting soil.

–I’ve kept the lights very close to the plants, about two inches above the tops of the seedlings. This keeps them from getting leggy and encourages them to grow stronger and sideways, rather than upward and spindly.

–I’ve brushed them gently with my hand once a day which also encourages a stronger, stockier plant.

–The lights are on a timer, twelve hours on, twelve hours off.

–I used one florescent bulb and one plant bulb in a regular shop light.

–I water from below encouraging strong root formation.

–I used seed starter containing vermiculite to encourage root formation.

–I talk to them, love them and spend time with them as I work on other projects.

I’d be growing well too if I were these tomatoes!

IMG_5369

Here they are today. I’m thinking about moving them away from the lights and up to my sunny office, maybe even into larger pots.

Are you growing tomatoes this year? How’s it going? Share your tips in the comments!

and of course, enjoy everything!

Michele